Book Image

Django 4 for the Impatient

By : Greg Lim, Daniel Correa
Book Image

Django 4 for the Impatient

By: Greg Lim, Daniel Correa

Overview of this book

Learning Django can be a tricky and time-consuming activity. There are hundreds of tutorials, loads of documentation, and many explanations that are hard to digest. However, this book enables you to use and learn Django in just a couple of days. 
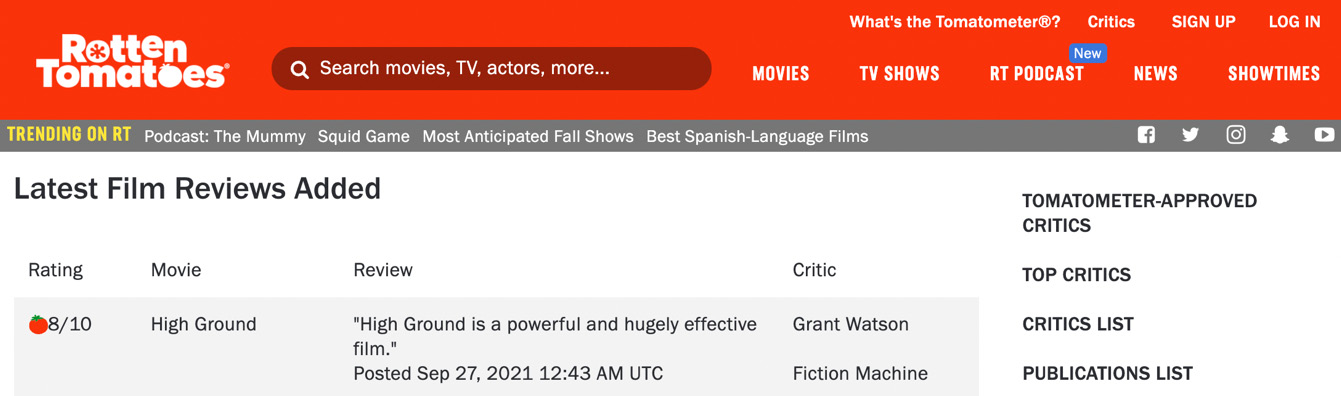
In this book, you’ll go on a fun, hands-on, and pragmatic journey to learn Django full stack development. You'll start building your first Django app within minutes. You'll be provided with short explanations and a practical approach that cover some of the most important Django features, such as Django Apps’ structure, URLs, views, templates, models, CSS inclusion, image storage, authentication and authorization, Django admin panel, and many more. You'll also use Django to develop a movies review app and deploy it to the internet. By the end of this book, you'll be able to build and deploy your own Django web applications.
Table of Contents (14 chapters)

Creating our first app

A single Django project can contain one or more apps that work together to power a web application. Django uses the concept of projects and apps to keep code clean and readable.

For example, on a movie review site such as Rotten Tomatoes, as shown in Figure 2.4, we can have an app for listing movies, an app for listing news, an app for payments, an app for user authentication, and so on:

Figure 2.4 – The Rotten Tomatoes website

Figure 2.4 – The Rotten Tomatoes website

Apps in Django are like pieces of a website. You can create an entire website with one single app, but it is useful to break it up into different apps, each representing a clear function.

Our movie review site will begin with one app. We will later add more as we progress. To add an app, in the Terminal, stop the server by using Cmd + C. Navigate to the moviereviewsproject folder and run a command like the following in the Terminal:

python3 manage.py startapp <name of app>

In our case, we will add a movie app:

For macOS, run the following command:

python3 manage.py startapp movie

For Windows, run the following command:

python manage.py startapp movie

A new folder, movie, will be added to the project. As we progress in the book, we will explain the files that are inside the folder.

Although our new app exists in our Django project, Django doesn't recognize it till we explicitly add it. To do so, we need to specify it in settings.py. So, go to /moviereviews/settings.py, under INSTALLED_APPS, and you will see six built-in apps already there.

Add the app name, as highlighted in the following (this should be done whenever a new app is created):

…
INSTALLED_APPS = [
    'django.contrib.admin',
    'django.contrib.auth',
    'django.contrib.contenttypes',
    'django.contrib.sessions',
    'django.contrib.messages',
    'django.contrib.staticfiles',
    'movie',
]
…

Back in the Terminal, run the server:

For macOS, run with the following:

python3 manage.py runserver

For Windows, run with the following:

python manage.py runserver

The server should run without issues. We will learn more about apps throughout the course of this book.

Currently, you may notice a message in the Terminal when you run the server, as follows:

"You have 18 unapplied migration(s). Your project may not work properly until you apply the migrations for app(s): admin, auth, contenttypes, sessions.
Run 'python manage.py migrate' to apply them."

We will see how to address this problem later. But for now, remember that we can have one or more apps inside a project.