
Preparing your development environment for frequent unit testing
In this section, we’ll take some configuration actions that will make our test-driven lives much simpler.
Choosing your editor
Let’s start with your choice of code editor. More than likely, this means a choice between an IDE, such as Visual Studio Code, or a plain text editor, such as Vim or Emacs.
IDEs tend to have lots of bells and whistles and one of those is the built-in test runner, which runs tests for you and integrates test output into the editor itself. On the other hand, plain text editors will require you to have a separate Terminal window for you to enter test commands directly, as you did in the previous section.
Figure 1.1 shows how my own setup looks, using Vim and tmux to split windows. The top half of the screen is where I edit my source files, and when I’m ready to run tests, I can switch to the bottom half and enter the test command.
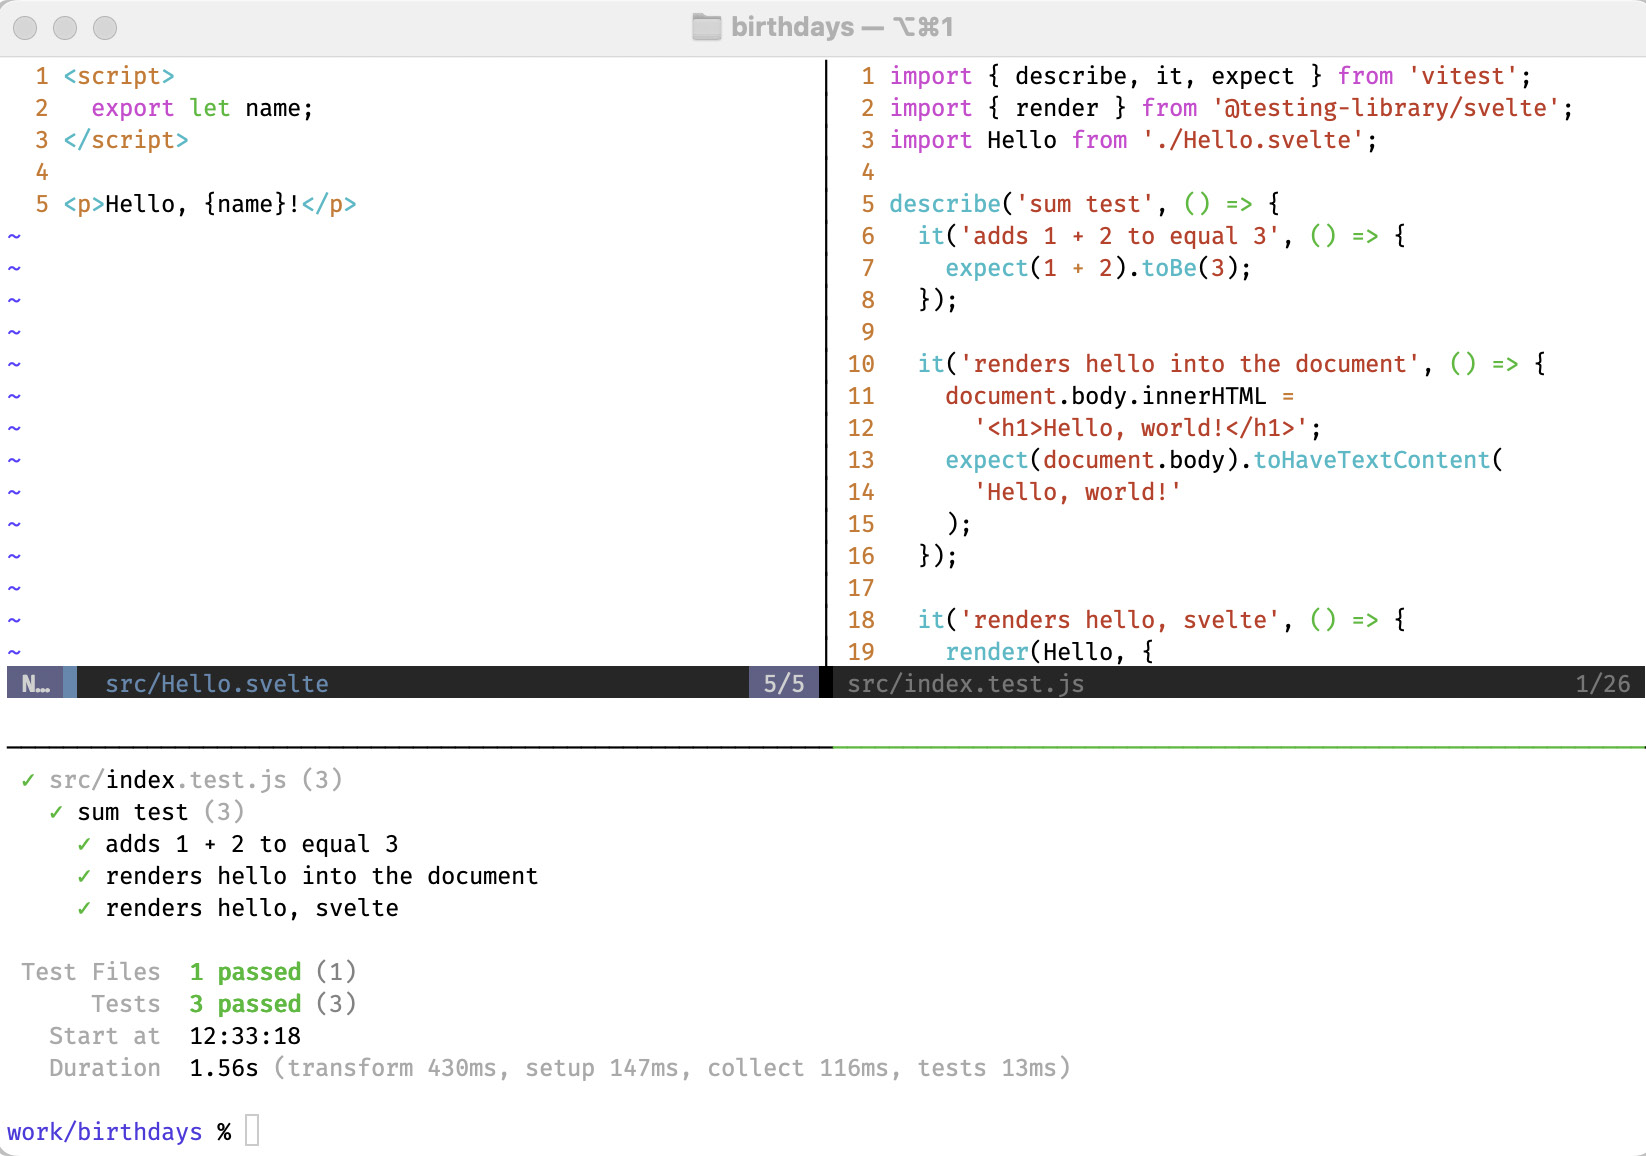
Figure 1.1 – Using tmux and Vim
Figure 1.2 shows the same project in Visual Studio Code with the Vitest extension installed. Notice the test runner has a bunch of neat features, such as the ability to filter the test output, and green ticks next to the line numbers of passing tests.
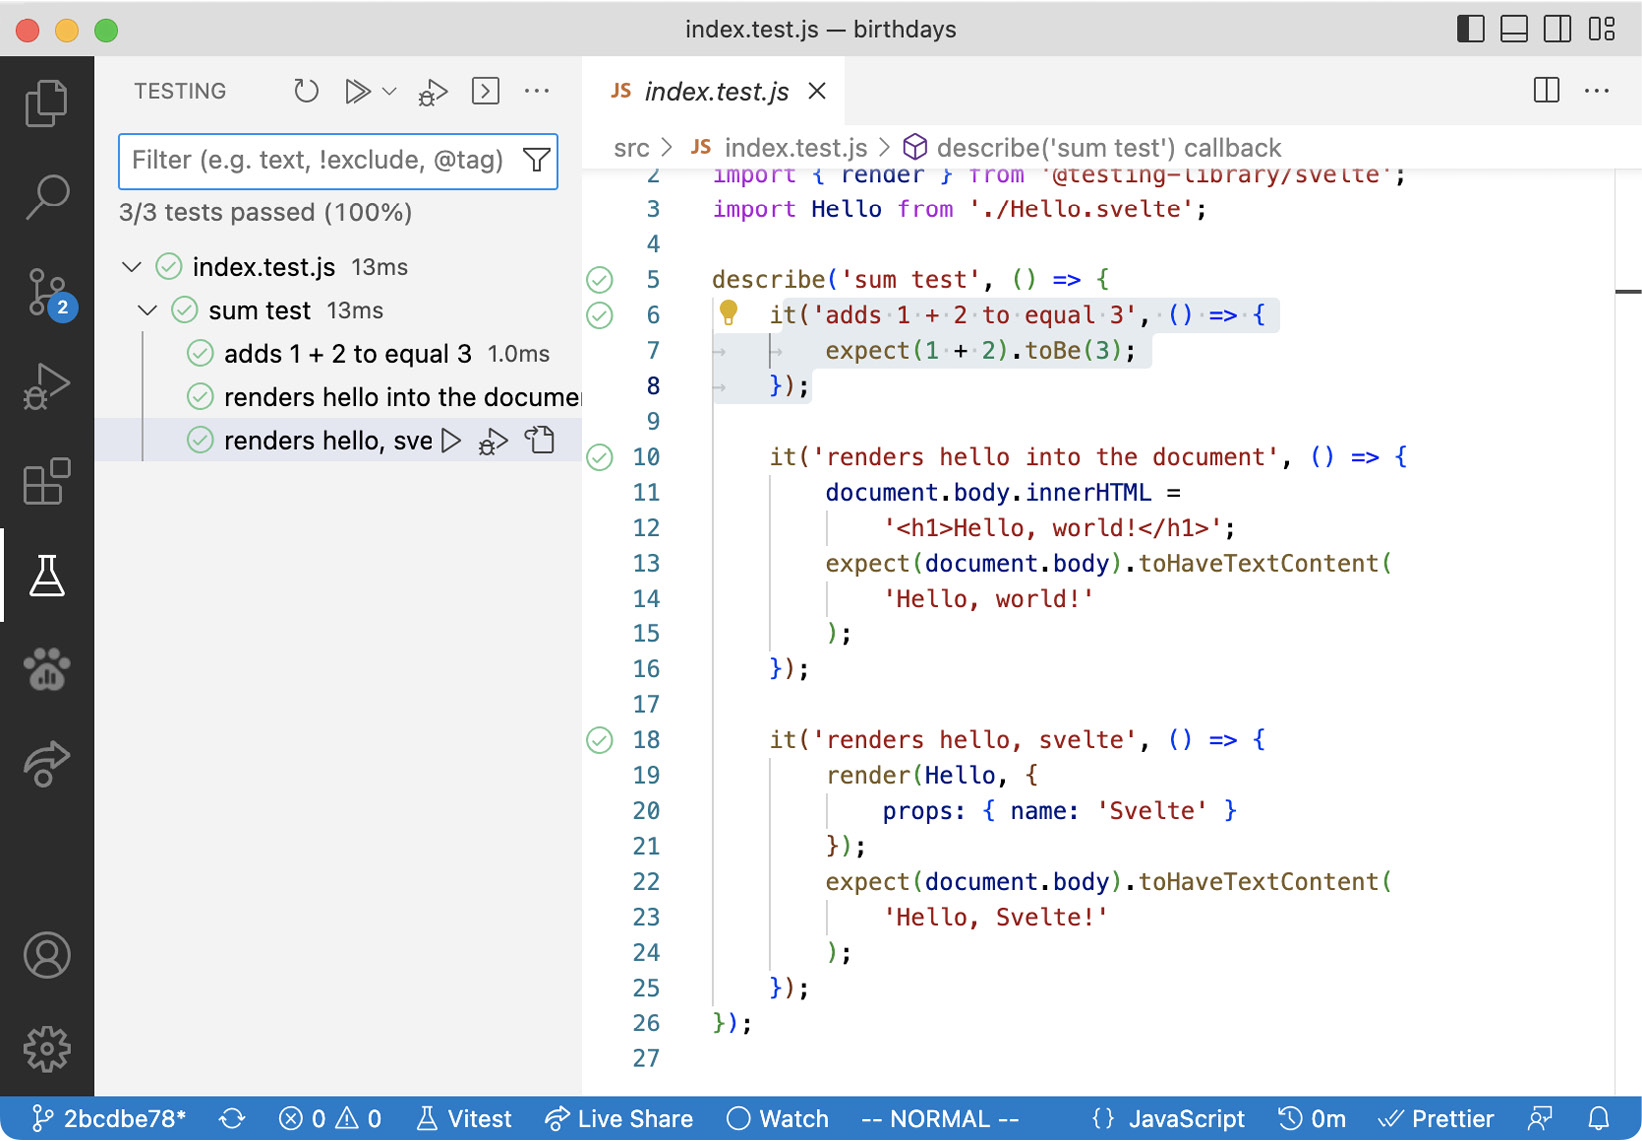
Figure 1.2 – Using Visual Studio Code to run tests
I think there is a lot to learn from using a plain editor and Terminal setup, but if you don’t feel comfortable with that, then it’s best to stick to your favorite IDE for now.
The one thing you want to make sure of is that it’s easy and quick to run tests. So, if you’re writing a new test, you want to immediately run it and see it fail. And if you’re making a test pass or refactoring tests, make sure you can quickly re-run tests to check your progress.
Creating a shell alias
If you’re choosing to use the Terminal to run tests, then you will almost certainly want to set up an alias to make it simpler to run Vitest unit tests. You’ll recall that there are two commands that you use for running tests: npm test for Playwright tests and the npm run test:unit command for Vitest unit tests.
The style of testing shown in this book follows the classic test pyramid approach to testing, which states that we should have lots of little unit tests (in Vitest) and far fewer system tests (in Playwright).
So, given that we’ll be working much more frequently with Vitest, doesn’t it make sense to have the shorter test command be the one that runs unit tests?
The solution that I use is a shell alias, v, that invokes Vitest. If you wanted to use the standard watch mode, you’d set up the shell alias to run this command:
npx vitest
However, because I don’t want to use watch mode, I set it up to use this command:
npx vitest run
I‘d suggest you use this version, at least while you read through this book. I find that watch mode tends to break silently, especially when you’re in the first stages of setting up a project. To avoid confusion, better to just invoke the test command when you’re ready.
On my Mac, my default shell is zsh, which configures its shell aliases in the ~/.zshrc file. You can add that alias to the file using the following commands:
echo 'alias v="npx vitest run"' >> ~/.zshrc
source ~/.zshrc
Now, you can simply type the v command to run your Vitest unit tests. You can also use this to run a single test file, like this:
v src/index.tests.js
This is a handy way to run just a small part of your test suite.
Changing the test runner to report each test name
Recall that when we ran our Vitest unit tests, the test report told us the filename of the test suite that was run, together with some summary information:
 DEV  v0.25.8 /Users/daniel/work/birthdays
 ✓ src/index.test.js (1)
 Test Files  1 passed (1)
      Tests  1 passed (1)
   Start at  15:56:18
   Duration  737ms (transform 321ms, setup 0ms, collect 16ms, tests 2ms)
It turns out this isn’t enough – we want to see test names too, just like how the Playwright test told us the description of the test that was passing.
Open the vite.config.js file and add a new reporter property that is set to verbose, as shown in the following code block:
 const config = {
   plugins: [sveltekit()],
   test: {
     ...,
     reporter: 'verbose'
   }
 };
Be careful
If you had left your test runner running in watch mode, you’ll need to restart it at this point, and at any other point in which you modify the configuration.
Now, running tests at the command line using the v command will give this:
 RUN  v0.25.8 /Users/daniel/work/birthdays
 ✓ src/index.test.js (1)
   ✓ sum test (1)
     ✓ adds 1 + 2 to equal 3
 Test Files  1 passed (1)
      Tests  1 passed (1)
   Start at  11:02:05
   Duration  905ms (transform 320ms, setup 1ms, collect 16ms, tests 2ms)
Much better!
Watching the test fail
We’re almost done with configuring Vitest, but before continuing, let’s check that the test actually tests what we want it to test. This is an important concept with TDD: if you’ve never seen a test fail, how do you know it tests the right thing?
Open src/index.test.js and take a look:
import { describe, it, expect } from 'vitest';
describe('sum test', () => {
  it('adds 1 + 2 to equal 3', () => {
    expect(1 + 2).toBe(3);
  });
});
Make a change to the expect statement, like the one shown here:
expect(2 + 2).toBe(3);
Now if you run the test, you should see a failure:
❯ src/index.test.js:5:17
      3| describe('sum test', () => {
      4|  it('adds 1 + 2 to equal 3', () => {
      5|   expect(2 + 2).toBe(3);
       |                 ^
      6|  });
      7| });
  - Expected   "3"
  + Received   "4"
Brilliant – our test runner seems to be in working order. You can go ahead and undo the change to the test, and watch it go green again. That’s it for the basic editor configuration.
Test file location – src or test?
In many other programming environments, test files are kept apart from application source files. A separate directory named something like tests or specs is used to house all executable test scripts.
There can be a couple of advantages to that. First, it can avoid packaging tests with application code when it comes to building deployable units. However, Svelte (and JavaScript in general) doesn’t suffer from this problem because only modules referenced by the application entry point will be bundled.
Second, having a separate directory avoids the mindset of one test file per module. Not all modules need unit tests: if a unit exists as a part of a larger unit, we’ll often just write tests for the top-level unit and those tests will also provide coverage for the lower-level unit. Conversely, sometimes it’s helpful to have two (or more!) test files for a single module.
That’s especially true when using component mocks that wipe out a component mock for an entire module. You might want a test file that mocks a component, and another test file where the component isn’t mocked. We’ll look at component mocks in Chapter 12, Using Component Mocks to Clarify Tests.
The current SvelteKit approach is to keep Vitest test files housed within the src directory. Partly, this is to avoid confusion with Playwright tests, which do live in a separate directory, named tests. (We’ll see Playwright tests starting from Chapter 3, Loading Data into a Route).
This book continues with that style, but I would encourage you to explore and adopt whichever style you feel most comfortable with.
In the next section, we’ll add support for the kinds of tests we’ll be writing throughout the book.