

So far, we've concentrated on developing our basic video player, using jQuery. It's time now to change track, and take a look at another useful feature that you can use with HTML5 videos—overlays. This can help to give emphasis to displaying a video, as you can provide a mask to cover elements in the background, thereby removing some of the distraction.
For this task, you need to avail yourself of a copy of the shareware application VideoLightbox—at the time of writing, the latest version is 2.1, which is available from http://www.videolightbox.com. It is free for non-commercial use, so if you need to use it commercially, you will need to purchase a license that is $49 at the time of writing. You will also need a copy of a video in MP4 format—one of the ones you've converted, or used, from earlier will do fine.
Double-click on the videolightbox-setup.zip file, and run the
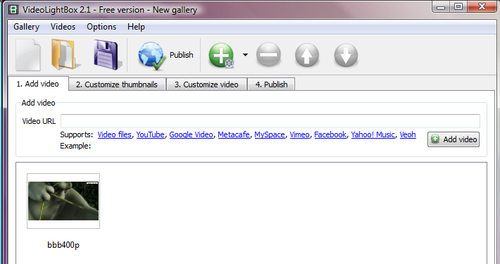
videolightbox-setup.exefile, accepting all of the defaults.Once in VideoLightbox, click on Videos, then Add video from file—select your file, then click on Open. You will see your video listed, as shown in the following screenshot:
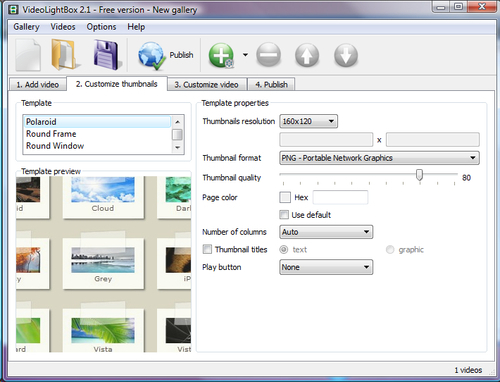
Click on the Customize thumbnails tab, and select your options—for the purposes of this demo, I've chosen Polaroid as the Template format, followed by PNG - Portable Network Graphics for the Thumbnail format and the Play button, as shown in the following screenshot:
On the next tab, Customize video, you can select from a number of options, including overlay template, resolution of video, and background color. For the purposes of this task, we will leave the defaults of Standard template, and a resolution of 640x480, unchanged.
Click on the Publish tab, then on the Publish button—this will by default publish the video and code to a folder called
VideoLightBoxin yourDocumentsfolder. VideoLightbox will generate the code for you, and display the results in your default browser: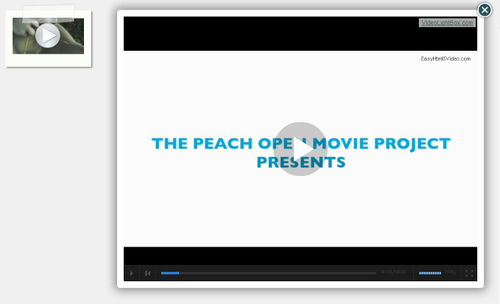
We can then edit a copy of the source, and adapt it to our needs—here's a simplified example:
<!DOCTYPE html>
<html>
  <head>
    <title>VideoLightBox Test</title>
    <link type="text/css"rel="stylesheet"
    href="index_videolb/videolightbox.css" />
    <link rel="stylesheet" type="text/css"
    href="index_videolb/overlay-minimal.css"/>
    <script src="http://cdn.jquerytools.org/1.2.7/full/
    jquery.tools.min.js"></script>
    <script src="index_videolb/swfobject.js"
    type="text/javascript"></script>
  </head>
  <body bgcolor="#f0f0f0">
  <div class="videogallery">
    <a class="voverlay" href="index_videolb/player.swf?url=video/bbb400p.mp4&volume=10  0" title="bbb400p">
  <img src="index_videolb/thumbnails/bbb400p.png"     alt="bbb400p" />
  <span></span>
  </a>
  </div>
  <script src="index_videolb/videolightbox.js"     type="text/javascript"></script>
  </body>
</html>
VideoLightbox uses a combination of jQuery Tools (http://www.jquerytools.org) and the SWFObject library (http://code.google.com/p/swfobject/)—the SWFObject acts as a container, into which a base player file is stored, and from within which the MP4 video is played. The jQuery Tools library is used to provide the overlay functionality. A call is made to the player "container" (in this instance player.swf), which stores an instance of our video, and is used to provide the stop/start controls for video playback.
We've taken a look at a number of recipes, to show you how you can embed HTML5 video—using the new <video>
tag—within your pages. This is only just the start of what you can achieve using the new tag—there is a whole world out there to explore. I hope you've enjoyed working through the recipes, just as much as I have enjoyed writing this book!