
Composer is a dependency manager application that can be used to install PHP packages.
Some developers prefers Composer, not just because it is easy to use, but it is far more efficient when it comes to keeping track of the project dependencies. In fact, the main reason for creating Composer was to provide a reliable and consistent environment to develop PHP projects.
Imagine a team of PHP developers who work on the same project using various libraries and resources. Sometimes, it can be a nightmare if updating an existing library or installing a new one crashes the code of another developer in the team. Someone should be in charge of tracking all dependencies and controlling the updates and installs to make sure that the project development runs smoothly. In the past, that person used to be the lead developer, but thanks to Composer, the dependency management during development, staging, and production phases is handled automatically by Composer.
Let's get started by downloading Composer if you don't have it already:
$ curl -sS https://getcomposer.org/installer | php
Note
I presume that you have already installed the latest stable version of PHP and required extensions and libraries including curl. In case you don't have curl, you can install Composer via the following command:
$ php -r "readfile('https://getcomposer.org/installer');" | php
Move it to your /usr/local/bin folder so that it is accessible from everywhere in your machine:
$ sudo mv composer.phar /usr/local/bin/composer
Note
Depending on the distribution of your Linux, this path might be /usr/bin instead. Use the echo $PATH command to find out about the location.
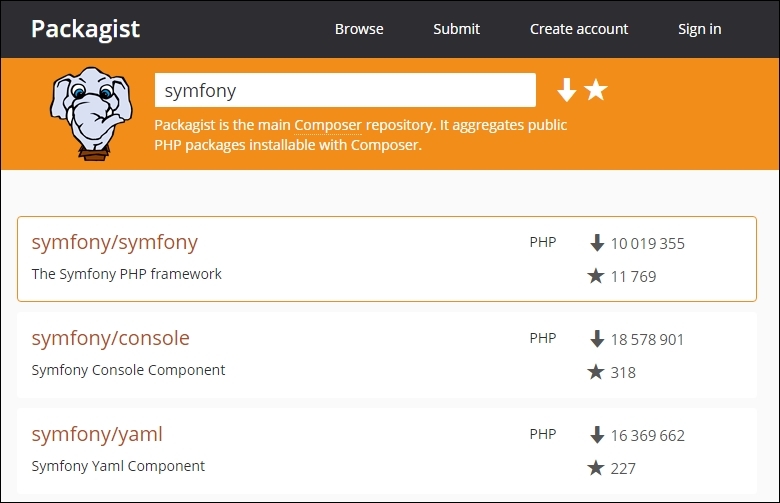
Composer is just a manager. It does not store any libraries or packages in itself. However, it works very closely with a package repository called Packagist to make sure that it gets the right packages with the correct dependencies. To do so, Packagist talks to Composer via a configuration file called composer.json, which contains many settings including dependency information.
Symfony Standard Edition is a package saved in https://packagist.org/. Go to the website and search symfony and you will see the Symfony framework along with a list of Symfony components as the search result:
In this book, we will deal mainly with three Composer commands:
$ composer create-project [package] [/path] [version]: This creates a brand new project by downloading a specific version of a package to the specified directory$ composer install: This installs a package and fetches all the dependent packages to your project$ composer update: This updates the current packages
Let's see how to install the Symfony Standard Edition package via Composer.
Note
Did you know that with the self-update option, you can upgrade the Composer to the latest stable version?
$ composer self-update
Fire a terminal and go to /var/www. I chose to install Symfony there to keep it simple and avoid different usernames and folders. Create a new folder called mava and set the ownership to yourself:
$ cd /var/www
$ sudo mkdir mava
$ sudo chown -hR <YourUserName>:<YourUserName> mava
Now type the following command:
$ composer create-project symfony/symfony mava/
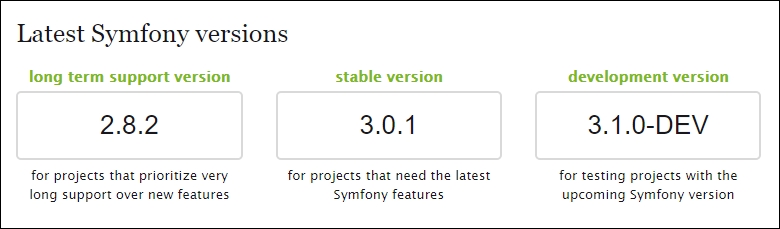
As you can see in the following image, version 3.0.1 is the latest stable version. We can always choose a long-term support version if we want to take a conservative approach toward a project or we can choose the development version if we are crazy enough to ask for everything cutting-edge. Normal people like me always choose the latest stable version. In other words, it is a trade-off between the latest features and longest support:
If the installation process runs smoothly, you will see a bunch of packages being downloaded and installed to the /mava directory:
Using version ^3.0 for symfony/symfony
./composer.json has been updated
Loading composer repositories with package information
Updating dependencies (including require-dev)
  - Installing psr/log (1.0.0)
    Loading from cache

  - Installing doctrine/lexer (v1.0.1)
    Loading from cache

  - Installing doctrine/annotations (v1.2.7)
    Loading from cache

  - Installing doctrine/collections (v1.3.0)
    Loading from cache

  - Installing doctrine/cache (v1.6.0)
    Loading from cache

  - Installing doctrine/inflector (v1.1.0)
    Loading from cache

  - Installing doctrine/common (v2.6.1)
    Loading from cache
etc...
After Composer has finished downloading and unpacking all the dependencies, it will ask a couple of questions including sample demo, database settings, and mailer settings. Just accept the default answer by pushing Enter:
Creating the "app/config/parameters.yml" file
Some parameters are missing. Please provide them.
database_driver (pdo_mysql):
database_host (127.0.0.1):
database_port (null):
database_name (symfony):
database_user (root):
database_password (null):
mailer_transport (smtp):
mailer_host (127.0.0.1):
mailer_user (null):
mailer_password (null):
locale (en):
secret (ThisTokenIsNotSoSecretChangeIt):
debug_toolbar (true):
debug_redirects (false):
use_assetic_controller (true):
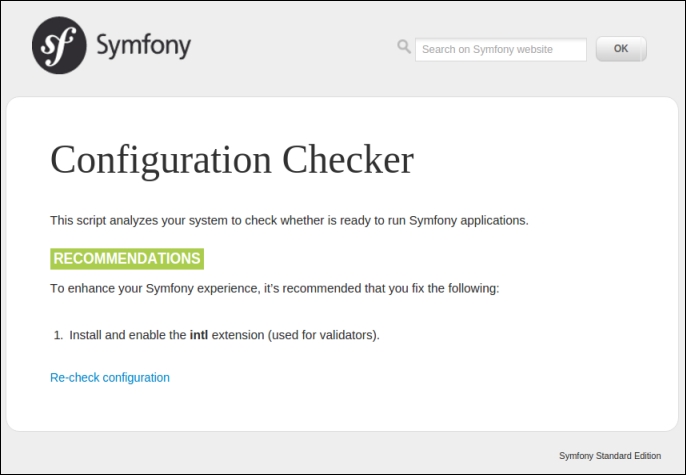
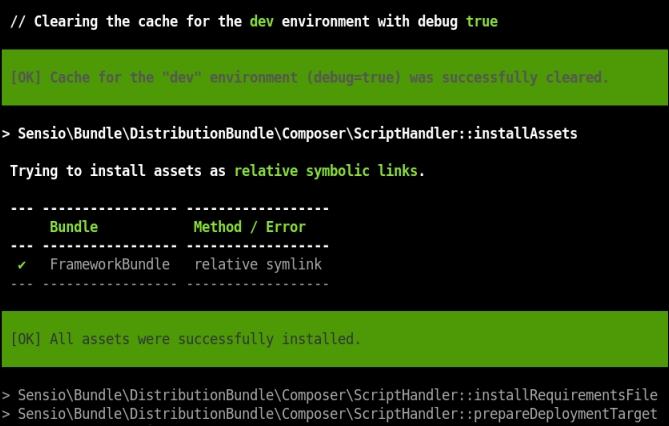
These settings will be saved in the app/config/parameters.yml file, and we always have a chance to change them later. If everything was okay, at the end, the cache will be cleared and the default assets will be installed as follows:
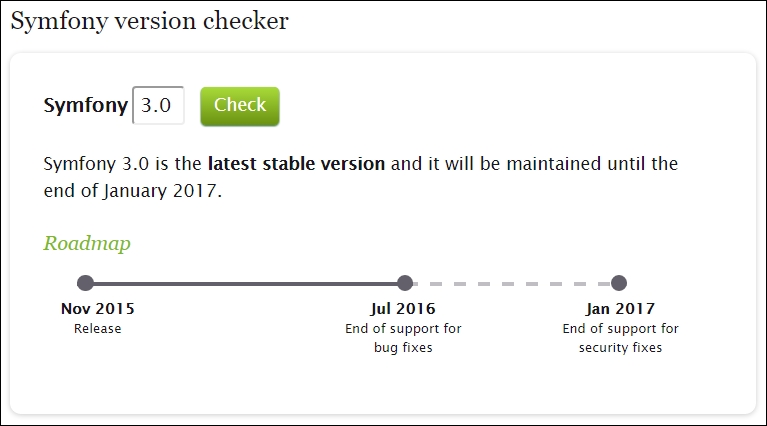
If you are concerned about how long your choice of the Symfony version is going to be supported, visit the http://symfony.com/roadmap page, scroll down, enter the version number, and push the Check button. You will see a detailed description about the support duration: