Book Image

Mastering Flask Web Development - Second Edition

By : Daniel Gaspar, Jack Stouffer
Book Image

Mastering Flask Web Development - Second Edition

By: Daniel Gaspar, Jack Stouffer

Overview of this book

Flask is a popular Python framework known for its lightweight and modular design. Mastering Flask Web Development will take you on a complete tour of the Flask environment and teach you how to build a production-ready application. You'll begin by learning about the installation of Flask and basic concepts such as MVC and accessing a database using an ORM. You will learn how to structure your application so that it can scale to any size with the help of Flask Blueprints. You'll then learn how to use Jinja2 templates with a high level of expertise. You will also learn how to develop with SQL or NoSQL databases, and how to develop REST APIs and JWT authentication. Next, you'll move on to build role-based access security and authentication using LDAP, OAuth, OpenID, and database. Also learn how to create asynchronous tasks that can scale to any load using Celery and RabbitMQ or Redis. You will also be introduced to a wide range of Flask extensions to leverage technologies such as cache, localization, and debugging. You will learn how to build your own Flask extensions, how to write tests, and how to get test coverage reports. Finally, you will learn how to deploy your application on Heroku and AWS using various technologies, such as Docker, CloudFormation, and Elastic Beanstalk, and will also learn how to develop Jenkins pipelines to build, test, and deploy applications.
Table of Contents (15 chapters)

Python package management with pip

In Python, programmers can download libraries from other programmers that extend the functionality of the standard Python library. As you already know from using Flask, a lot of Python's power comes from its large number of community-created libraries.

However, installing third-party libraries can be a huge pain to do correctly. Say that you want to install package X. Simple enough: download the ZIP file and run setup.py, right? Not quite. Package X relies on package Y, which in turn relies on Z and Q. None of this information was listed on package X's website, but these packages need to be installed for X to work at all. You then have to find all of the packages one by one and install them, and then hope that the packages you are installing don't require any extra packages themselves.

In order to automate this process, we use pip, the Python package manager.

Installing the Python package manager on Windows

If you are using Windows, and your previously installed version of Python is the current version, then you already have pip! If your Python installation is not the most recent version, then the easiest thing to do is to simply reinstall it. Download the Python Windows installer at https://www.python.org/downloads/.

In Windows, the variable that controls which programs are accessible from the command line is the path. To modify our path to include Python and pip, we have to add C:\Python27 and C:\Python27\Tools. Edit the Windows path by opening the Windows menu, right-clicking on Computer, and clicking on Properties. Under Advanced system settings, click Environment Variables.... Scroll down until you find Path, double-click on it, and add ;C:\Python27;C:\Python27\Tools to the end.

To make sure that you have modified your path correctly, close and reopen your Terminal and type the following into the command line:

pip --help

Pip should have printed its usage message, as shown in the following screenshot:

Installing pip Python package manager on macOS X and Linux

Some Python installations of Linux do not come with pip, and Mac OS X's installations doesn't come with pip by default. If you are using Python 2.7, then you may need to install pip, but pip is already included in Python 3.4, and in later versions. You can check this using the following:

$ python3 -m pip list

If you need to install it, download the get-pip.py file from https://bootstrap.pypa.io/get-pip.py.

Once you have downloaded it, run it with elevated privileges using the following code:

# Download and install pip
$ wget https://bootstrap.pypa.io/get-pip.py

$ sudo python get-pip.py

Once this has been entered, pip will be installed automatically.

Pip basics

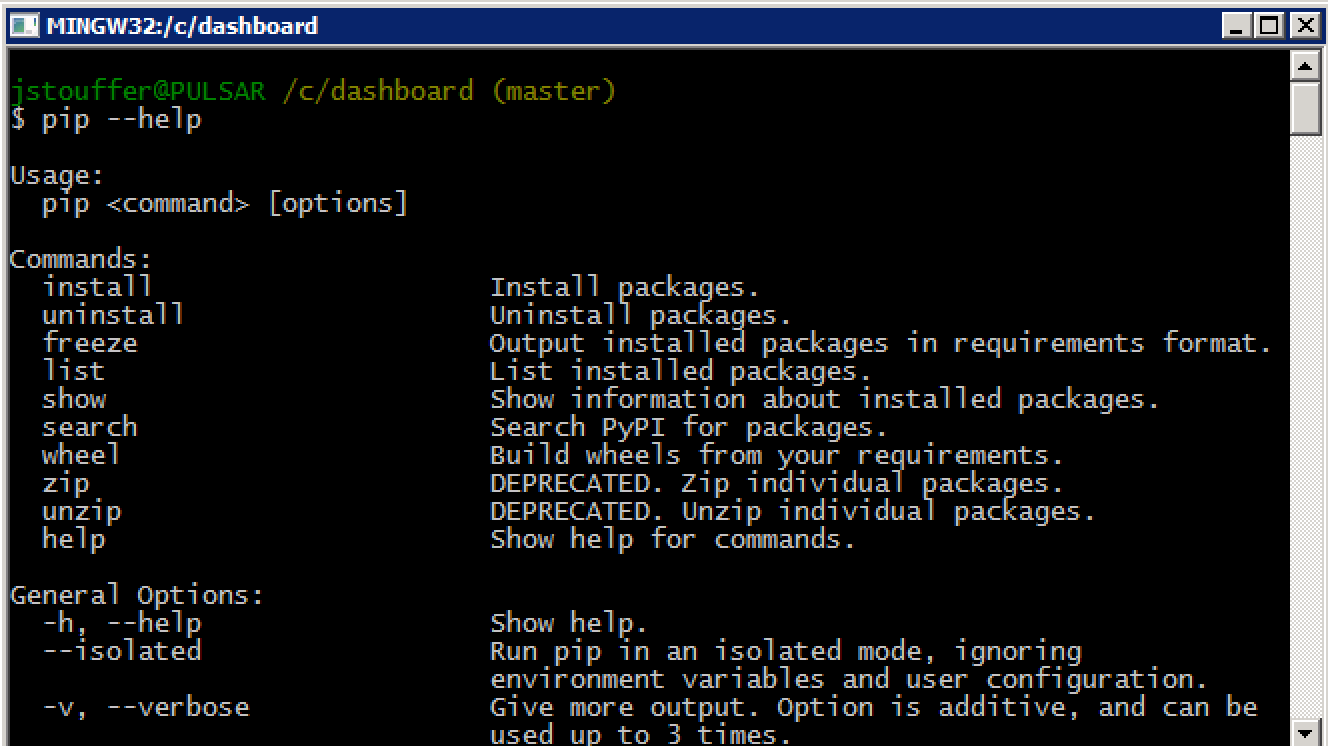
We are now going to learn the basic commands for using Python package manager. To install a package with pip, enter the following code:

$ pip install [package-name]

On Mac and Linux, because you are installing programs outside of the user-owned folders, you might have to prepend sudo to the install commands. To install Flask, simply run the following:

$ pip install flask

Once you have done this, all of the requirements that you need for using Flask will be installed for you.

If you want to remove a package that you are no longer using, run the following:

$ pip uninstall [package-name]

If you wish to explore or find a package, but don't know its exact name, you can use the search command:

$ pip search [search-term]

Now that we have a couple of packages installed, it is common courtesy in the Python community to create a list of packages that are required to run the project so that others can quickly install every necessary package. This also has the added benefit that any new member of your project will be able to run your code quickly.

This list can be created with pip by running the following command:

$ pip freeze > requirements.txt

What exactly did this command do? The pip freeze command automatically prints out a list of the installed packages and their versions. For our example, it prints the following:

click==6.7
Flask==0.12.4
itsdangerous==0.24
Jinja2==2.10
MarkupSafe==1.0
Werkzeug==0.14.1

The > operator tells Bash to take everything printed by the last command and write it to this file. If you look in your project directory, you can see a new file named requirements.txt that contains the output of pip freeze.

To install all the packages from this file, a new project maintainer would have to run this, as shown in the following code. Normally, this will also be used to deploy the production environment of your project:

$ pip install -r requirements.txt

The preceding code tells pip to read all the packages listed in requirements.txt and install them.