
Creating a New Application
Now that we have installed and configured Angular CLI, we will start by generating a new application.
Running the ng new command will do the following:
- Create a folder called
angular-social. - Create a new application inside this folder.
- Add a routing module (because of the
--routingflag). - Run
npm installinside this folder to install the dependencies. - Run
git initto initialize a new Git repository.
The following is the folder structure of an Angular CLI app:
src: This folder contains the source files for the application.src/app/: This folder contains the application files.src/assets/: This folder contains the static assets we can use in the application (such as images).src/environments/: This folder contains the definition of the default environments of the application.e2e: This folder contains the end-to-end tests for the application.
Exercise 2: Creating a New Application
In this exercise, we will create a new application. Follow these steps to complete this exercise:
- Open the terminal and navigate to the workspace directory where you want to work on the application:
cd dev
- Inside the workspace directory, invoke the
ngcommand, as follows:ng new angular-social
- Answer
Yto the question about generating a routing module. - For the stylesheet format, we will select CSS.
The application will be generated using these options in the
angular-socialdirectory, as shown in the following screenshot:
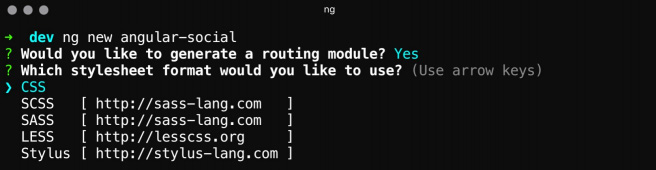
Figure 1.2: Creating a new application
Exercise 3: Starting the Development Server
In this exercise, we will start the development server. Follow these steps to complete this exercise:
- Open the terminal and enter the working directory:
cd angular-social
- Use
ng serveto start the development server:cd angular-social ng serve
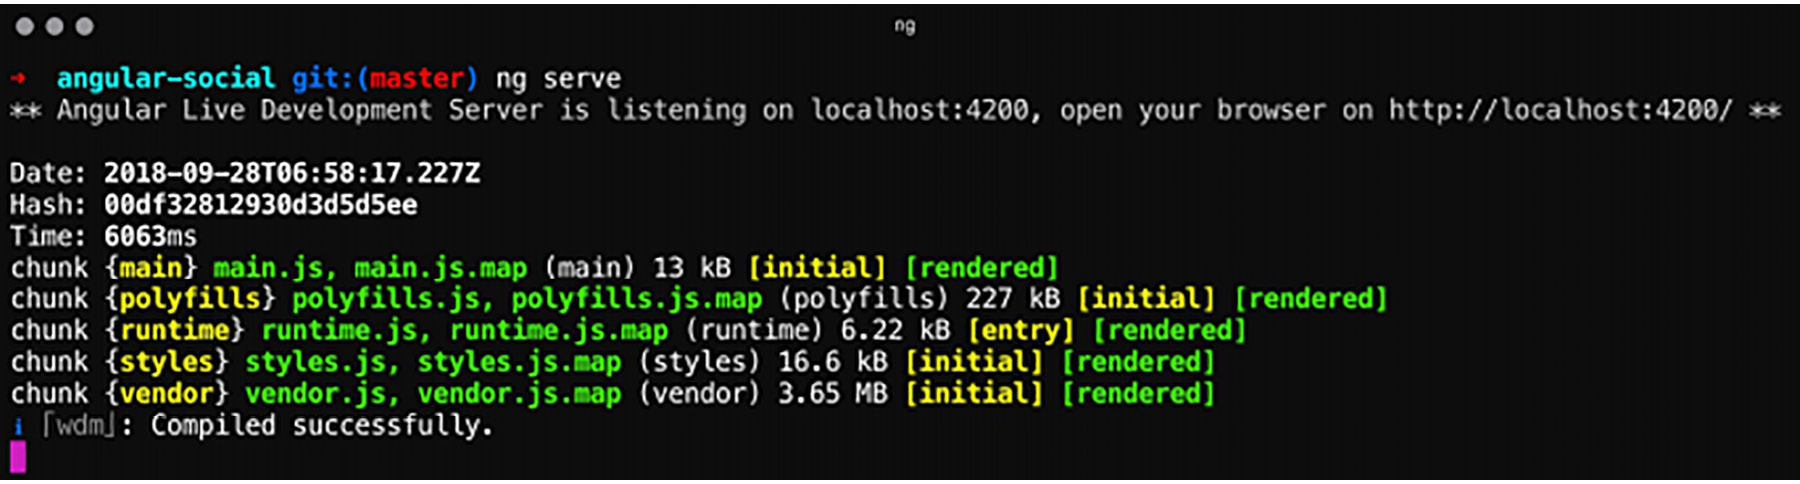
Figure 1.3: Serving the application
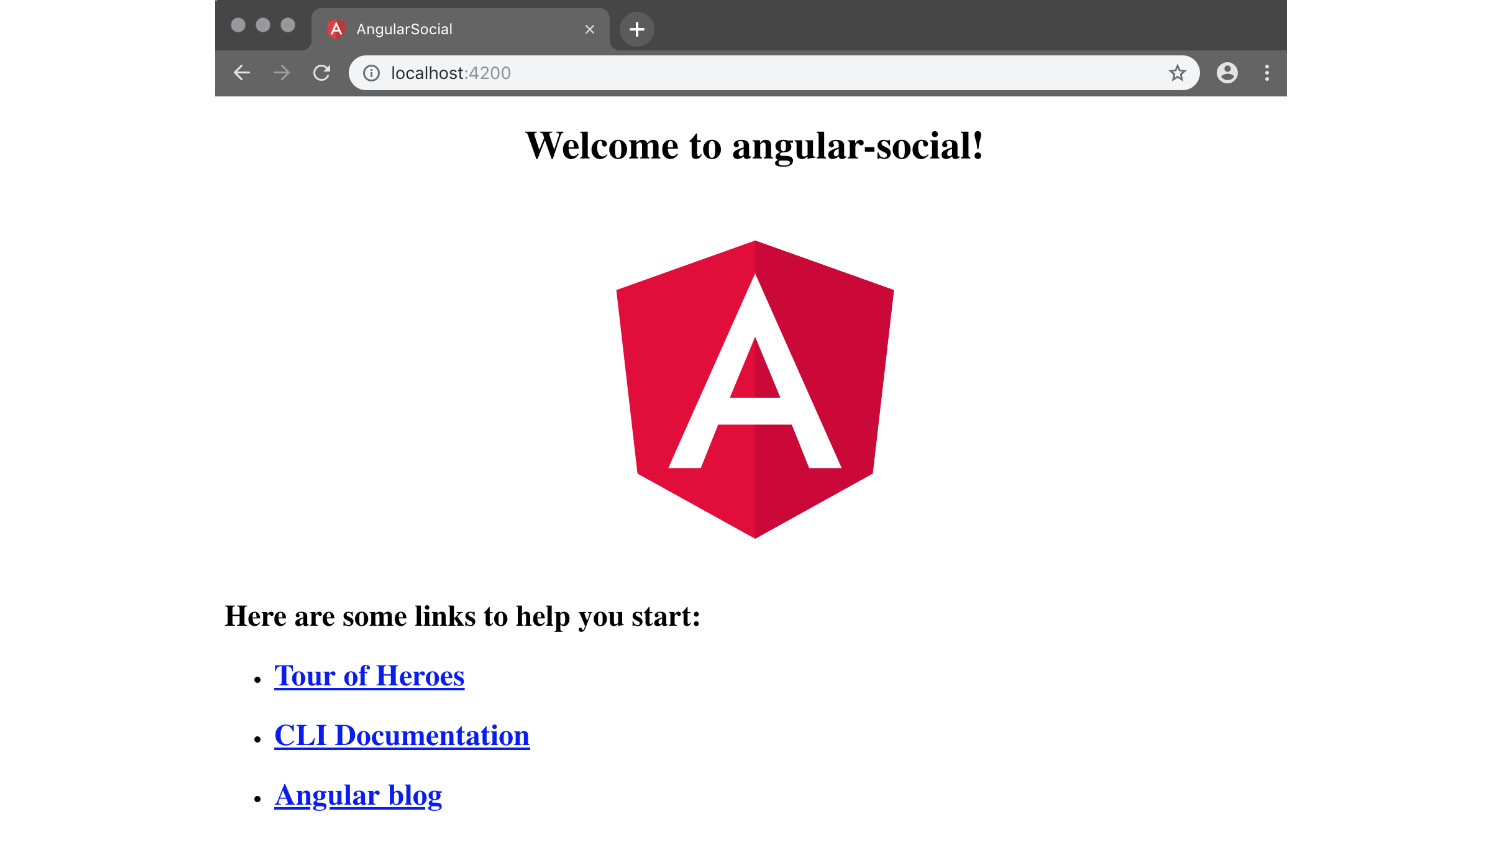
Exercise 4: Browsing to the Application
In this exercise, we will navigate to the default page of our application. Follow these steps to complete this exercise:
- Open your browser and navigate to
http://localhost:4200/. - You should be greeted with a default page that says Welcome to angular-social!: