

Configuring Global Styles
The default generated Angular application does not have any styling. Angular does not dictate anything in terms of style. This means that in your own projects you can use any CSS framework like Bootstrap, Angular Material, Foundation, Semantic UI, or one of the many others.
Alternatively, it's possible to create a custom style from scratch to get a unique look and feel. For this book, though, we will stick to Bootstrap 4 and Font Awesome, as they are widely used and provide a decent style with a minimal amount of code.
Font Awesome is a so-called icon font. You can include it in your page and then use it to show icons by applying some classes to an empty <i class=""></i> tag.
Linking to the Stylesheets in the Global styles.css File
As mentioned in the previous section, the application has a global stylesheet named src/styles.css.
In this stylesheet, we will use the @import command to link to Bootstrap and Font Awesome. This will instruct Angular to download those files and apply the style to the application globally.
Note
For a list of all available icons, you can refer to the Font Awesome icon list at https://fontawesome.com/v4.7.0/icons/. For an overview of all available Bootstrap styles, you can refer to the Bootstrap 4 documentation at https://getbootstrap.com/docs/4.1/getting-started/introduction/. To easily apply a different theme to the app, you can switch out Bootstrap with one of the BootSwatch themes at https://www.bootstrapcdn.com/bootswatch/.
Exercise 5: Installing Bootstrap and Font Awesome
In this exercise, we will add Bootstrap and Font Awesome to the global stylesheet. Follow these steps to complete this exercise:
- Navigate to https://www.bootstrapcdn.com/.
- From the main page, find the Quick Start block and copy the link that says Complete CSS.
- Open the
src/styles.cssfile in the editor. - Add the following line at the end of the file:
@import url(''); - Paste the link you copied in step 2 inside the quotes of the
url( )function. - Navigate to the Font Awesome page on BootstrapCDN.
- Copy the link to the CSS file.
- Add the following line at the end of the file:
@import url(''); - Paste the link to Font Awesome CSS inside the quotes of the
url( )function:
Figure 1.5: Import URLs
- Refresh the app in the browser:

Figure 1.6: Applying a different font to the application
As you can see, the font of the application got updated to a sans serif font, as that's the Bootstrap default.
Exercise 6: Using Bootstrap CSS and Font Awesome
In this exercise, we will update the template of AppComponent to show that Font Awesome works. Follow these steps to complete this exercise:
- Open the
src/app.component.htmlfile and replace its content with the following:<h1 class="text-center mt-5"> <i class="fa fa-thumbs-up"></i> </h1>
- When the app refreshes, you should see the thumbs up icon in the center of the page:
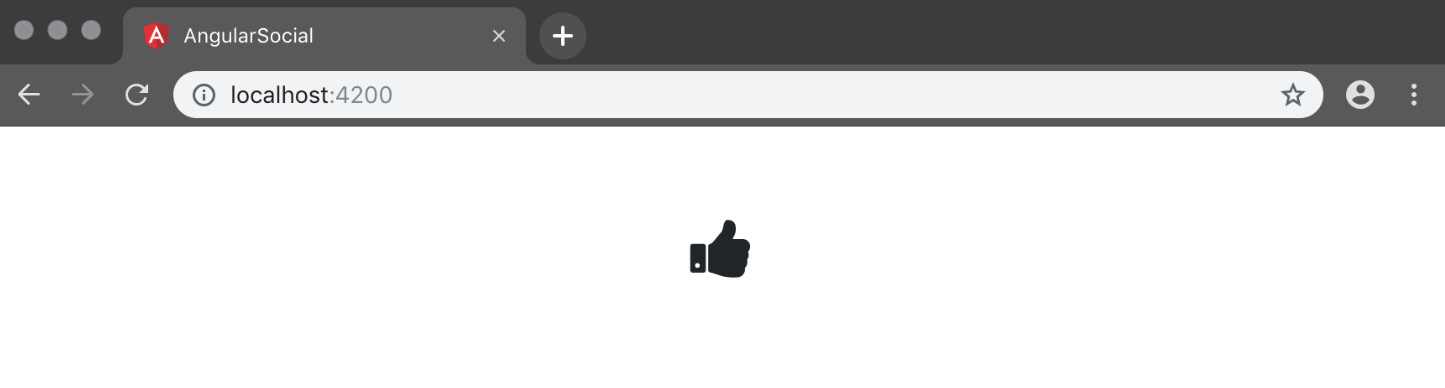
Figure 1.7: The thumbs up icon
Activity 1: Using a BootSwatch Theme
We can change the default Bootstrap theme with a different one. The BootSwatch Themes project (https://www.bootstrapcdn.com/bootswatch/) provides a lot of colorful themes that are a drop-in replacement for Bootstrap. This means that all of the Bootstrap CSS selectors will work — they just look different! In this activity, we will use a different theme for our app.
The steps are as follows:
- Navigate to BootSwatch Themes (https://www.bootstrapcdn.com/bootswatch/) on BootstrapCDN.
- Select one of the themes and copy the link to the CSS.
- Update the link to Bootstrap CSS in
src/styles.css. - Refresh the app in the browser and verify that the theme has been updated.
Note
The solution for this activity can be found on page 108.
Activity 2: Using Different Font Awesome Icons
Font Awesome comes with a large amount of icons that you can use once you've included the file. In this activity, we will use a different icon than the thumbs-up icon we have used already.
The steps are as follows:
- Open the
src/app/app.component.htmlfile. - Navigate to the Font Awesome icon list at https://fontawesome.com/v4.7.0/icons/.
- Replace the value of
fa-thumbs-upwith another icon. Note that you always need thefaclass. - Refresh the app in the browser and verify that the browser now shows your new icon.
Note
The solution for this activity can be found on page 109.