

Creating your repository
There are a number of different ways to create your repository. We'll cover creating a repository on GitHub and cloning it to your disk, as this is the most common way.
Creating your repository on GitHub first
Your first step is to register with GitHub. Go to http://github.com and click Sign Up. Fill in your username (it will tell you if the name is taken) and your email and it may ask you to verify that you are a human. Assuming you are, click Create Account.
Fill out their micro-survey and click Create Account. You will be asked to verify your email, and once you do, you'll see the (one-time) opening page asking what you want to do first. Choose Create a repository:
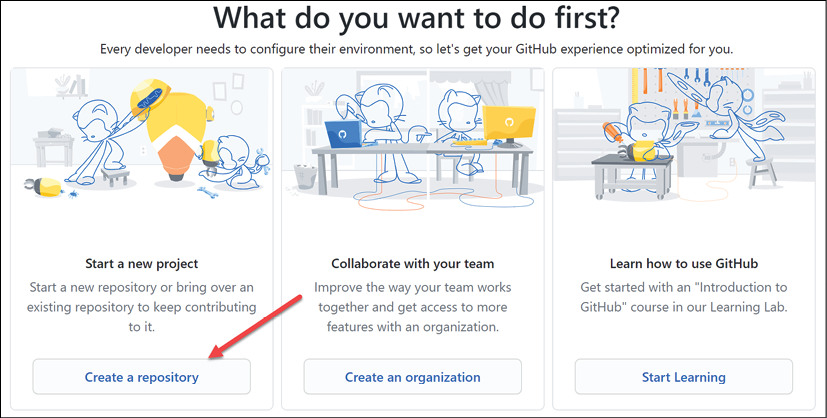
Figure 2.1: Getting started with GitHub
If you already have an account, sign in and press New Repository. You may not find this at first glance, in which case click the big plus sign in the corner.
Either way, you will be brought to the Create A New Repository page. The first job is to give your new repository a name. I'll use ProGitForProgrammers. Feel free to use any name you want as long as GitHub doesn't complain that the name is taken.
Now it is time to fill in the form:
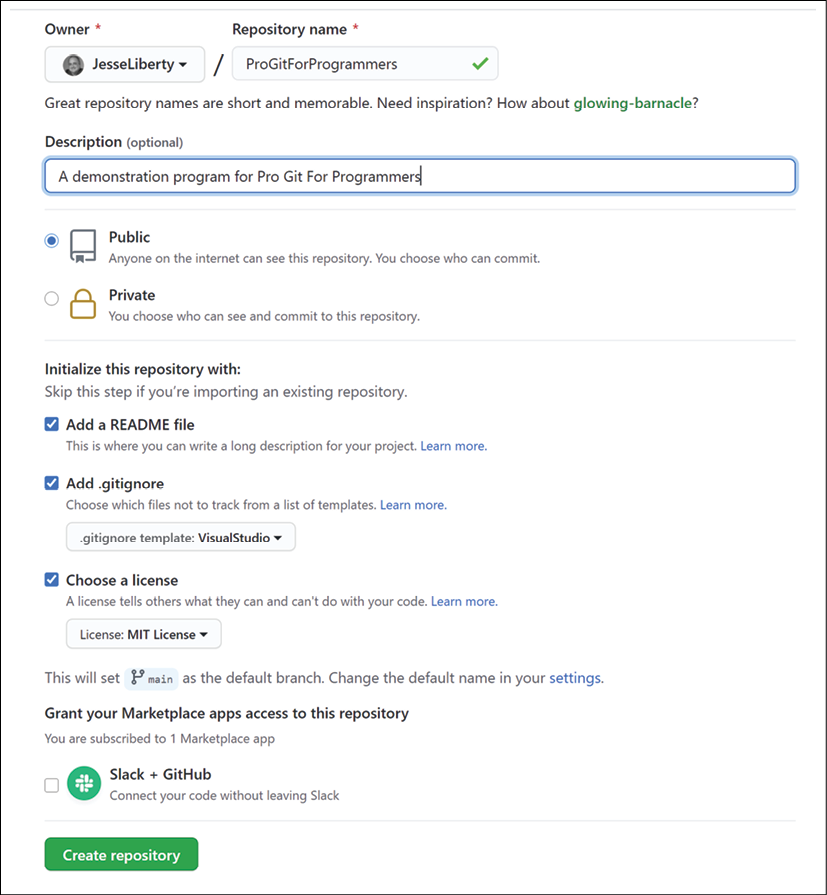
Figure 2.2: Creating the repository
Start by entering a short description of your project. Next, and very importantly, choose whether you want this repository to be public (anyone can see it) or private (only people you invite can see it).
I strongly recommend checking Add a README file. This will be what is shown to users when they come to your repository. You can fix the file up later using Markdown.
Be sure to add a .gitignore file. This tells Git which files to ignore when checking your files into the repository. This can be very important so that you don't overwrite another programmer's metadata files. Click the dropdown and admire how many languages are supported; for C# I recommend you search for and choose Visual Studio.
If your repository is public, be certain to choose a license for the code. I chose the MIT License. You can learn more about this license at https://opensource.org/licenses/MIT.
That's it! You are ready to click Create repository. When you do, you'll be brought to the home page for your new GitHub repository:
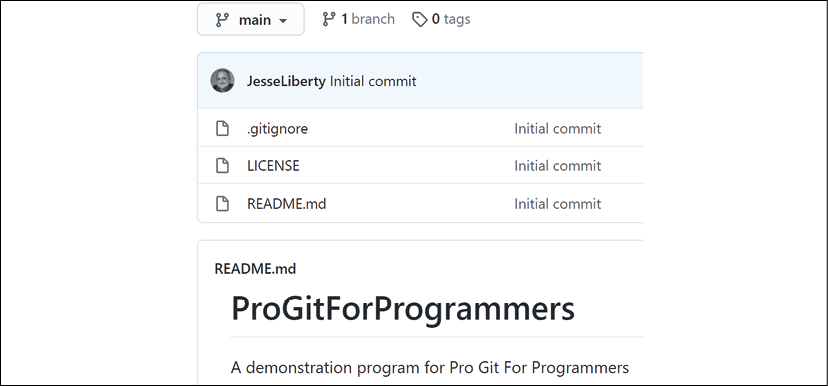
Figure 2.3: Initial view of your repository
Notice that you have the three files you asked for, and that you can see a preview of the README as well as the description you entered.
Right now, this repository exists only on the server. You want to put a copy on your disk so that you can add code and use commands to keep them in sync. Therefore you will "clone" the repository; that is, you'll make an exact copy of the remote repository in your local repository.
How you will do this will depend on whether you are using the command line, Visual Studio, or a GUI.
Cloning to your computer – command line
Cloning to your local repository is easy. Open your terminal (or PowerShell) and change the directory to where you want the repository to go (in my case GitHub/the command line).
Switch back to your GitHub repo on GitHub.com, and see the green button in the upper right-hand corner marked Code. Click that button and a small dialog box will open. Choose HTTPS unless you know you have SSH (as I do). In either case, click on the clipboard icon to copy the address:
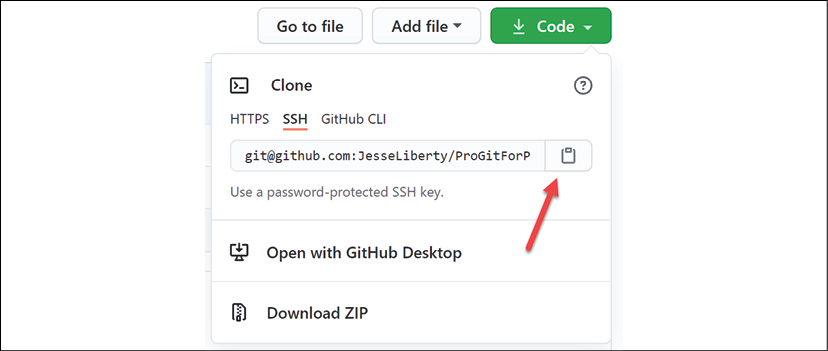
Figure 2.4: Copying the address of the repo
Return to the command line, enter git clone, and then paste in the address:
git clone [email protected]:JesseLiberty/ProGitForProgrammers.git
You should see something like this:
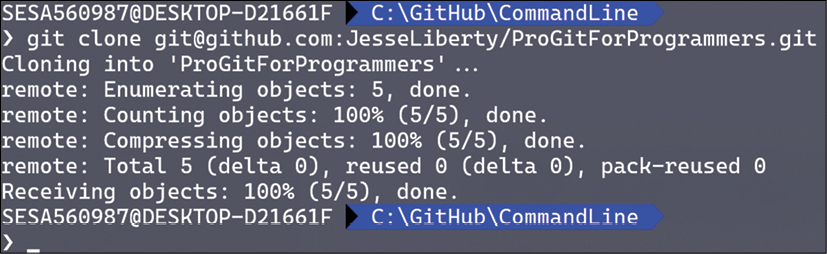
Figure 2.5: Cloning at the command line
Change the directory to ProGitForProgrammers and you'll see that the three files that were on the server are now here as well:

Figure 2.6: Files in the directory
Now let's take a look at how to do this in Visual Studio.
Cloning to your computer – visual studio
Go to your directory (in my case GitHub) and make a directory called VisualStudio.
Open Visual Studio with no project. Select File | Clone Repository. Fill in the fields and click Clone:
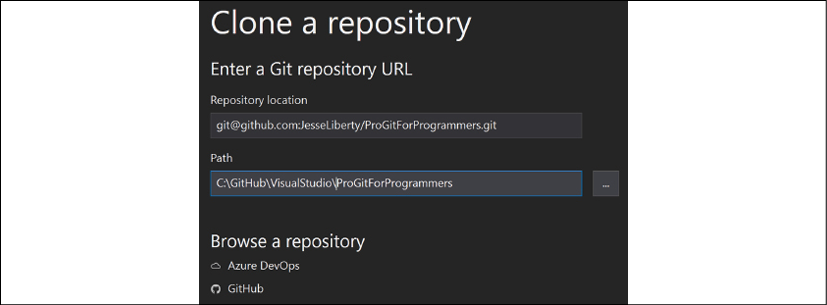
Figure 2.7: Cloning to your local repository using Visual Studio
A few seconds later you will see the three files, now shown in the Solution Explorer:
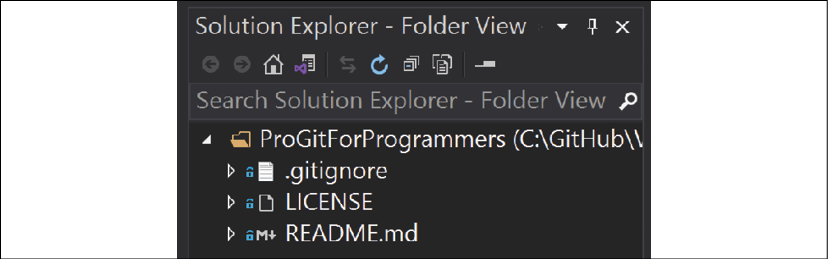
Figure 2.8: Cloned files in Visual Studio
There are a number of ways to clone from a GitHub repository to your own. One way is to use a dedicated GUI tool such as GitHub Desktop.
Cloning to your computer – GitHub for Desktop
Once again, return to your root directory (GitHub) and make a new directory. This time call it GitHubDesktop.
Now, return to GitHub and click Code:
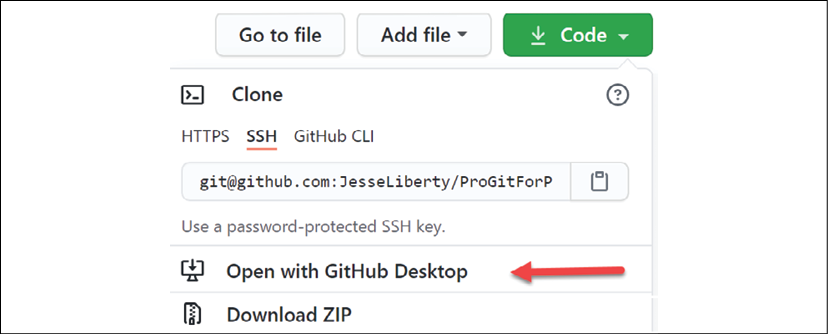
Figure 2.9: Cloning directly through GitHub Desktop
Notice that one of the choices is Open with GitHub Desktop. Click on that. A dialog will open. The only field you need to fill in is the local path. Click Clone:
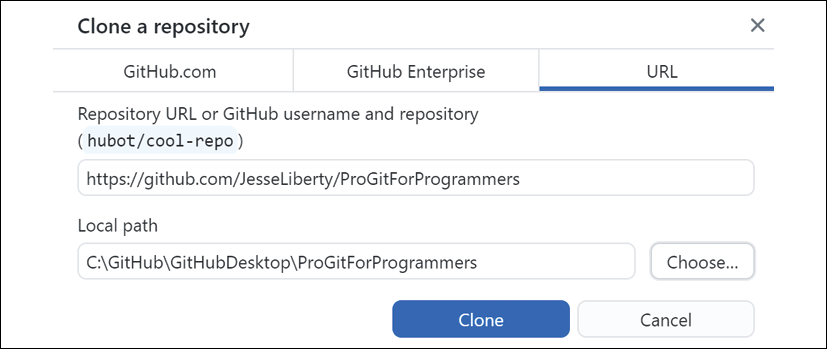
Figure 2.10: Cloning to GitHub Desktop using HTTP
Notice that GitHub Desktop wants the https URL for your repository.
You now have three copies of your original repository, each in its own directory: CommandLine, VisualStudio, and GitHubDesktop. These might represent three programmers working on the same solution, or various ways for one programmer to choose to clone their project.
Creating a project
We need a project. Using Visual Studio (or your favorite editor) create a project called ProGitForProgrammers in the CommandLine directory. When you are done, you should have the three original files and a folder for your program. In that folder will be the .sln file as well as a folder for the code.
Open the command line and navigate to the same directory. When you get there your command line should look something like this:

Figure 2.11: The command-line prompt
Look at the yellow, where you see +1 ~0 -0. The +1 means you've added a file or a directory; the ~0 indicates that no files have been modified; the -0 indicates that no files have been deleted. Let's see what was added. Enter:
git status
You should see something like this:
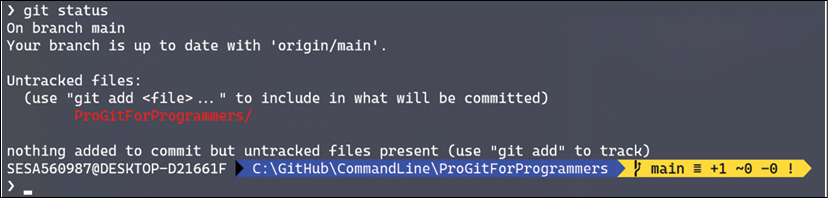
Figure 2.12: Untracked files
Git is telling you that you are on the branch main (the only branch for now) and that you have "untracked files" – that is, files that are in the directory but that are not being tracked by Git. If they are untracked, Git can't store them; in fact, Git knows nothing about them. Let's fix that. Enter these commands:
git add ProGitForProgrammers/
git commit -m "First commit – from command line"
add tells Git that this is a file it should pay attention to and commit brings it into the local repository.
Every commit must have a message, and if you don't provide one, you'll be prompted by Git to add one. Here I've added it by using the -m flag.
Once again, all this is happening locally and so GitHub doesn't know about it. We can fix that by pushing our commit up to the server:
git push
Now if you go to GitHub and refresh the page your project will be there. You can click your way down through the folders, and even into Program.cs, to see the code:
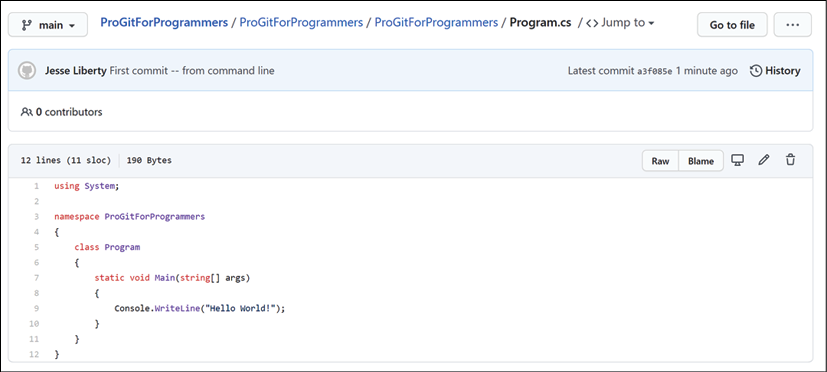
Figure 2.13: Viewing your code on GitHub
Notice in the upper left that it tells you that you are on the main branch. Next to that is the path to get to Program.cs. Below that is the message you added, and then the file itself.