

In this section, we will configure the Azure AD Join functionality and join our first Windows 10 client to Azure AD.
We configure a maximum of five devices per user and leave the other default values:
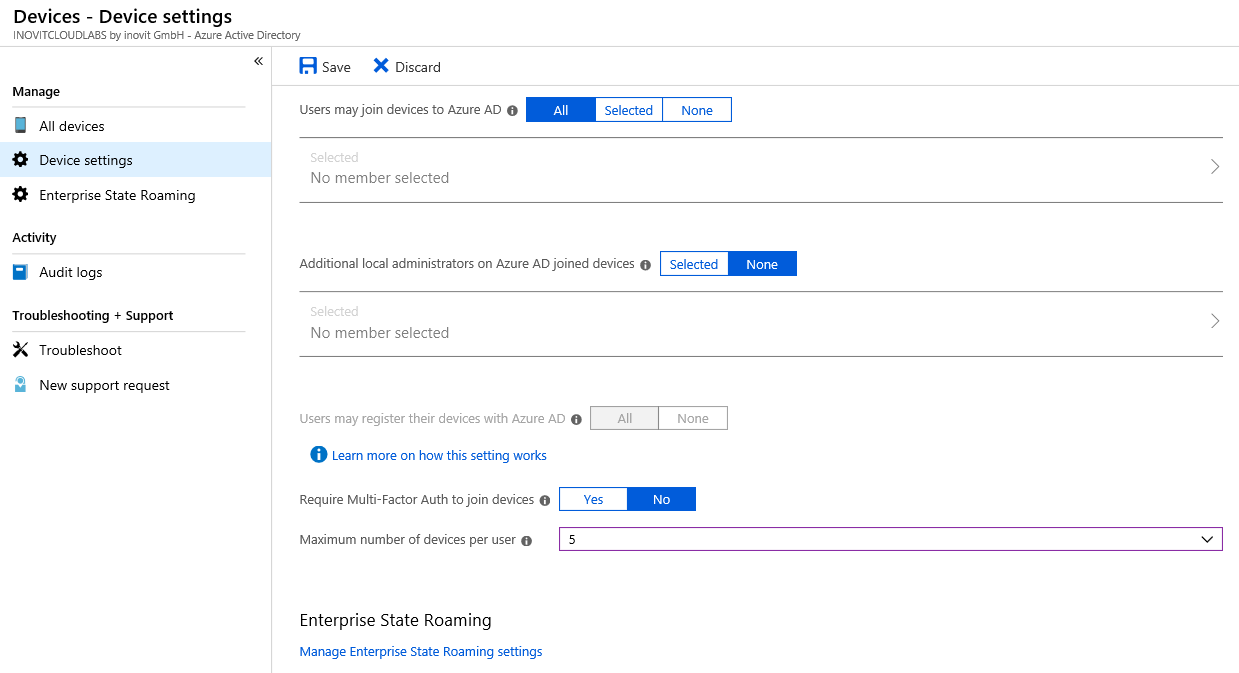
Azure AD - Device settings
In the next section, we will join our client to Azure AD.
Log in to your freshly installed Windows 10 client machine and go to Settings. Choose Connect in the Access work or school section:
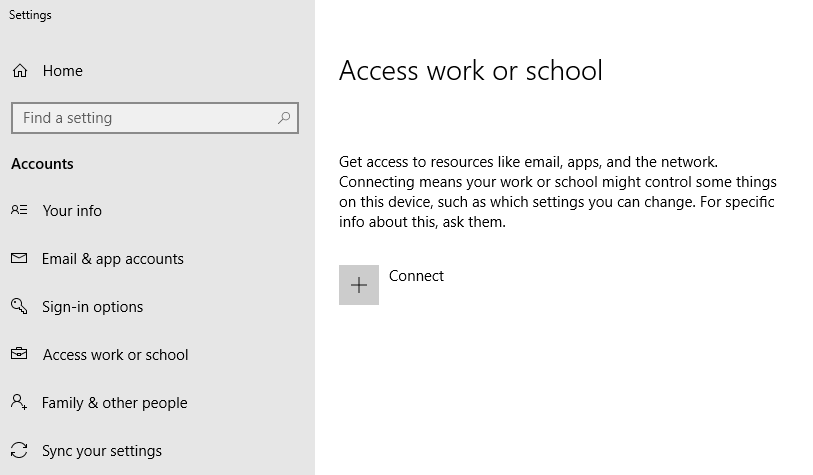
Azure AD Join process dialog
We sign in with [email protected] and join the Windows 10 client to Azure AD:
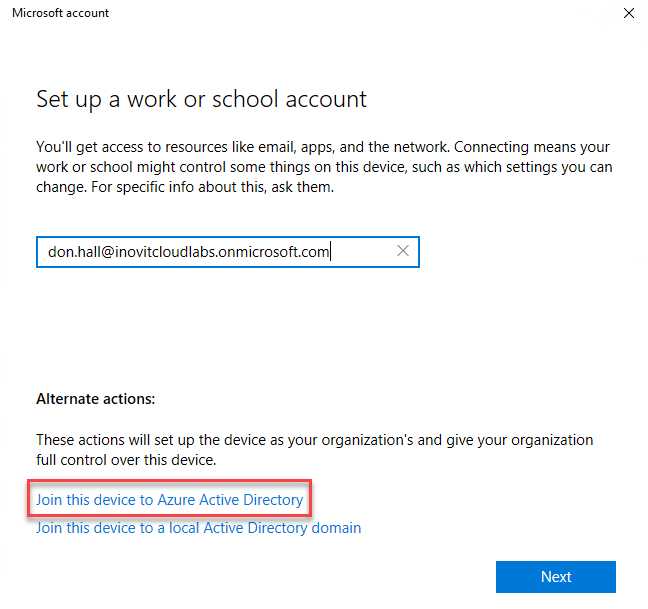
Join actions overview
Click through the Next sections and finish joining the client. Afterwards, we will check the new status. The expected result will be the connection to your Azure AD name:

Azure AD joined client message
Afterward, we will verify the Azure AD Join process.
Log in to the Windows 10 client with the credentials of [email protected] and click through the security policy configuration. Click Enforce these policies. Click through the PIN setup and finish the process, then test the user experience:
- Open the mail application, and you will see that the system recognizes your user ID and
Single Sign-Onis provided. - Also, if you open https://myapps.microsoft.com, you will be directly logged in to the access panel UI:
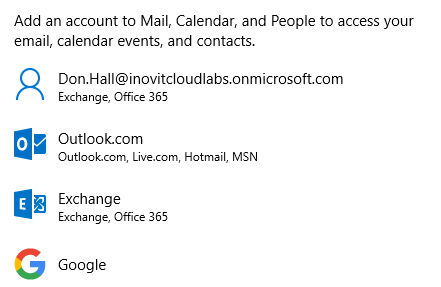
Different mail account options
After verifying the Azure AD Join, we will configure a custom domain. Be aware that you need to register a domain if you want to test the associated functionality.