

Many Java developers find that Maven provides superior build and project management tools that IDEs do not offer. The NetBeans IDE therefore offers the ability to create and manage Maven projects directly from within the IDE, thus offering the best combination of tools. This recipe shows how to create a Maven project from within the NetBeans IDE.
To get started, ensure that one of the Java bundles of NetBeans (Java SE, Java EE, or the All bundle) is running. You do not have to have any projects created to start this recipe.
Click on File and then click on New Project....
On the resultant dialog, select the Maven category and the Project from Archetype project, as shown in the following screenshot:

Click on Next.
In the Search field, enter
maven-archetype-quickstartand then select it in the Known Archetypes field, as shown in the following screenshot: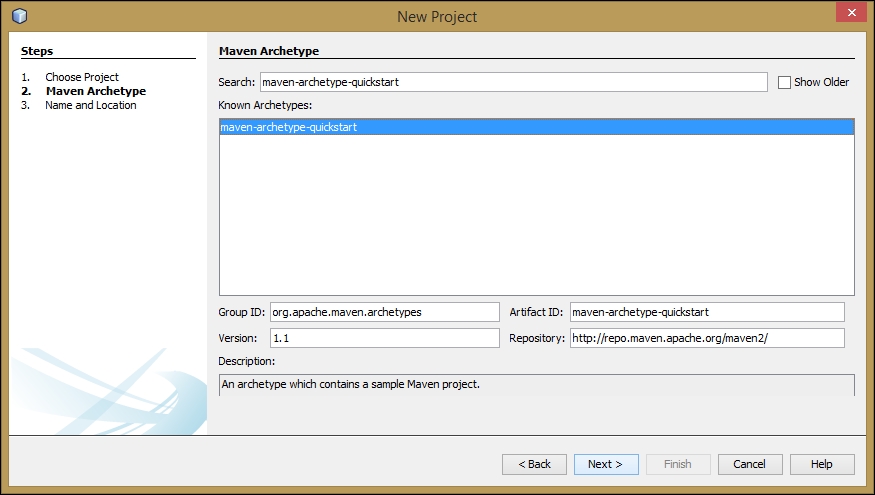
On the resultant dialog, enter a project name, group ID, version, and package, as shown in the following screenshot:
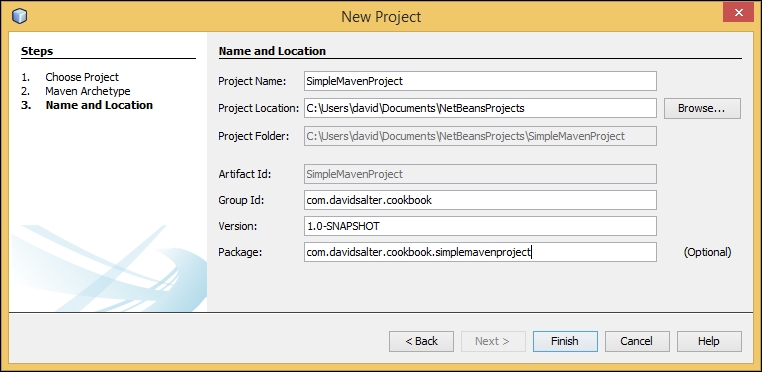
Click on the Finish button to create the project.
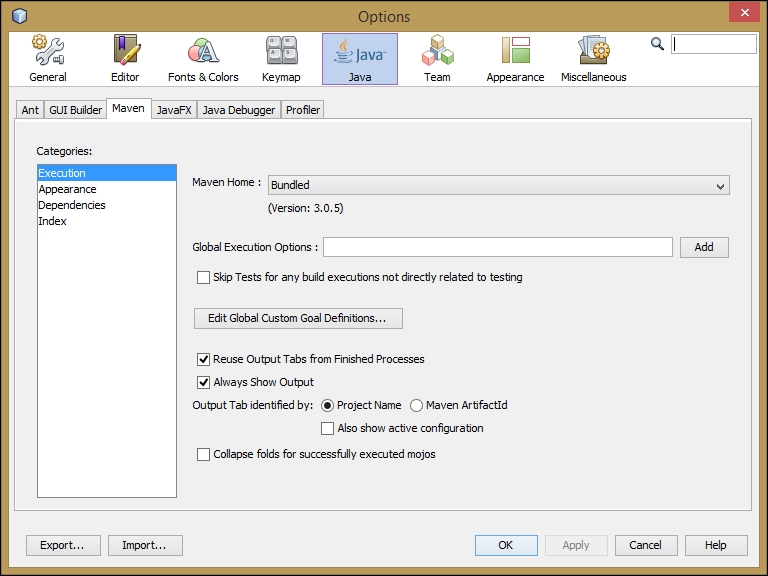
NetBeans comes bundled with a copy of Maven that is used to create and manage projects. The current version of Maven bundled with NetBeans 8 is version 3.0.5. This version number can be checked by navigating to Tools | Options from the NetBeans main menu. (On the Mac, this screen is accessed by navigating to NetBeans | Preferences.) On the resulting dialog (shown in the following screenshot), click on Java and then select the Maven tab to see the version of Maven bundled with NetBeans:
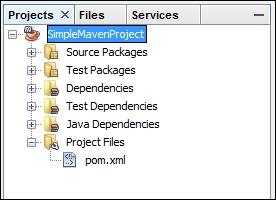
As when creating a Java project using the New Project wizard, when a Maven project has been created, it is automatically opened within the Projects explorer. The list of nodes available within the project, however, depends upon the type of Maven project created. For most Maven project types (in Maven terms, these are called archetypes), the Source Packages, Test Packages, Dependencies, Test Dependencies, Java Dependencies, and Project Files nodes will be created as shown in the following screenshot:
Within the Project Files node, we have the pom.xml file that was created by the New Project wizard. The pom.xml file can be opened by double-clicking on it within the project hierarchy, or by right-clicking on the project and selecting the Open POM menu option. In addition to editing, the NetBeans pom.xml editor windows allow us to display a graph of all the artefacts used by the Maven project. This can be very useful when trying to identify what dependencies exist within a project. NetBeans also provides an Effective tab on the pom.xml editor. This window shows the inherited information and provides a complete view of what the pom.xml file looks like, including listing any plugins used by Maven.
If we look in the Output window after the project has been created, we can see that the bundled copy of Maven has been used to create a Maven project.
Maven uses a set of executable goals to manage the lifecycle of a project. These goals can be chained to each other to perform a set of project management tasks.
For example, the install goal is typically used to build a project, whereas the clean goal is typically used to clean a project. If a developer wanted to clean and then build a project, he/she would typically execute these goals sequentially on the command line by running the Maven clean install goals together.
The command line is not so user friendly, so fortunately NetBeans allows us to manage these goals in a much nicer fashion. Right-click on a Maven project within the Projects explorer and select Properties. On the resultant dialog, select the Actions node to see and edit the Maven goals that are executed for different NetBeans actions (Build project, Clean project, Test project, and so on), as shown in the following screenshot:
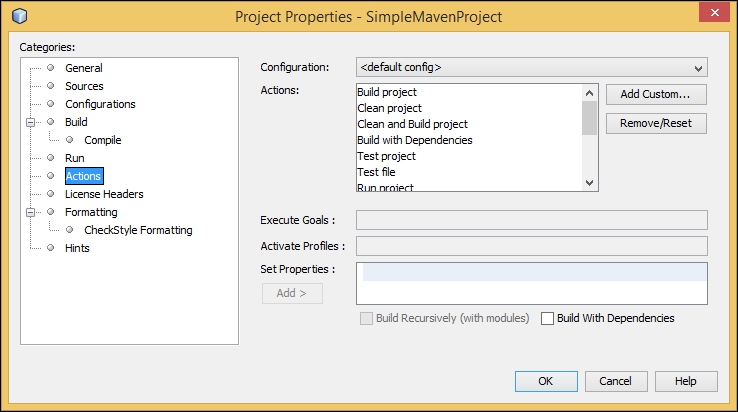
These goals are mapped to the standard NetBeans IDE project build options. So, for example, right-clicking on a project and selecting Build will execute the Maven install goal.
For the most common project-related tasks (build, clean, test, and so on), developers can therefore use the standard NetBeans button and keyboard shortcuts.
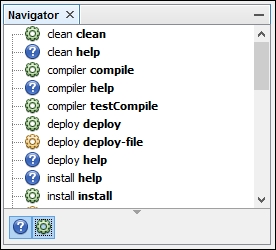
Within the Navigator explorer, a list of commonly used goals is displayed. Double-clicking on any of these goals will execute it against the current project. Toggling Show help goals and Show lifecycle bound goals determines the set of goals that are shown in the Navigator explorer:
Sometimes, when using Maven, a developer will want to run additional goals outside the normal build/test/deploy goals. These would include, for example, running code analysis against a project. NetBeans allows both global and custom goals to be defined, which can easily be executed against a project.
To define a global goal, select Tools and then select the Options menu item. On the Options dialog box, select Java and then select the Maven tab. On the resultant dialog, click on the Edit Global Custom Goal Definitions... button.
On the Global Maven Goal definitions dialog, actions can be added and removed. For each action, a specific Maven goal (or goals) can be defined.
To execute any of these global goals against a project, right-click on the project in the Projects explorer and select the Custom menu option. All of the global goals that have been defined will be available here for execution against the project.
Custom goals can be defined on a per project basis. To define custom goals, right-click on the project and select Custom and then select the Goals... menu option. Custom goals can be stored within a project by selecting the Remember as checkbox. Unlike global goals, custom goals are stored within a project and are therefore distributed with the project when it is supplied to other people.
If you wish to use a different version of Maven than the one bundled with NetBeans, you can select the version to use from the Maven properties. You may wish to use a different version of Maven if you already have a different version of Maven installed outside of NetBeans, or you have a local copy of Maven that is differently configured especially for your environment.
Select Tools and then select the Options menu item from the main NetBeans menu. On the Options dialog, select Java and then click on the Maven tab. Under the Maven Home drop-down list, select the Browse... option and choose the installation of Maven that you wish to use.