

We are going to install a HornetQ, non-clustered standalone server by carrying out the following steps:
Installing JDK from http://www.Java.net/. In a production environment, only JRE is needed, but we will use the JDK for compiling our example code.
Download HornetQ binaries as an archive from http://www.jboss.org/hornetq.
Unzip the archive.
Go to the
binfolder of the unzipped archive.Launch a script.
For our example, we will download the binaries directly so we have a HornetQ standalone server that can be launched directly from the command-line prompt. It is also possible to download the source code in an anonymous way and compile it from various sources. We will cover that possibility in Chapter 2, Setting Up HornetQ, as it is required for Maven to be configured and installed on the system. As HornetQ is based on Java code that is, with some minor changes, portable from Windows OS to Linux systems, you can download the same binary on a Linux platform and run the standalone version by using a simple bash script.
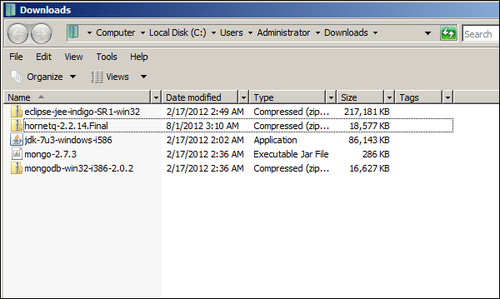
After downloading all the software from the previous list into a folder, you should have all the files displayed as shown in the following screenshot:
First of all, we need to install the JDK by double-clicking on the .exe application, and once finished, open a command prompt and enter the command Java –version. The output should be similar to the one in the following screenshot:

Now, we are ready to install the
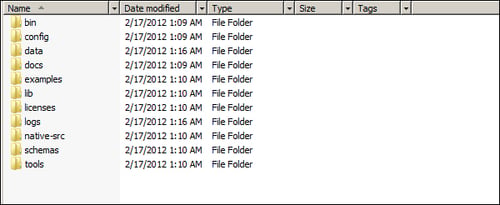
HornetQ standalone server by simply unzipping the HornetQ2.2.5.final.zip to the C:\ and renaming it to hornetq. You can unzip it wherever you want, so to avoid any path-related issue from now on, we will refer to HORNETQ_ROOT as the location containing the unzipped folder. In our case, HORNETQ_ROOT will refer to c:\hornetq as shown in the following screenshot:
Now, we are ready to start the HornetQ standalone server by entering the HORNETQ_ROOT\bin folder and double-clicking on the run.bat file. This should open a command prompt that, after some logging messages, will show a last line saying HornetQ server started as shown in the following screenshot:
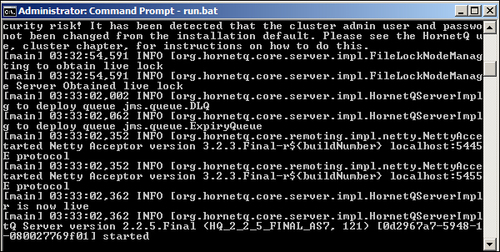
So there you are. You now have a full, HornetQ standalone server running on your machine, waiting to dispatch your messages.