Following our fictional
scenario, we now need to code the production and consumption of the message containing the ECG measurements that came from the patient's ECG device. Our first example will be done in a single Java class, but considering that most of the time you have two different softwares that write/read on HornetQ, a more realistic example will have two classes; one that writes messages to the queue and one that reads those messages from the queue. HornetQ implements the JMS specification, so we will use JMS messages for this example; in the next chapter, we will describe other ways to implement the messages. We will now describe the methods of the Java class that reflect the flow of the messages in our example. The next coding steps involve the implementation of these methods. We named
our class ECGMessageProducerConsumerExample.java; once created, we will call the following methods:
getInitialContext: This method will initialize the properties that will identify the HornetQ server and queueconnectAndCreateSession: This method is used for creating a shared connection and session from both the producer of the message and the consumer of the messageproduceMessage: A JMS message will be produced in this method and put on the queueconsumeMessage: This method will read the message just stored, and by connecting to MongoDB, store it in the databasecloseConnection: In the end, this method does a clean closing of the resources used
Before entering the coding phase, we need to set up Eclipse to be able to deal with all the HornetQ API that are needed from ECGMessageProducerConsumerExample.java, to talk to the server.
So after firing up Eclipse, follow these steps to create the project for our class:
Select File | New | Java Project so that a new window appears asking for the project name, which is
chapter01, and then click on Finish.Right-click on the project name and choose the Properties item.
Once the Properties window is shown, choose Java Build path | Libraries, and click on the Add external jars button.
Go to the
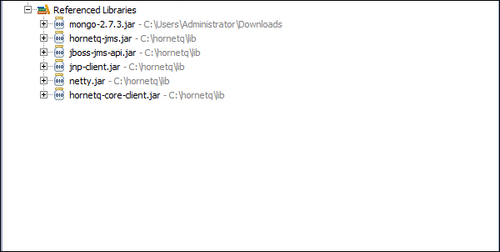
HORNETQ_ROOT\libfolder and select the following.jarfiles—hornetq-jms.jar,jboss-jms-api.jar,jnp-client.jar,netty.jar, andhornetq-core-client.jar. Then click on OK.Click on the add external jars button again and go to where you have downloaded the
mongodb jarfrom the MongoDB website, add it to your build path, and close the Project properties windows.Right-click on the project name and choose New | Class. In the displayed pop-up window, enter
ECGMessageConsumerProducerExampleas the class name and check the public static void main (string[] args) checkbox, as shown in the following screenshot:
Most of our
examples will be implemented using this standard configuration, so remember to re-use it any time you need to code a project for HornetQ. If all the previous steps have been done correctly, in the Explorer tab of Eclipse, you should see the .jar files included, as shown in the following screenshot: