
It is recommended to create a report with the Report Wizard first and then export the RDL (Report definition language) file generated by the Report Wizard, and import it on a new Visual Studio Report project. We can also download one of the pre-existing reports that come with the CRM 2011 out of the box (as we saw in Chapter 3, Creating Your First Report in CRM, under the Using Visual Studio section) and import it on our Visual Studio Report project.
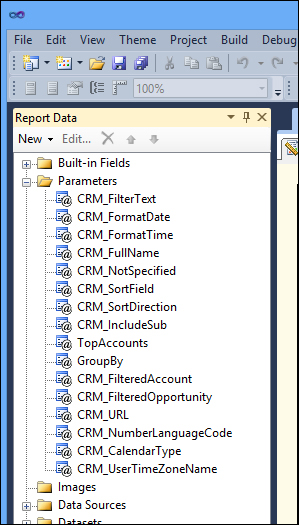
If we take the Account Distribution report, for example, and download that report to start a new report, we will see that the report already contains some predefined report parameters. We are going to learn about them in detail in the next section.
Once we have the report added to our Visual Studio project, we need to change the CRM Data Source connection string so that we can preview the changes before updating the report in CRM.
To do that, expand the Data Sources node and double-click on the CRM data source, we will see...