
The VMware vRealize Operations Manager helps you ensure the availability and management of your infrastructure and applications across Amazon, vSphere, physical hardware, and Hyper-V. You can monitor your applications, network devices, and storage from a single service console and apply different kinds of guided policies to control and optimize the performance of your infrastructure.
Deploying the VMware vRealize Operations Manager is an easy and simple task. You can download it from http://myvmware.com.
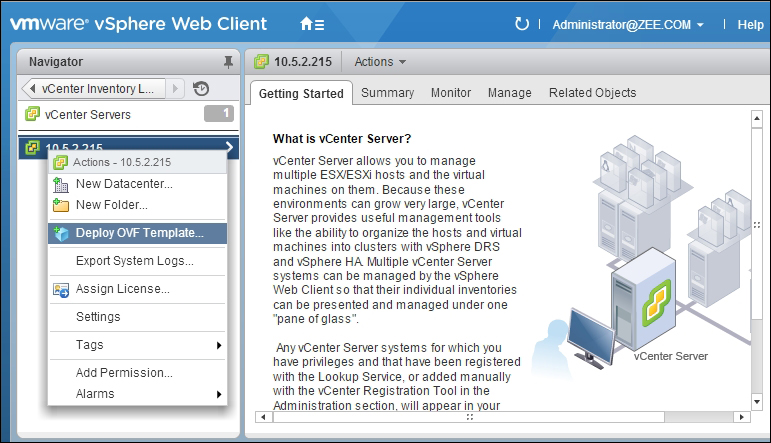
Right click on your vCenter Server from the vSphere web client and select Deploy OVF Template..., as shown in the following screenshot:
In Select source, click on Local file, and then, click on the Browse button to browse the
vRealize Operations Manager Appliancefile, and once done, click on Next: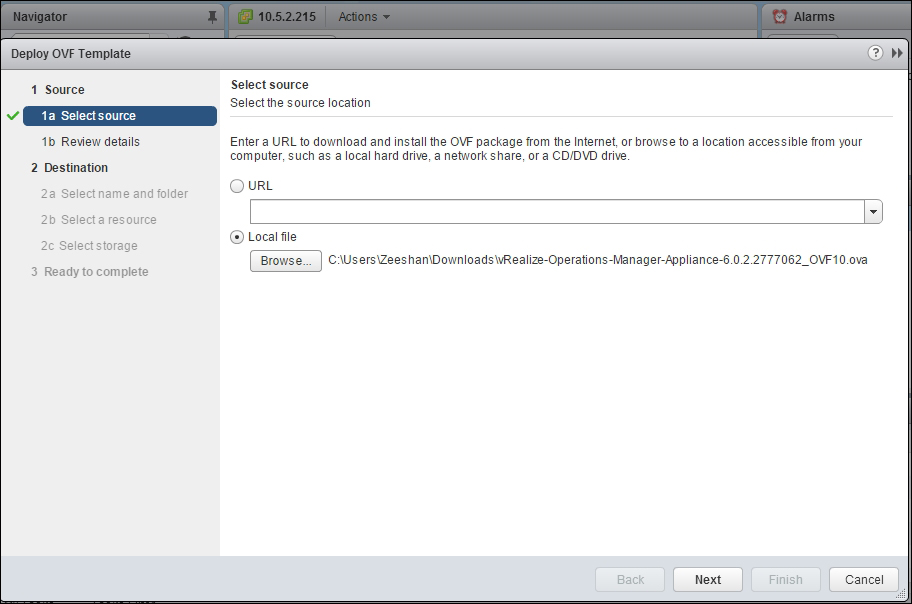
In the next window, you can review the details, the vRealize Operations Manager Appliance version number, its size, and its size on the disk. Review this information and click on Next:

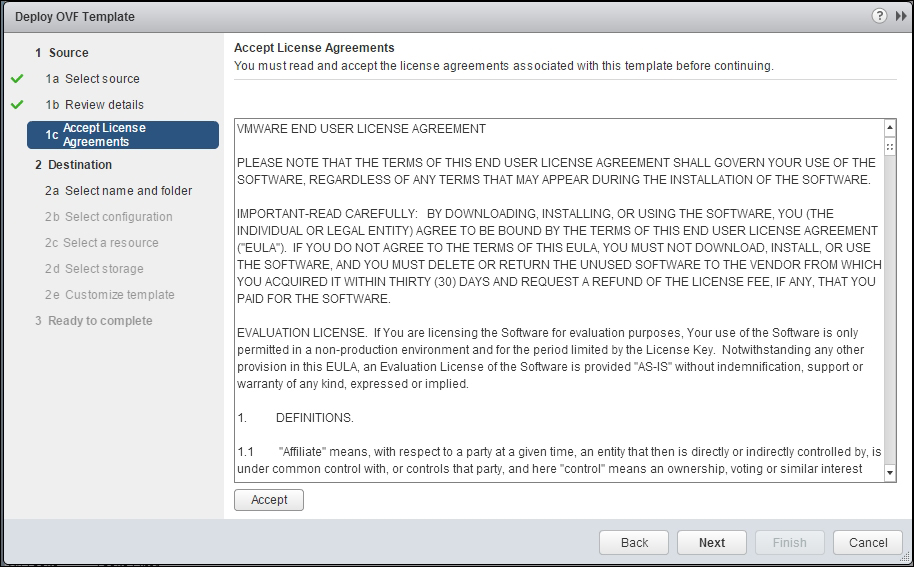
Accept License Agreement, as shown in the following screenshot, and click on Next:
In the next wizard window, in Select name and folder, choose the Data Center or a folder that you want to deploy
vRealize Operations Manager Appliancein, as shown next:
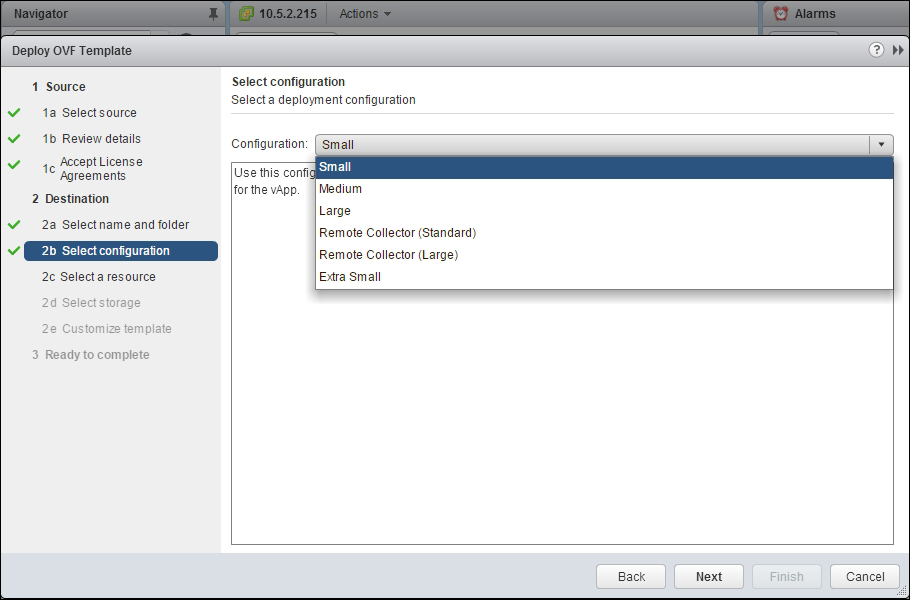
Depending on your infrastructure needs, you can choose to deploy a different configuration from Small, Medium, Large, Remote Collector (Standard), Remote Collector (Large), and Extra Small. We will choose Small here, and then click on Next:
Choose a cluster or vSphere host, in which you want to host your vRealize Operations Manager Appliance, and from the Select a resource wizard window, and click on Next:

From the Select storage wizard window, you can select the type of storage you want. Here, we have chosen Thin Provision; you can leave the default VM Storage Policy field as is and choose the datastore that you want to store the appliance in:

In the next window, choose the network you would like to connect to and the IP allocation type, in my case it is static, and then click on Next:

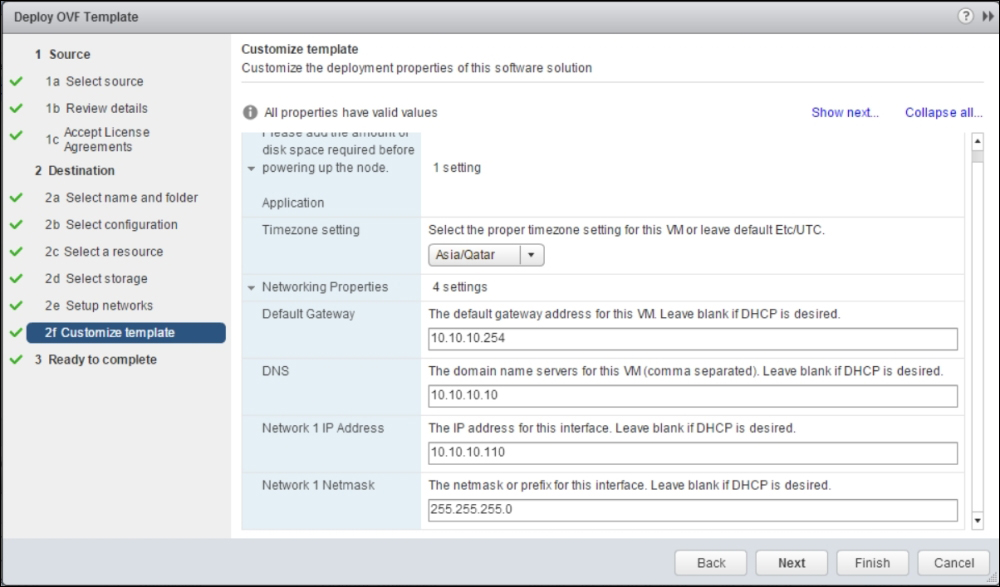
Add the time zone, IP address/subnet information, and DNS address and click on Next:
Review the information and click on Finish to complete. You can choose to Power on after deployment by ticking the check box, or you can manually start the appliance later on:

Browse
https://IP-Address/vcops-web-ent/login.actionto log in to vRealize Operations Manager: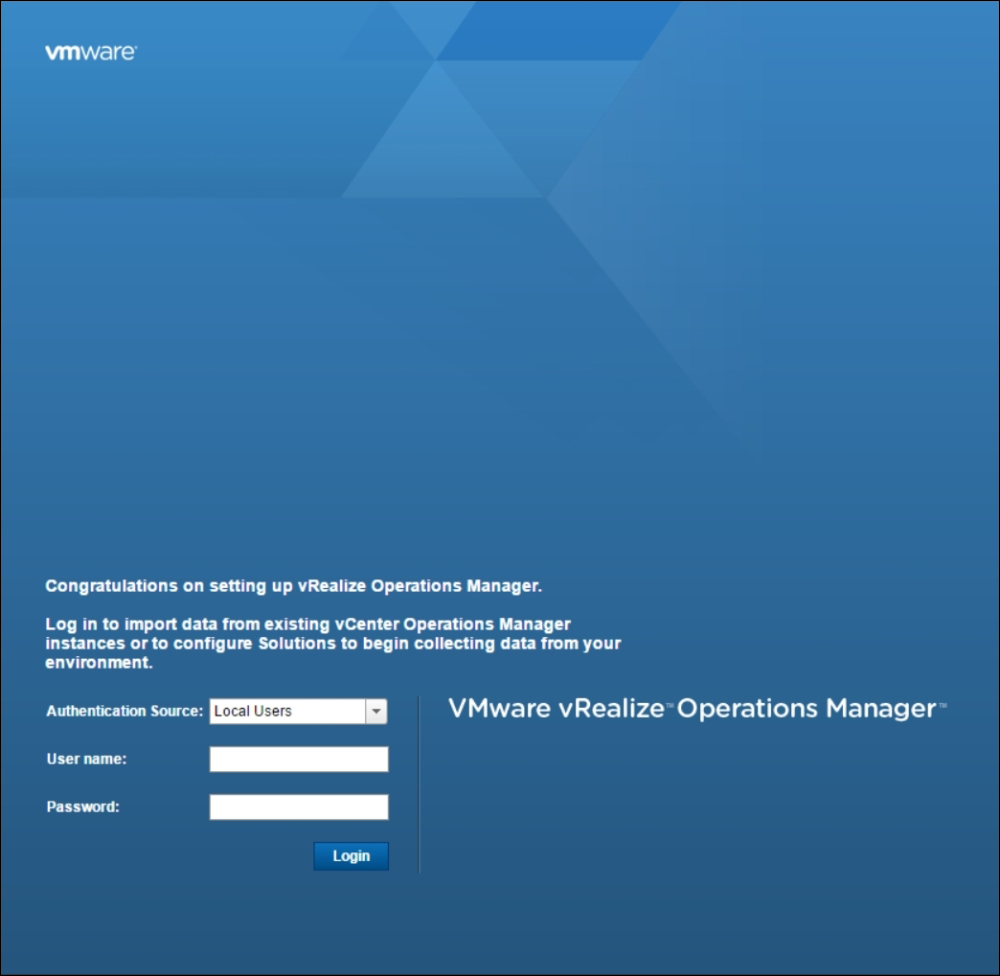
When you log in for first time, vRealize Operations Manager asks if you want to configure a New Environment, or you want to import an existing environment by selecting Import Environment.
Choose New Cluster and click on Next:

Click on accept for Accept the Agreement:

Enter the Product Key if you have purchased it, or you can try it as an evaluation and click on Next:

Set up the Administrator user by choosing a password and click on Next.
Click on Finish to complete the wizard:
