

Testing the HA configuration
Now that we have both OPNsense firewalls up and running and configured with high availability, let's do some testing!
First, check if the virtual IPs are working accordingly on both OPNsense firewalls, as shown in the following screenshot:
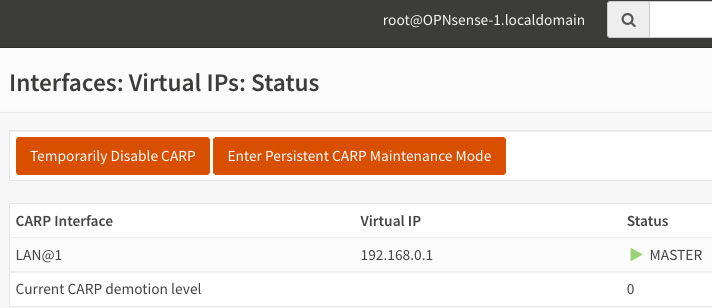
Figure 17.9 – OPNsense-1 (master) running the CARP virtual IP
On both firewalls, you can check the virtual IP's status in the webGUI. Go to Interfaces | Virtual IPs | Status:
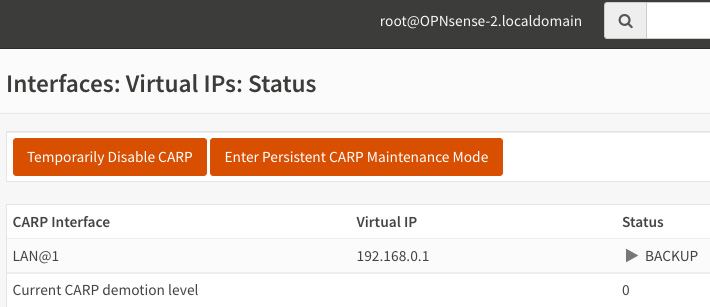
Figure 17.10 – OPNsense-2 (backup) running the CARP virtual IP
If you want to use a DHCP server on the LAN interface, you will need to make some configuration adjustments, as follows:
- Go to Services | DHCPv4 | LAN and set the following settings on the master node:
Remember that every time you change the configuration on the master node, you must sync to...