-
Book Overview & Buying

-
Table Of Contents

Administering Windows Server Hybrid Core Infrastructure AZ-800 Exam Guide
By :
Administering Windows Server Hybrid Core Infrastructure AZ-800 Exam Guide
By:
Overview of this book
Written by an Azure MVP and Microsoft Certified Trainer with 20 years of experience in data center infrastructure, this AZ-800 study guide is an essential preparation tool for administrators who want to take the exam and acquire key skills that will help them thrive in their careers.
This book will guide you through all the ways Windows Server can be used to manage hybrid solutions on-premises and in the cloud, starting with deploying and managing Active Directory Domain Services (AD DS) in on-premises and cloud environments. You’ll then dive into managing virtual machines and containers and progress to implementing and managing an on-premises and hybrid networking infrastructure.
The later parts of the book focus on managing storage and file services, concluding with a detailed overview of all the knowledge needed to pass the AZ-800 exam with practical examples throughout the chapters. In the final chapter, you’ll be able to test your understanding of the topics covered with the help of practice exams to make sure that you’re completely prepared for the contents and structure of the exam.
By the end of the book, you’ll have gained the knowledge, both practical and conceptual, that's required to administer Windows Server hybrid core infrastructure confidently.
Table of Contents (22 chapters)
Preface

Part 1: Hybrid Identity
 Free Chapter
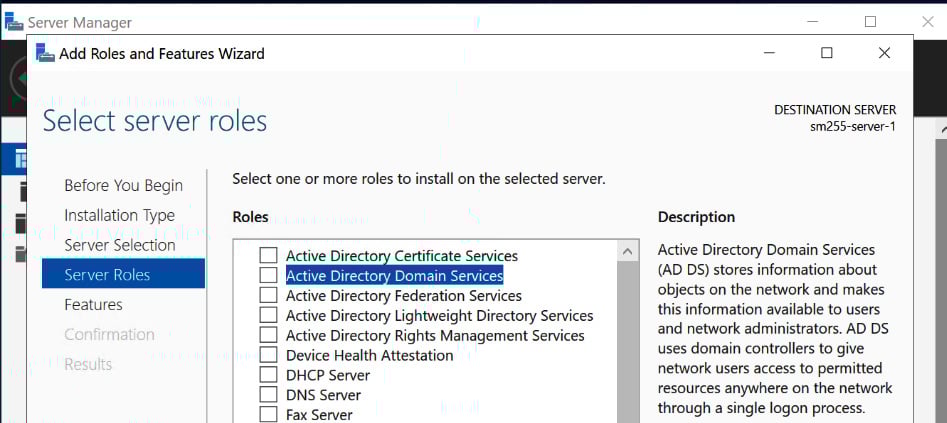
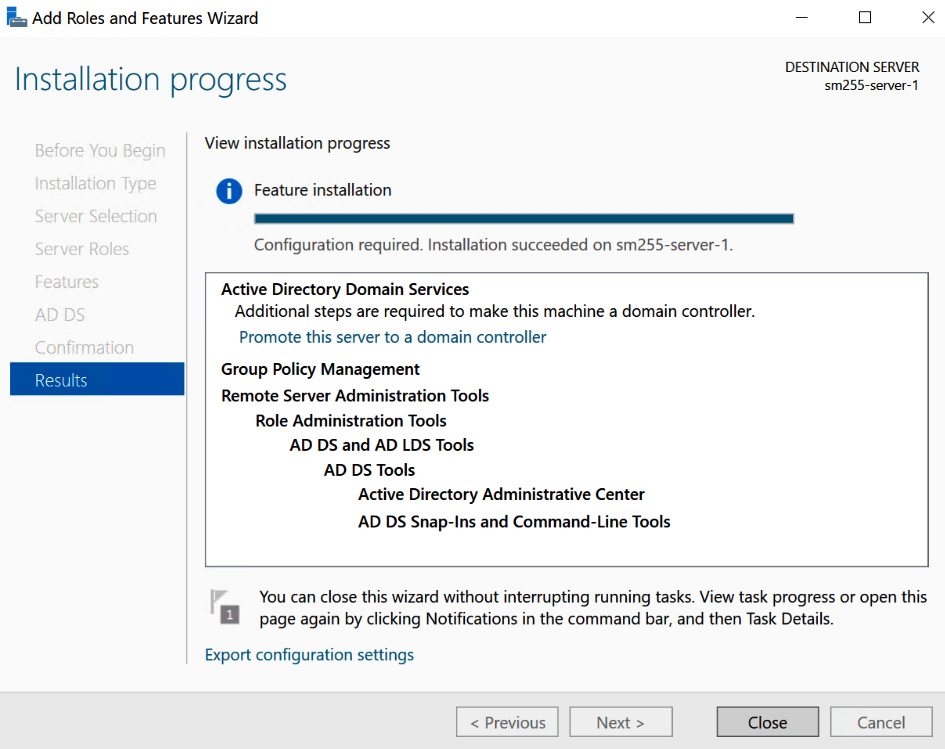
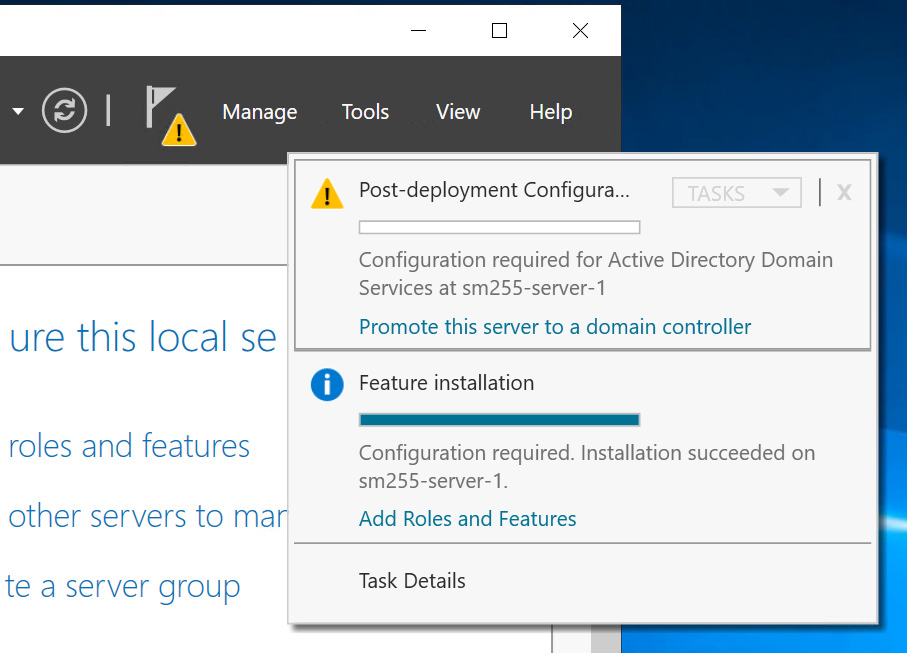
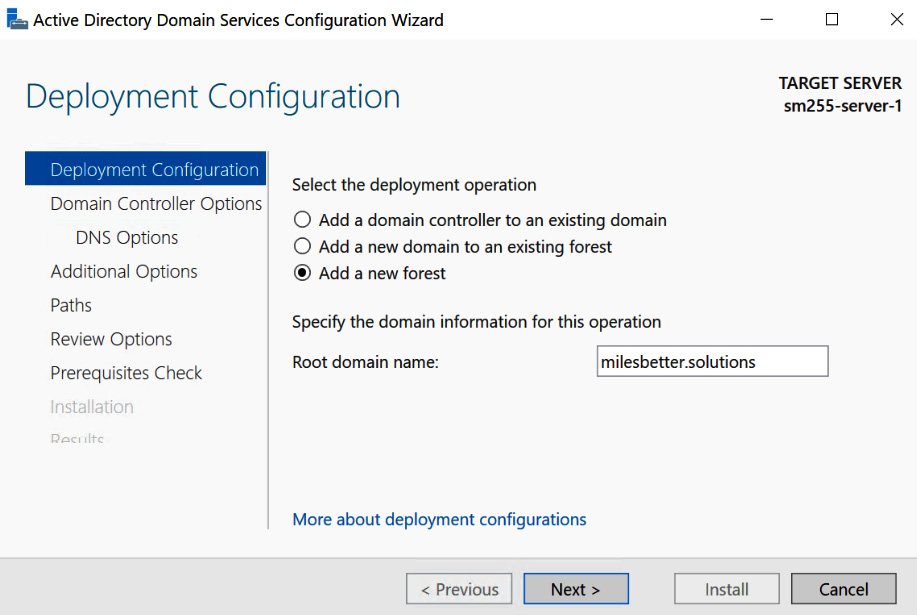
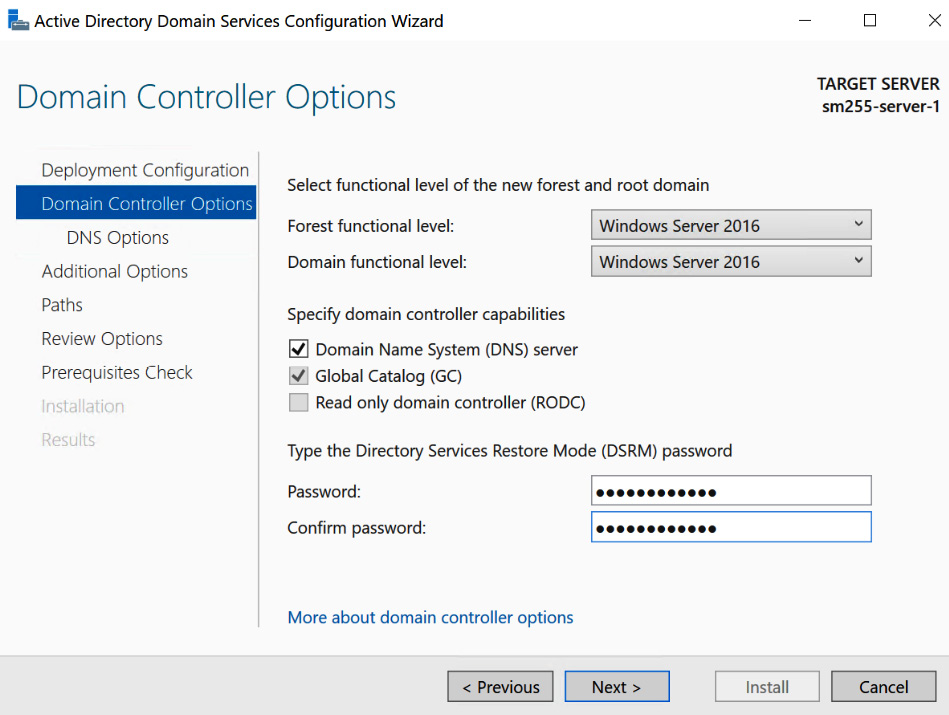
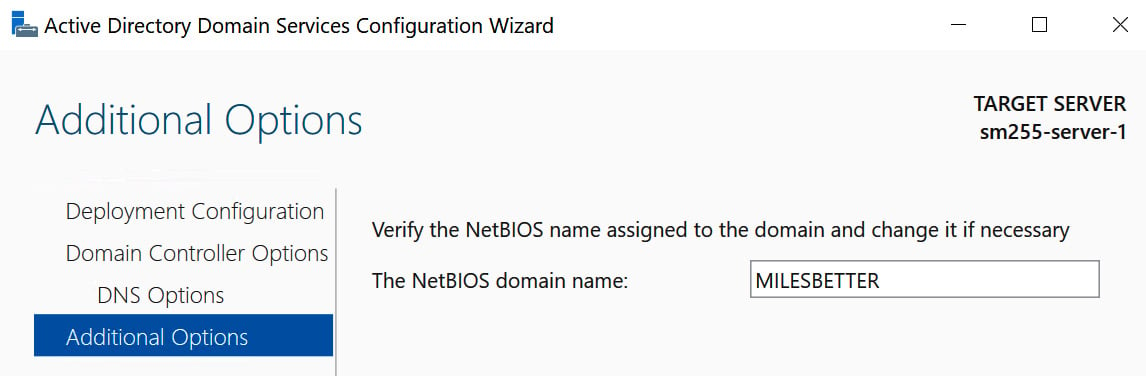
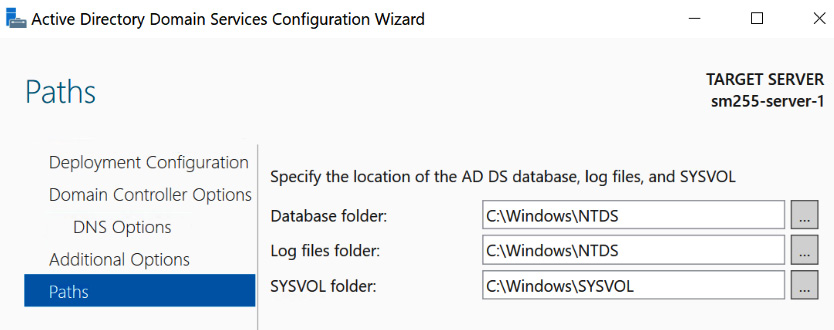
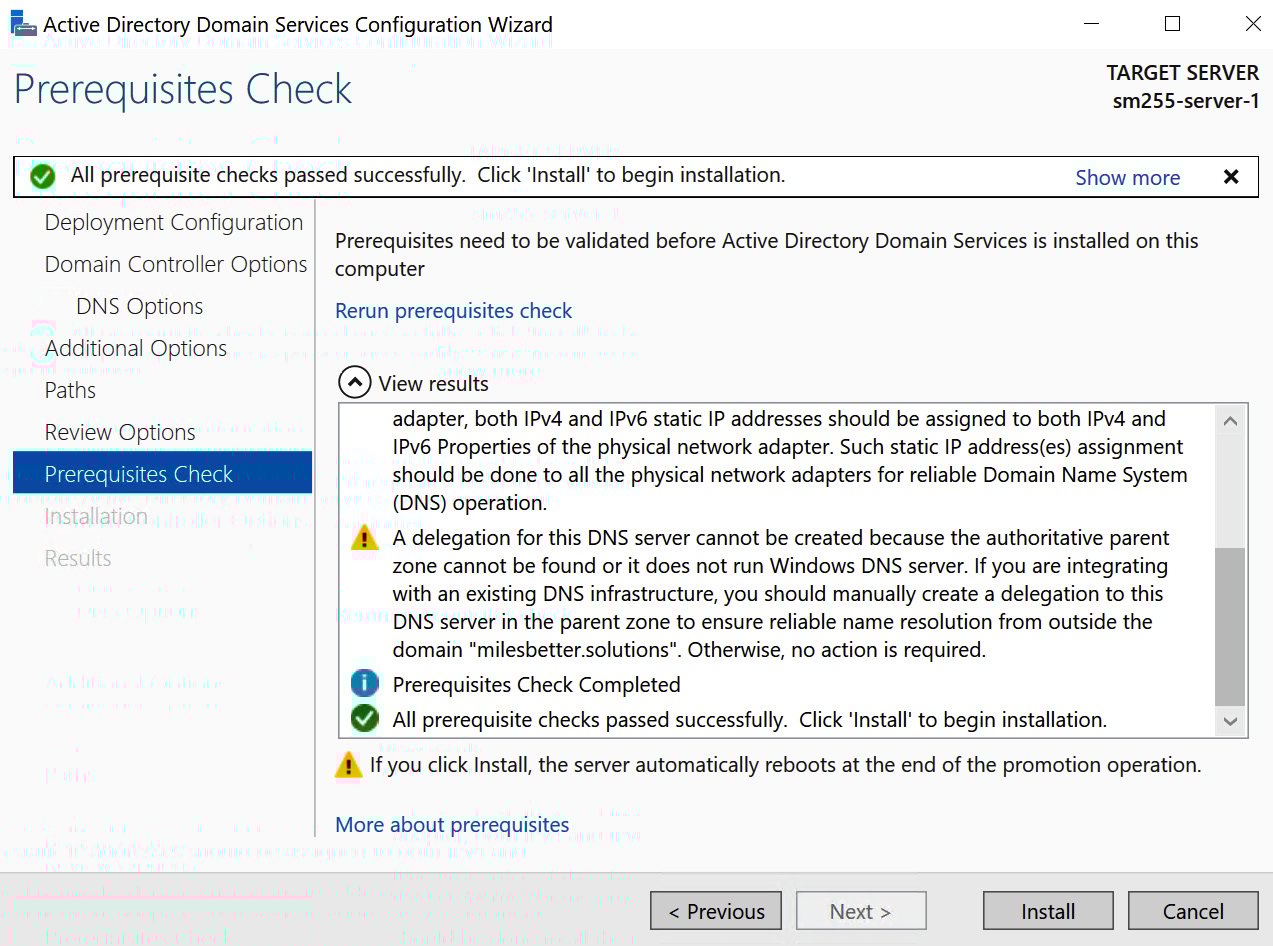
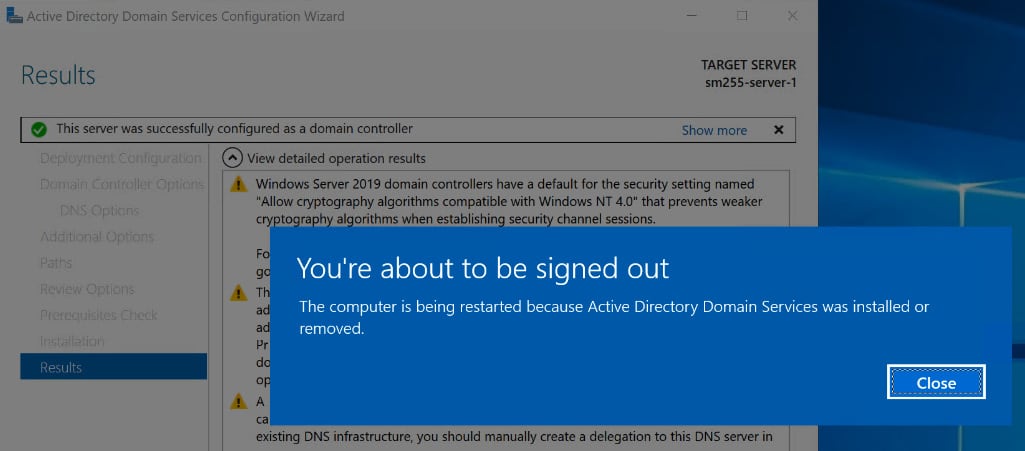
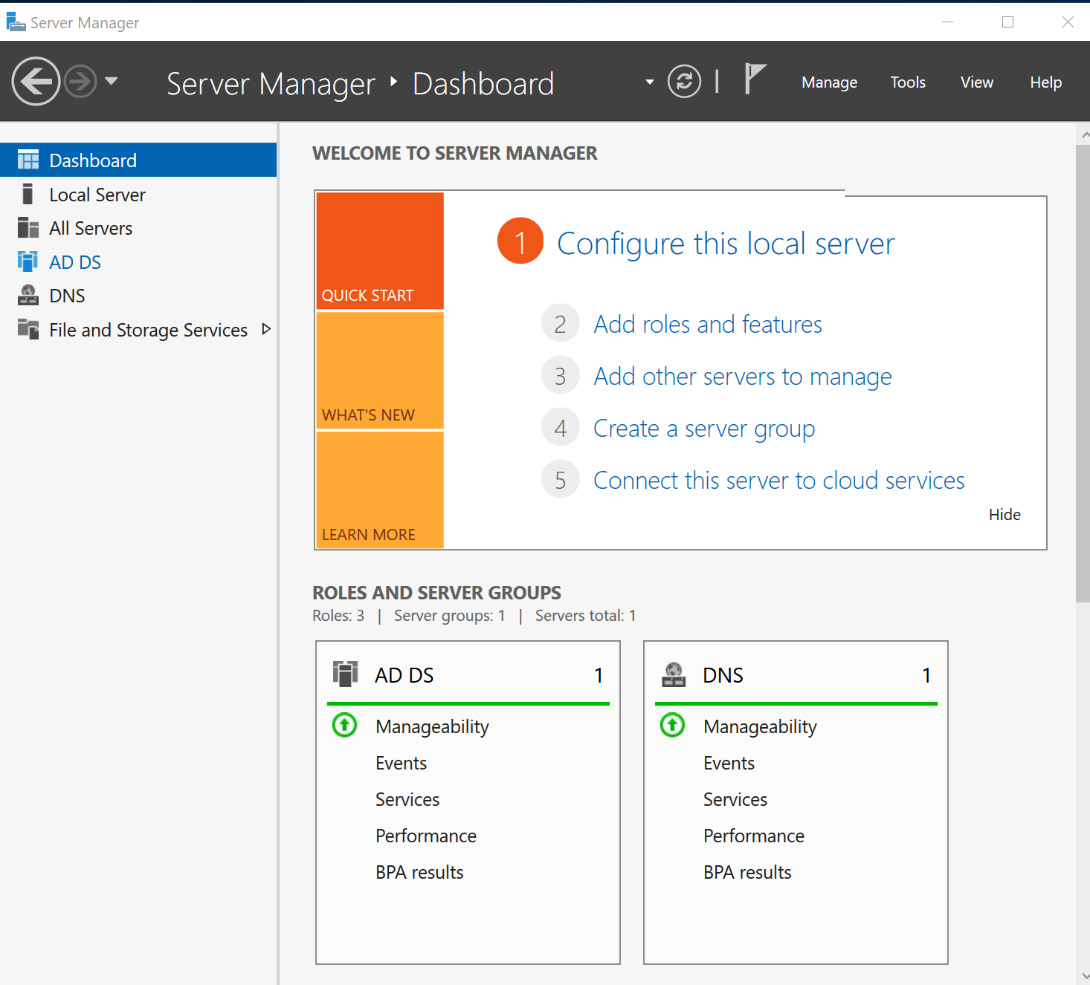
Chapter 1: Implementing and Managing Active Directory Domain Services
Chapter 2: Implementing and Managing Azure Active Directory Domain Services
Chapter 3: Managing Users and Computers with Group Policy
Chapter 4: Implementing and Managing Hybrid Identities
Part 2: Hybrid Networking
Chapter 5: Implementing and Managing On-Premises Network Infrastructure
Chapter 6: Implementing and Managing Azure Network Infrastructure
Part 3: Hybrid Storage
Chapter 7: Implementing Windows Server Storage Services
Chapter 8: Implementing a Hybrid File Server Infrastructure
Part 4: Hybrid Compute
Chapter 9: Implementing and Managing Hyper-V on Windows Server
Chapter 10: Implementing and Managing Windows Server Containers
Chapter 11: Managing Windows Server Azure Virtual Machines
Chapter 12: Managing Windows Server in a Hybrid Environment
Chapter 13: Managing Windows Servers Using Azure Services
Part 5: Exam Prep
Chapter 14: Exam Preparation Practice Tests
Index