Book Image

OpenCV 3 Computer Vision with Python Cookbook

By : Aleksei Spizhevoi, Aleksandr Rybnikov
Book Image

OpenCV 3 Computer Vision with Python Cookbook

By: Aleksei Spizhevoi, Aleksandr Rybnikov

Overview of this book

OpenCV 3 is a native cross-platform library for computer vision, machine learning, and image processing. OpenCV's convenient high-level APIs hide very powerful internals designed for computational efficiency that can take advantage of multicore and GPU processing. This book will help you tackle increasingly challenging computer vision problems by providing a number of recipes that you can use to improve your applications. In this book, you will learn how to process an image by manipulating pixels and analyze an image using histograms. Then, we'll show you how to apply image filters to enhance image content and exploit the image geometry in order to relay different views of a pictured scene. We’ll explore techniques to achieve camera calibration and perform a multiple-view analysis. Later, you’ll work on reconstructing a 3D scene from images, converting low-level pixel information to high-level concepts for applications such as object detection and recognition. You’ll also discover how to process video from files or cameras and how to detect and track moving objects. Finally, you'll get acquainted with recent approaches in deep learning and neural networks. By the end of the book, you’ll be able to apply your skills in OpenCV to create computer vision applications in various domains.
Table of Contents (11 chapters)

Showing images in an OpenCV window

One of the many brilliant features of OpenCV is that you can visualize images with very little effort. Here we will learn all about showing images in OpenCV.

Getting ready

You need to have OpenCV 3.x installed with Python API support.

How to do it...

The steps are as follows:

  1. Load an image to have something to work with and get its size:
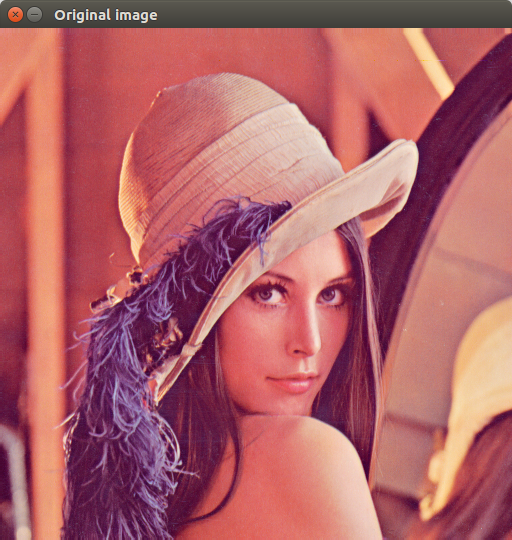
orig = cv2.imread('../data/Lena.png')
orig_size = orig.shape[0:2]
  1. Now let's display our image. To do so, we need to call the cv2.imshow and cv2.waitKey functions:
cv2.imshow("Original image", orig)
cv2.waitKey(2000)

How it works...

Now, let's shed some light on the functions. The cv2.imshow function is needed to show the image—its first parameter is the name of the window (see the header of the window in the following screenshot), the second parameter is the image we want to display. The cv2.waitKey function is necessary for controlling the display time of the window.

Note that the display time must be explicitly controlled, otherwise you won't see any windows. The function takes the duration of the window display time in milliseconds. But if you press any key on the keyboard, the window will disappear earlier than the specified time. We will review this functionality in one of the following recipes.

The code above results in the following: