


HTML templates are ready-to-use templates combining HTML and Shiny code together in the same code files. In this section, we will learn about a method to include R code written directly to an HTML template and how to use the R code in a separate file reference from the template.
Here, we will create the first application that contains the range slider. Creating a slider using vanilla Shiny code is much easier than using raw HTML:
In general, there are two ways of using the HTML template. One way is by using an R function defined inline to the template and the other is by referring an R function to the variables defined in a separate file. In both methods, we will need the three separate server.r, ui.r, and .html files. You can name the HTML file as you like. For demonstration purposes, we have used template.html. We can even name the HTML file apps.html. The HTML file needs to be placed at the same level as the server.r and ui.r files and not in a www folder.
Here, the server file will be similar to the one we created earlier and the ui.r file will contain the following line:
htmlTemplate("template.html")
The preceding line just informs the Shiny app that we will be using the HTML template. Now let's understand what the HTML file contains:
<html>
<head>
{{ headContent() }}
{{ bootstrapLib() }}
</head>
<body>
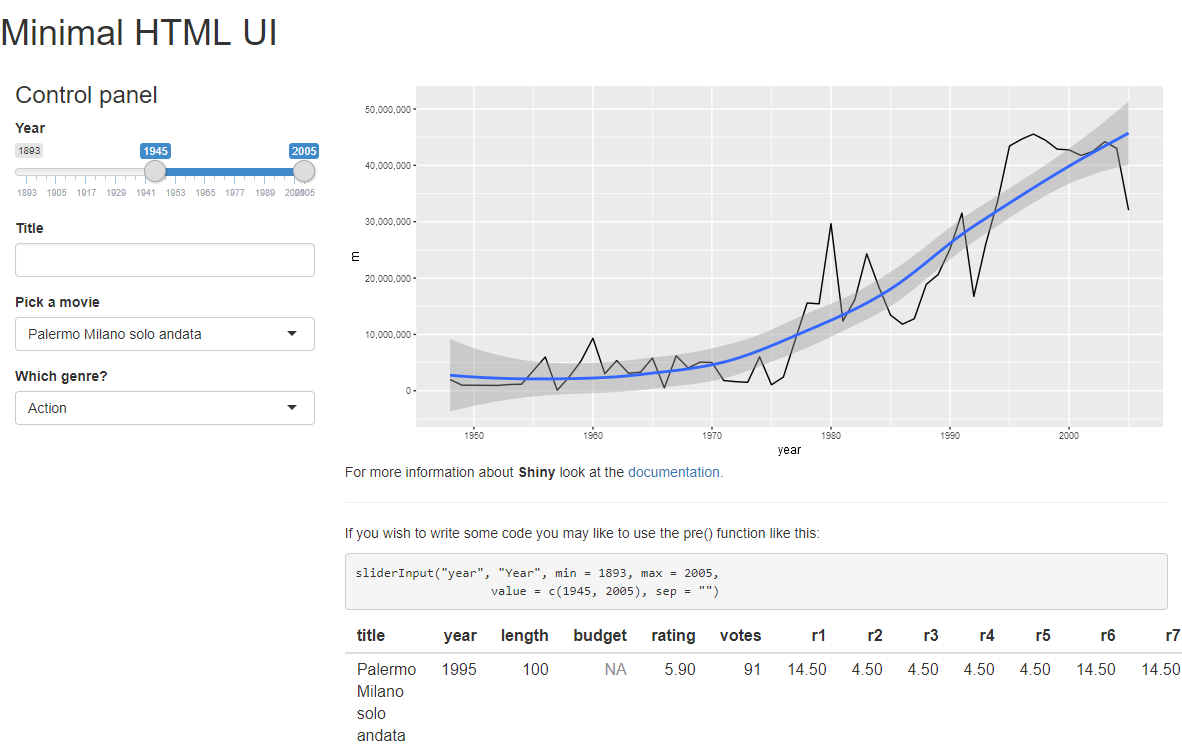
<h1>Minimal HTML UI</h1>
<div class="container-fluid">
<div class="row">
<div class="col-sm-4">
<h3>Control panel</h3>
{{ sliderInput("year", "Year", min = 1893, max = 2005, value = c(1945, 2005), sep = "") }}
{{ textInput("title", "Title") }}
<div id="listMovies" class="shiny-html-output"></div>
{{ selectInput("genre", "Which genre?", c("Action", "Animation", "Comedy", "Drama", "Documentary", "Romance", "Short")) }}
</div>
<div class="col-sm-8">
{{ plotOutput("budgetYear") }}
<p>For more information about <strong>Shiny</strong> look at the
<a href="http://shiny.rstudio.com/articles/">documentation.</a></p>
<hr>
<p>If you wish to write some code you may like to use the pre() function like this:</p>
<pre>sliderInput("year", "Year", min = 1893, max = 2005,
value = c(1945, 2005), sep = "")</pre>
<div id = "moviePicker" class = "shiny-html-output"></div>
</div>
</div>
</div>
</body>
</html>
The previous HTML code is similar to the raw definition that we used earlier, except for the controls and output. The controls and output are Shiny code instead of HTML code. We can also combine Shiny and HTML to define the controls and output. Let's look at the functions of the Shiny code. At the beginning, in the head section, we have two functions; one is {{ headContent() }} and the other is {{ bootstrapLib() }}.
The head content, {{ headContent() }}, will produce the boilerplate HTML that we saw in the previous example about adding the links of JavaScript and CSS. {{ bootstrapLib() }} is required to load the Bootstrap library.
You must have noticed that we have defined the slider, textbox, and genre input using the Shiny commands within the HTML file (template.html), as seen in the following code block:
{{ sliderInput("year", "Year", min = 1893, max = 2005, value = c(1945, 2005), sep = "") }}
{{ textInput("title", "Title") }}
{{ selectInput("genre", "Which genre?",  c("Action", "Animation", "Comedy", "Drama", "Documentary", "Romance", "Short")) }}
All these Shiny commands are wrapped in double curly brackets {{ }}, similar to the function defined in the header section. We are done with the HTML changes. This is the simplest method to add pre-existing HTML frameworks to a Shiny application without using a lot of HTML code blocks and defining the controls. One disadvantage to this method is that we will not be able to use line breaks, as they will not be processed as required.
Let's look at the other method for using the HTML template, where the file structure is similar to the first method of having three files: server.r, ui.r, and an .html file (template.html). Here, we will create the HTML file first, which will have the following lines of code:
<html>
  <head>
    {{ headContent() }}
    {{ bootstrapLib() }}
  </head>
  <body>
    <h1>Minimal HTML UI</h1>
    <div class="container-fluid">
      <div class="row">
        <div class="col-sm-4">
          <h3>Control panel</h3>
          {{ slider }}
          {{ text }}
         <div id="listMovies" class="shiny-html-output"></div>
           {{ comboBox }}
         </div>
         <div class="col-sm-8">
          {{ thePlot }}
          <p>For more information about <strong>Shiny</strong> look at the <a href="http://shiny.rstudio.com/articles/">documentation.</a></p>
          <hr>  <p>If you wish to write some code you may like to
          use the pre() function like this:</p>
          <pre>sliderInput("year", "Year", min = 1893, max = 2005,
                   value = c(1945, 2005), sep = "")</pre>
        <div id = "moviePicker" class = "shiny-html-output"></div>
        </div>
      </div>
    </div>
  </body>
</html>
We have here the two standard functions at the top, and the main difference is that we have defined the variable names in place of curly brackets as compared to defining the function inline, as in the previous method. We have defined the {{ slider }}, {{ text }}, {{ comboBox }}, and {{ thePlot }} variables for the slider, text input, genre, and the plot, respectively.
Now it's time to create the ui.r file. First, we will define the name of the HTML template and also define the variables used in the HTML file. Your final ui.r will look similar to the following structure:
htmlTemplate(
  "template.html",
  slider = sliderInput("year", "Year", min = 1893, max = 2005,
                       value = c(1945, 2005), sep = ""),
  text = textInput("title", "Title"),
  thePlot = plotOutput("budgetYear"),
  comboBox = selectInput("genre", "Which genre?",
                       c("Action", "Animation", "Comedy", "Drama",
                           "Documentary", "Romance", "Short"))
)
Here, we can see that we have defined the slider variable as the sliderInput function, text as the textInput function, theplot as the plotOutput function, and comboBox as the selectInput function. We can define all the variables and functions here instead of defining them in HTML functions. For example, you can also define a string that prints the author name that can be used throughout the function. If the name of the author needs to be changed, then we only need to alter one variable rather than changing all the functions throughout.


