
RenderTexture is used to create placeholder sprites that can be used to prototype a game. So, if you want to test your movement and jump code on a sprite but don't have access to a sprite, this is a quick and dirty way to create a sprite.
To create the RenderTexture sprite, we will create a new function, and this function will return a sprite when we provide the size and color of the sprite to be produced.
In the MainScene.h file, we will add the following highlighted line right under the scene function we created earlier:
+(CCScene*)scene;

-(CCSprite *)spriteWithColor:(ccColor4F)bgColor
textureWidth:(float)textureWidth
textureHeight:(float)textureHeight;

@end
This function will return CCSprite and take in the color, width, and height that the sprite should be of.
In the MainScene.m file, we will add the definition of the preceding function below the init function, as follows:
-(CCSprite *)spriteWithColor:(ccColor4F)bgColor
textureWidth:(float)textureWidth
textureHeight:(float)textureHeight {


  CCRenderTexture *rt =
    [CCRenderTexture
    renderTextureWithWidth:textureWidth
    height:textureHeight];

  [rtbeginWithClear:bgColor.r
    g:bgColor.g
    b:bgColor.b
    a:bgColor.a];

    [rt end];

  return [CCSpritespriteWithTexture:rt.sprite.texture];

}
In the function, we will create a new variable called rt of the CCRenderTexture type, and to it, we will pass the width and height that is passed to the function.
Then, we will clear RenderTexture with the color that is passed in. Then, we will call the end function on rt.
Next, we will create CCSprite by passing in the texture of the rt sprite. This is then returned by the function.
To use the RenderTexture function, we will add the following code right after where we added the background to the scene:
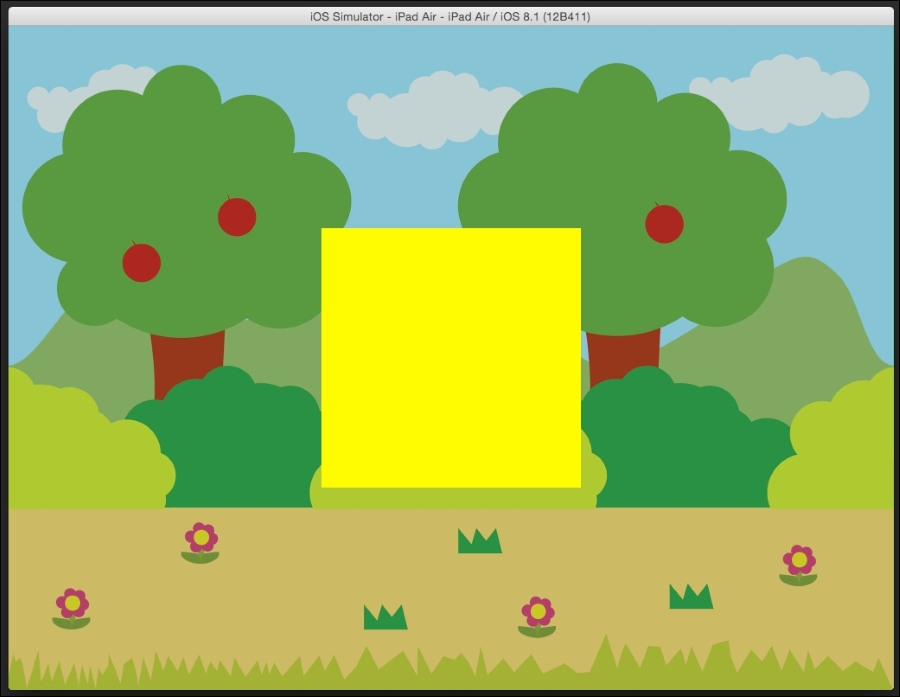
//rtSprite
CCSprite* rtSprite = [self spriteWithColor:ccc4f(1.0, 1.0, 0.0, 1.0) textureWidth:150textureHeight:150];
rtSprite.position = CGPointMake(winSize.width/2,
winSize.height/2);
[selfaddChild:rtSprite];
We will create a new variable called rtSprite of the CCSprite type and assign the sprite that will be created by calling our function to it.
While calling the function, we will create a color of the ccc4f type and pass in the r, g, b, and a values. For yellow, we will pass 1 for red and green. We will provide a width and height value of 150 each.
Then, the sprite will be positioned at the center and added to the scene. Run the scene to see the result.
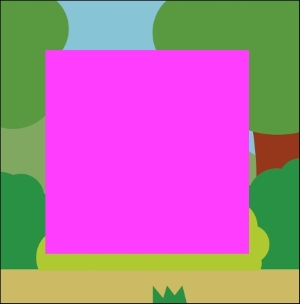
The color of the sprite can be changed by changing the rgba color value.
For example, here, I changed the value to (1.0, 0.0, 1.0, 1.0) for yellow, and you can see the result as follows:
//rtSprite
CCSprite* rtSprite = [self spriteWithColor:ccc4f(1.0, 0.0, 1.0, 1.0) textureWidth:150textureHeight:150];
rtSprite.position = CGPointMake(winSize.width/2, winSize.height/2);
[selfaddChild:rtSprite];