
We will show you how to configure, build, and publish a NuGet package and a VSIX package for an analyzer project created in Visual Studio 2017 using the .NET Compiler platform SDK.
Before we start digging into these topics, let's understand the difference between NuGet-based analyzer packages and VSIX-based analyzer packages. NuGet and VSIX are basically two different packaging schemes for the Microsoft development platform to package files such as assemblies, resources, build targets, tools, and so on, into a single installable package.
- NuGet is a more generic packaging scheme. NuGet packages (
.nupkgfiles) can be directly referenced in .NET projects and installed to a specific project or solution using the NuGet package manager in Visual Studio. Analyzer NuGet packages based on the analyzer template project get installed as AnalyzerReferences in the project file, and then get passed onto the compiler command line to be executed during build. Additionally, AnalyzerReferences are resolved at design time by the Visual Studio IDE and executed while code editing to generate live diagnostics. - A VSIX package is a
.vsixfile that contains one or more Visual Studio extensions, together with the metadata Visual Studio uses to classify and install the extensions. An analyzer VSIX package can be installed machine-wide or to a specific extension hive, and is enabled for all projects/solutions opened from the Visual Studio hive. Unlike aNuGetpackage, it cannot be installed specifically to a project/solution and does not travel along with the project sources.
Note
As of Visual Studio 2017, analyzers installed as AnalyzerReferences via NuGet packages execute during both: command line builds and live code editing in Visual Studio. Analyzers installed via Analyzer VSIX packages execute only during live code editing in Visual Studio and not during project build. Hence, only analyzer NuGet packages can be configured to execute in continuous integration (CI) build systems and break the build.
You will need to have created and opened an analyzer project, say CSharpAnalyzers in Visual Studio 2017. Refer to the first recipe in this chapter to create this project.
- Build
CSharpAnalyzerssolution in Visual Studio by executing theBuild|Build Solutioncommand. - Open the binary output folder for the
CSharpAnalyzersproject (<%SolutionFolder%>\CSharpAnalyzers\bin\debug) in Windows Explorer and verify that the NuGet package for the analyzer named,CSharpAnalyzers.1.0.X.Y.nupkg, is generated in the folder. - Double-click on the
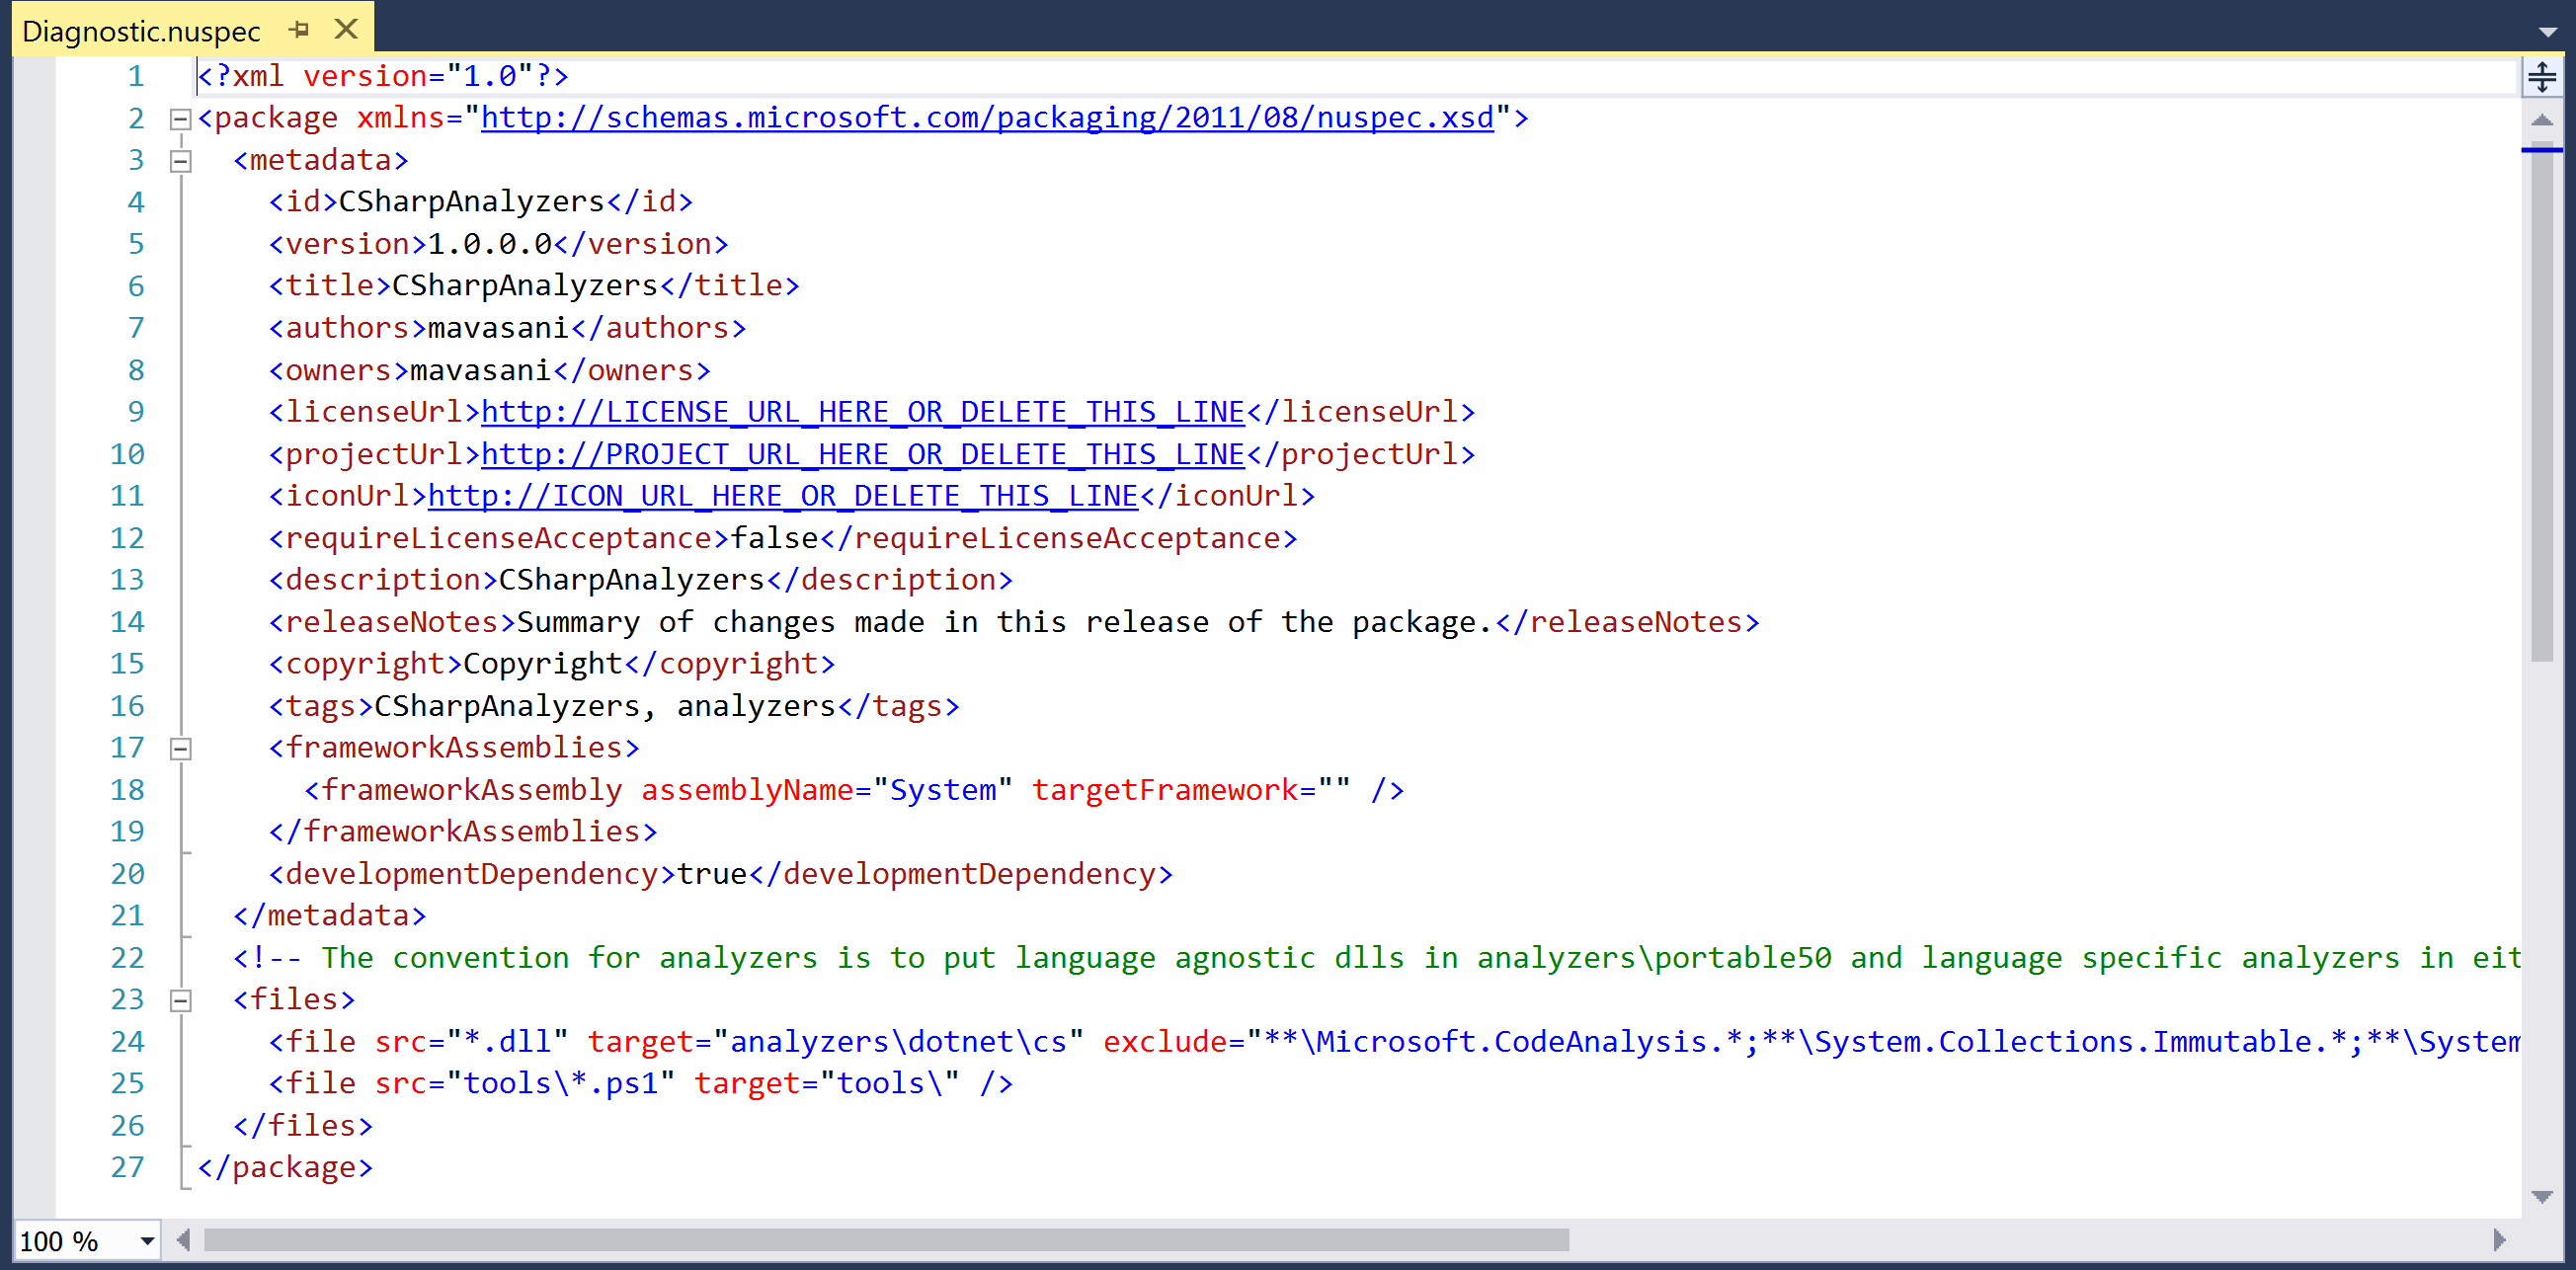
Diagnostic.nuspecfile in theCSharpAnalyzersproject inSolution Explorerto view and configure the properties of the nupkg.
- Rebuild the project to regenerate the nupkg with new properties.
- Publish the nupkg as a public or private package by following the steps listed here: https://docs.microsoft.com/en-us/nuget/create-packages/publish-a-package.
- Open the binary output folder for the
CSharpAnalyzers.Vsixproject (<%SolutionFolder%\CSharpAnalyzers.Vsix\bin\debug) in Windows Explorer and verify that VSIX for the analyzer named,CSharpAnalyzers.Vsix.vsix, is present in the folder. - Double-click on the
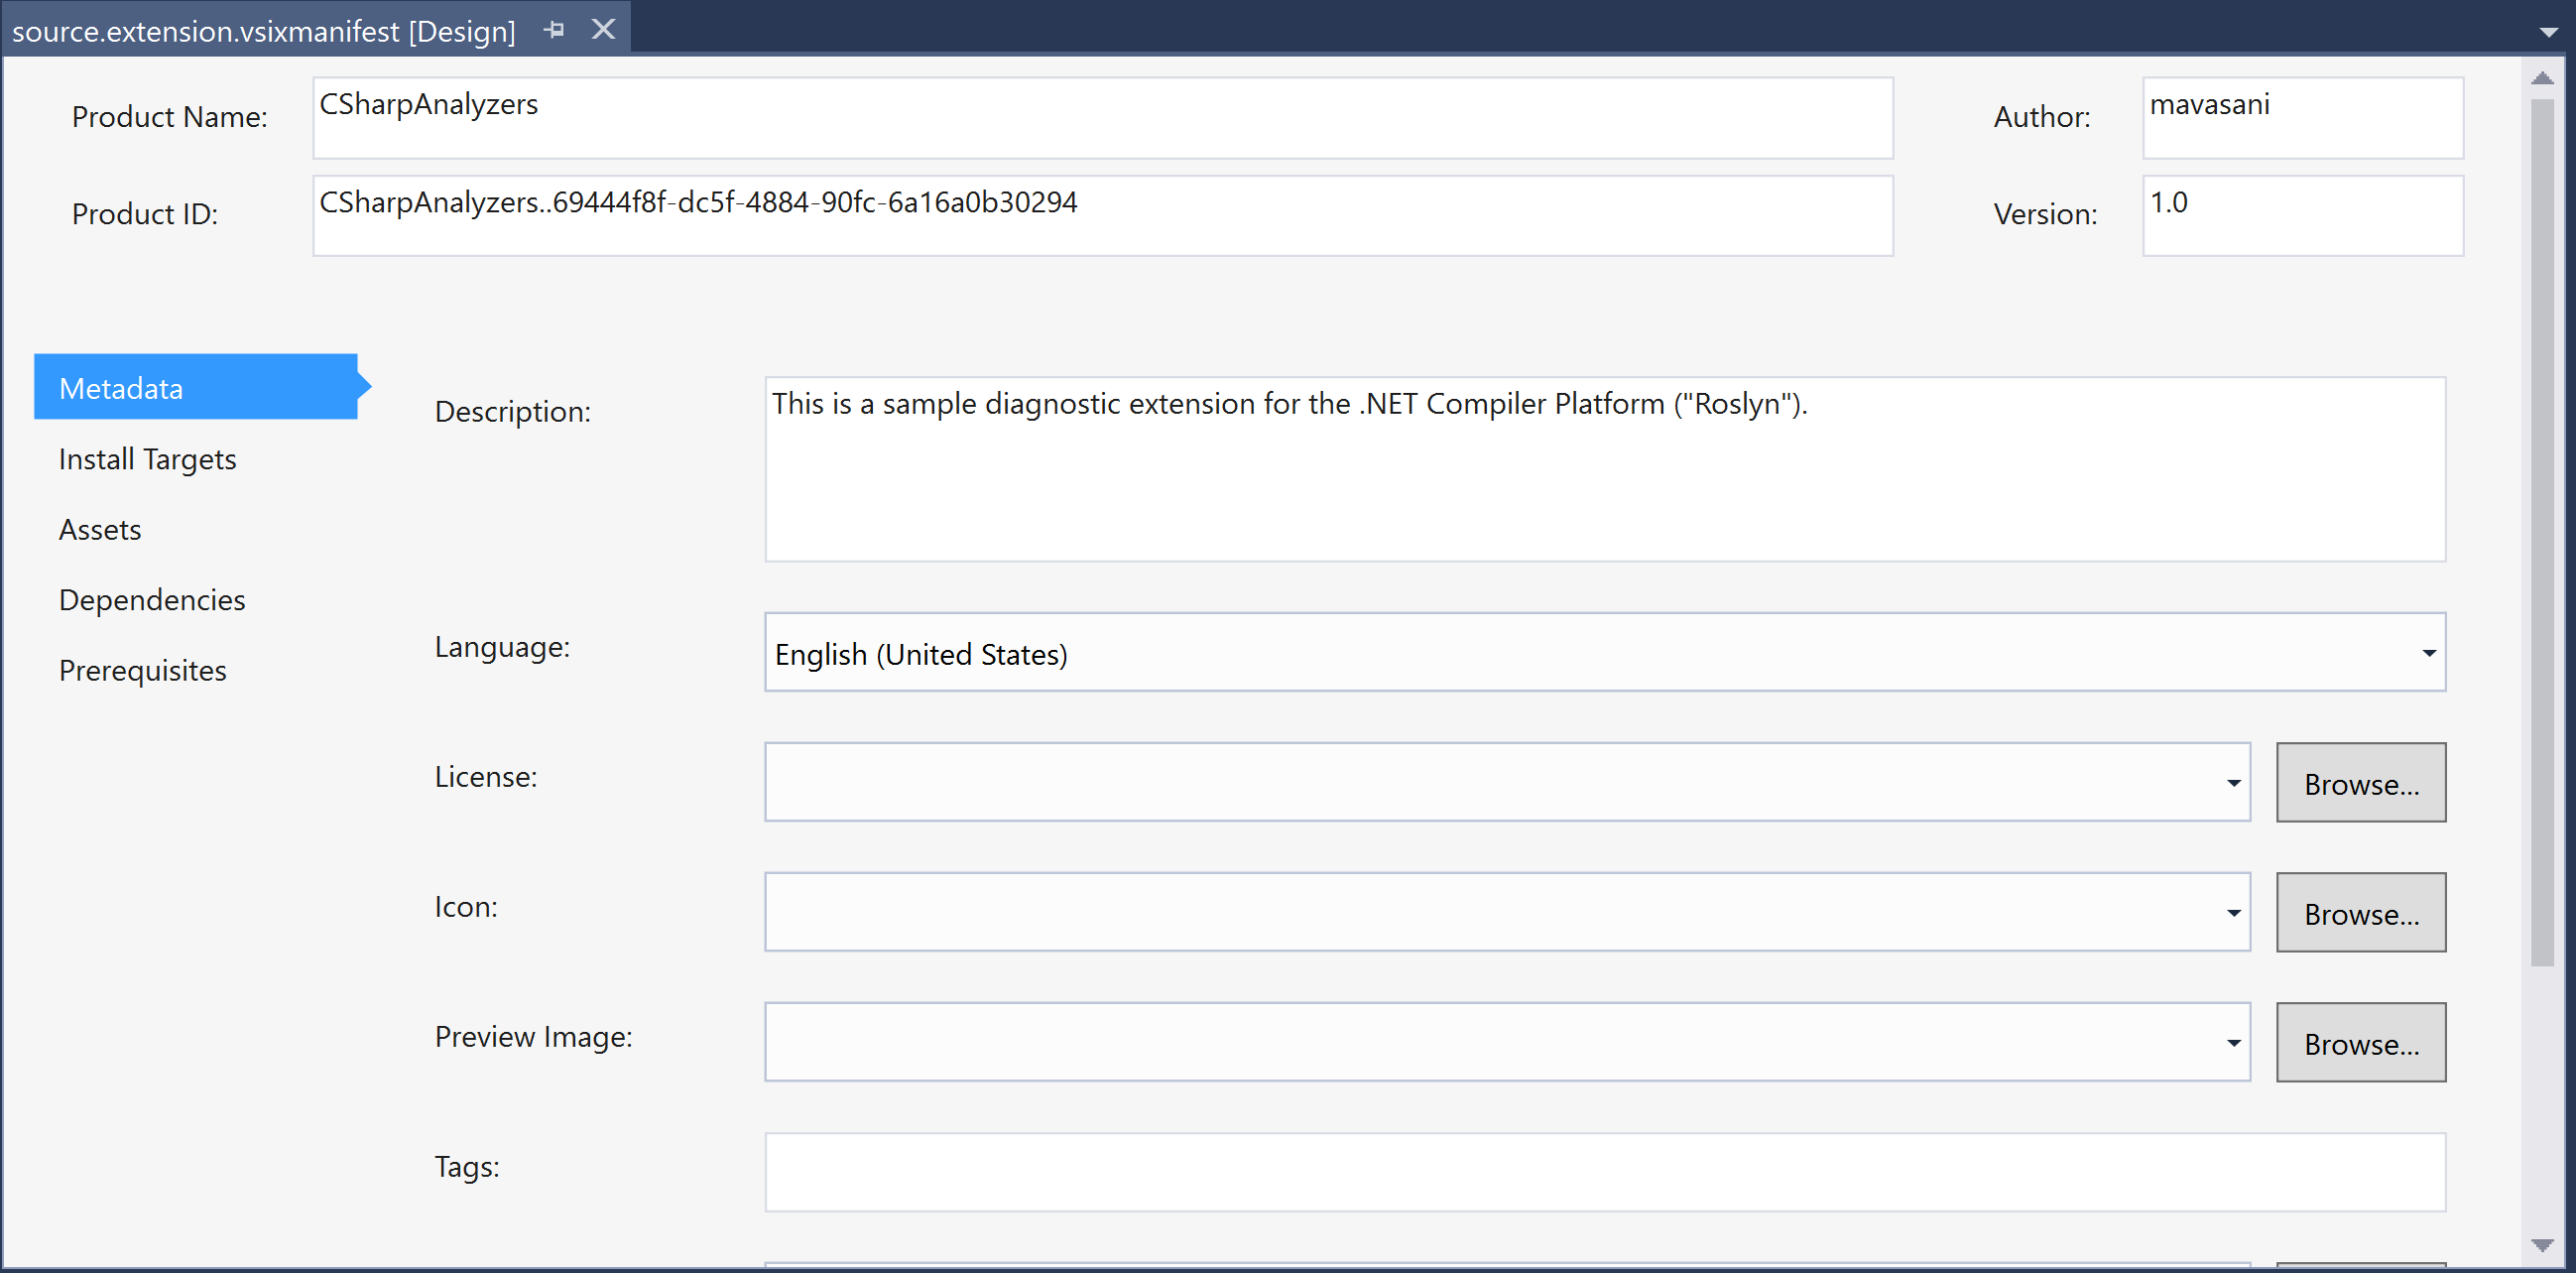
source.extension.vsixmanifestfile in theCSharpAnalyzers.Vsixproject in theSolution Explorer to view and configure the properties of the VSIX package.
- Rebuild the VSIX project to regerate the VSIX.
- Publish it to the Visual Studio Extension Gallery by following the steps listed here: https://msdn.microsoft.com/en-us/library/ff728613.aspx.