


-
Book Overview & Buying
-
Table Of Contents

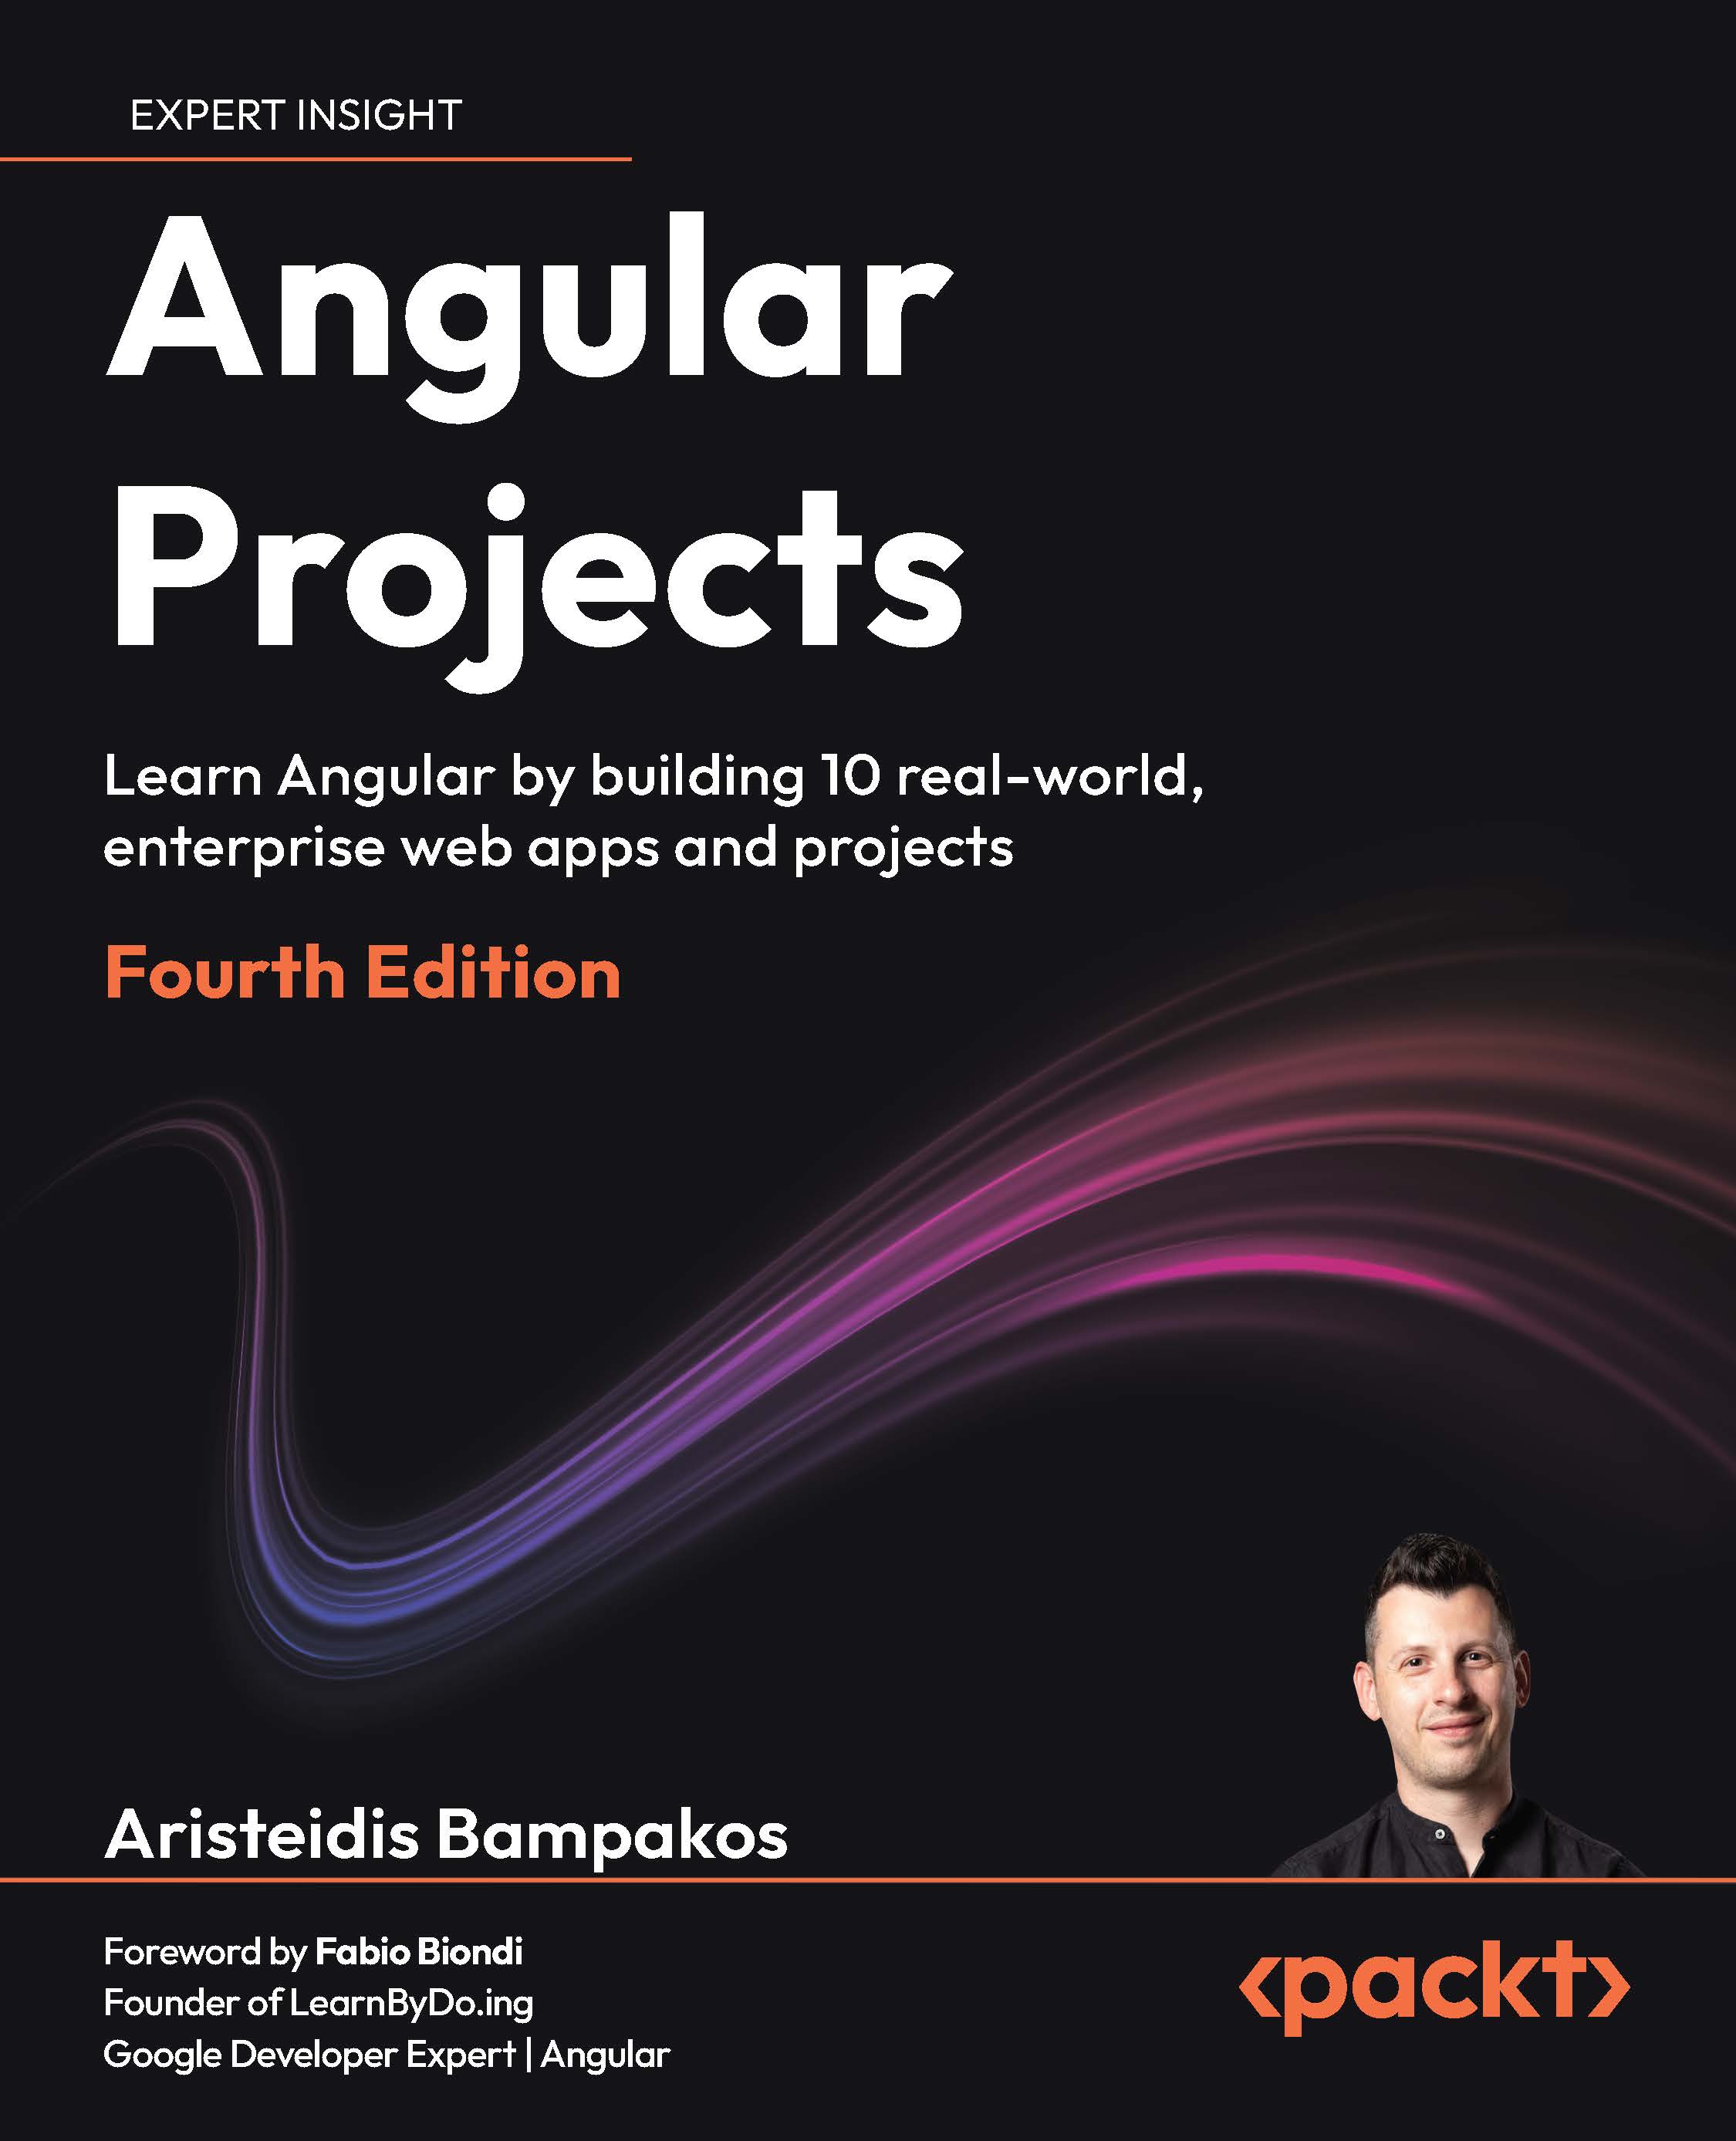
Angular Projects - Fourth Edition
By :


Angular Projects
By:
Overview of this book
Angular has evolved toward faster delivery, server rendering, and an enhanced developer experience. This book shows what that looks like in practice.
Each project reflects how real teams work: forms, routing, data, and the small choices that make an app feel finished. You will build with just enough tech to matter: signals, template-driven and reactive forms; PrimeNG, Angular Material, and Telerik UI; Google Maps; drag-and-drop; and desktop features. You will also wire up backend NestJS with MongoDB, Firebase services, and email notifications, then improve delivery with SSR and SSG and focused Core Web Vitals improvements.
Guided by Aristeidis Bampakos, a Google Developer Expert for Angular and an experienced team lead, you will learn practical patterns you can apply right from the get-go.
By the end, you will not just “know” Angular. You will think like a front-end engineer who can deliver, portfolio in hand, job-ready and confident to level up in your current role.
Table of Contents (14 chapters)
Preface


 Free Chapter
Chapter 1: Angular AI Kick-Starter: Scaffolding Smart Apps with Copilot

Chapter 2: IssueTracker Lite: Building a Smart Bug Tracking System
Chapter 3: EasyMenu: Creating a Table Order Management App
Chapter 4: SmartFactory Picker: Building a QR-Driven Warehouse App
Chapter 5: CityPass Parking: Developing an AI-Enabled Parking Validator
Chapter 6: Studio BookMaster: Designing an AI-Enhanced Room Booking App
Chapter 7: Expense Builder: Building an SSR Optimized Expense Tracker
Chapter 8: SmartFactory Shifts: Creating a Drag-and-Drop Shift Scheduler
Chapter 9: Flash POS: Building a Modern Point of Sale App with State Management
Chapter 10: NotesAI Desktop: Creating an AI Powered Note Editor
Chapter 11: Unlock Access to the Code Bundle and the PDF Version
Other Books You May Enjoy
Index


