

Creating new cases and getting acquainted with the Autopsy 4 interface
Now that we have installed the Autopsy 4 GUI in Wine on Kali and downloaded the required files from the previous section, we can get started in the Autopsy 4 GUI by creating a new case using the sample evidence files, which we will then analyze in the next section.
Let’s begin by creating a new case within the Autopsy 4 GUI:
- Whether continuing from where we previously left off before downloading the sample evidence files or opening Autopsy 4 from the desktop or application menu, you will be greeted with the options to either begin a new case or open a case. For our purposes, let’s create a new case by clicking on New Case:
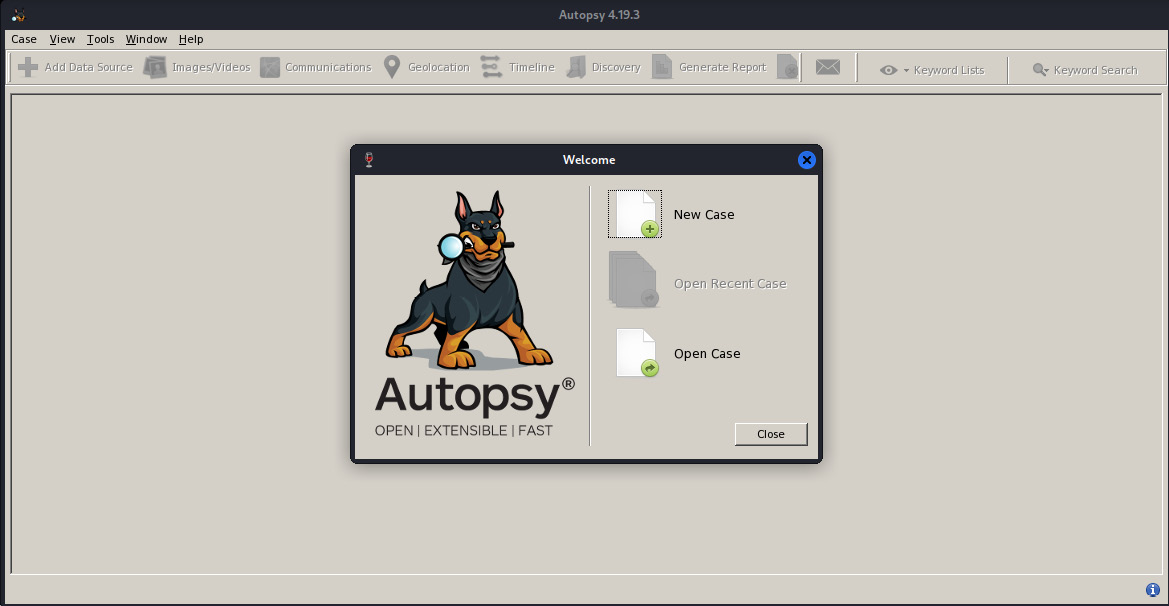
Figure 13.8 – Creating a new case in Autopsy
- Next, we can add a case name. I’ve also selected the Documents folder in Kali as my Base Directory folder to house all files and logs. Click on Next to continue.
...