Book Image

Node.js 6.x Blueprints

By : Fernando Monteiro
Book Image

Node.js 6.x Blueprints

By: Fernando Monteiro

Overview of this book

Node.js is the most popular framework to create server-side applications today. Be it web, desktop, or mobile, Node.js comes to your rescue to create stunning real-time applications. Node.js 6.x Blueprints will teach you to build these types of projects in an easy-to-understand manner. The key to any Node.js project is a strong foundation on the concepts that will be a part of every project. The book will first teach you the MVC design pattern while developing a Twitter-like application using Express.js. In the next chapters, you will learn to create a website and applications such as streaming, photography, and a store locator using MongoDB, MySQL, and Firebase. Once you’re warmed up, we’ll move on to more complex projects such as a consumer feedback app, a real-time chat app, and a blog using Node.js with frameworks such as loopback.io and socket.io. Finally, we’ll explore front-end build processes, Docker, and continuous delivery. By the end of book, you will be comfortable working with Node.js applications and will know the best tools and frameworks to build highly scalable desktop and cloud applications.
Table of Contents (16 chapters)
Node.js 6.x Blueprints
Credits
About the Author
About the Reviewer
www.PacktPub.com
Preface

Creating folders in the Cloudinary dashboard


As previously mentioned, we set up folders (folder: req.body.category). In this case, the folder name will be the category name. To better organize our images in the cloud, as we did this programmatically, we need to create them directly in Cloudinary dashboard:

  1. Log in to your Cloudinary account.

  2. Go to https://cloudinary.com/console/media_library:

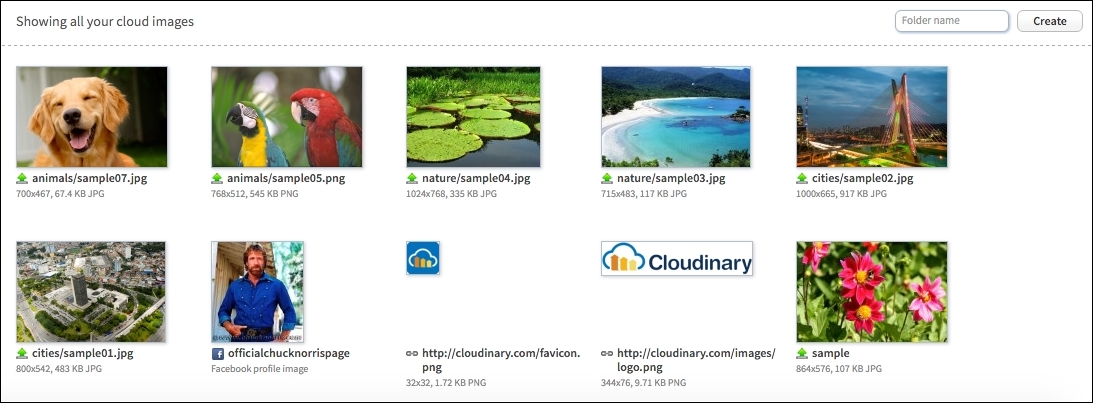
    Create folder screenshot

    Note

    Don't worry about the other images on the Cloudinary dashboard; they are the default in every account. You can delete them if you want.

  3. Click on the input field (folder name) on the right–hand side and create a folder, animals.

  4. Click on the input field (folder name) on the right–hand side and create a folder, cities.

  5. Click on the input field (folder name) on the right–hand side and create a folder, nature.

You can see all the categories created at the top of the images, as the following screenshot shows:

Categories screenshot

Now when you choose a category, you see only the images...