-
Book Overview & Buying

-
Table Of Contents

Pragmatic Test-Driven Development in C# and .NET
By :
Pragmatic Test-Driven Development in C# and .NET
By:
Overview of this book
Test-driven development is a manifesto for incrementally adding features to a product but starting with the unit tests first. Today’s project templates come with unit tests by default and implementing them has become an expectation. It’s no surprise that TDD/unit tests feature in most job specifications and are important ingredients for most interviews and coding challenges. Adopting TDD will enforce good design practices and expedite your journey toward becoming a better coding architect.
This book goes beyond the theoretical debates and focuses on familiarizing you with TDD in a real-world setting by using popular frameworks such as ASP.NET Core and Entity Framework. The book starts with the foundational elements before showing you how to use Visual Studio 2022 to build an appointment booking web application. To mimic real-life, you’ll be using EF, SQL Server, and Cosmos, and utilize patterns including repository, service, and builder. This book will also familiarize you with domain-driven design (DDD) and other software best practices, including SOLID and FIRSTHAND.
By the end of this TDD book, you’ll have become confident enough to champion a TDD implementation. You’ll also be equipped with a business and technical case for rolling out TDD or unit testing to present to your management and colleagues.
Table of Contents (21 chapters)
Preface

Part 1: Getting Started and the Basics of TDD
 Free Chapter
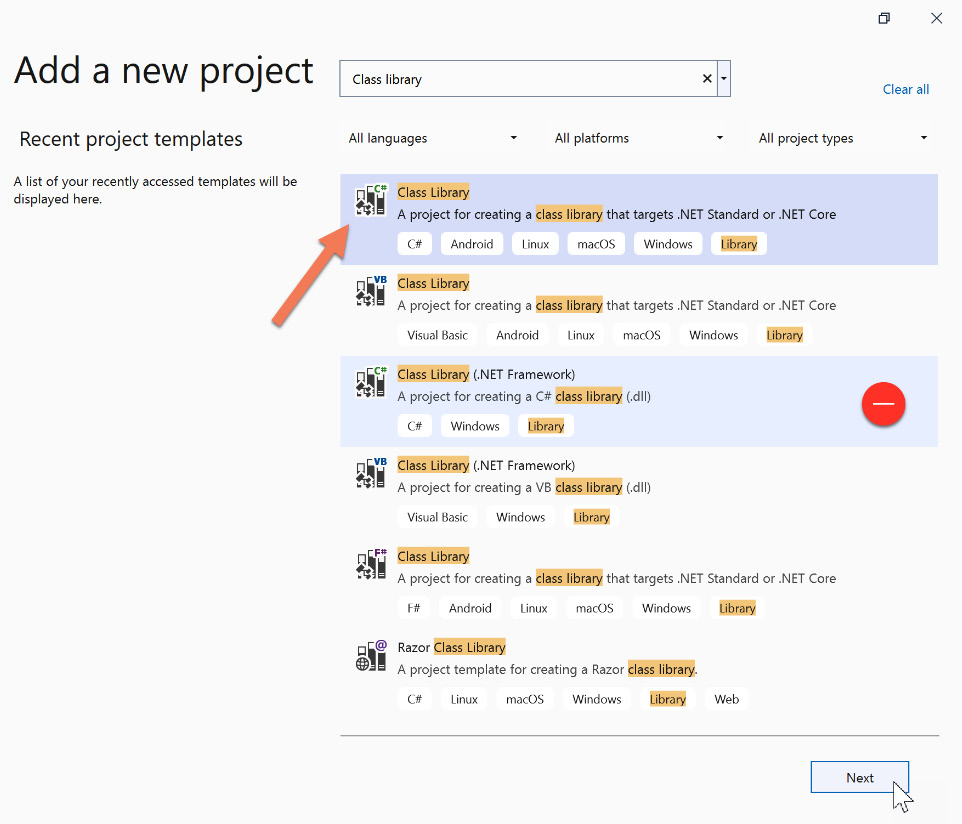
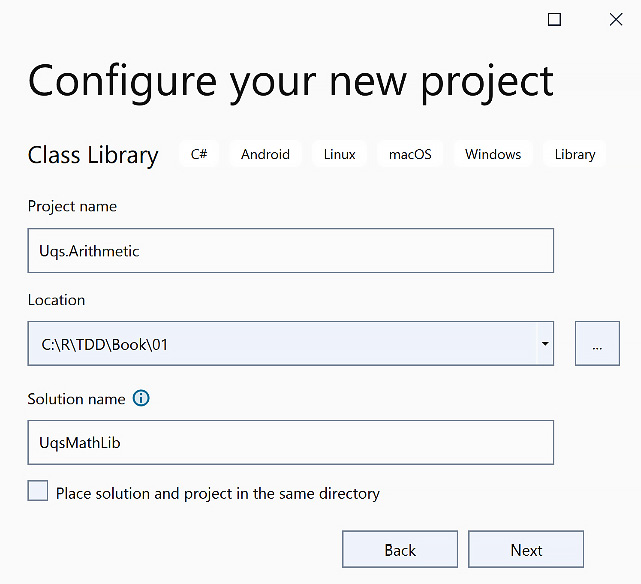
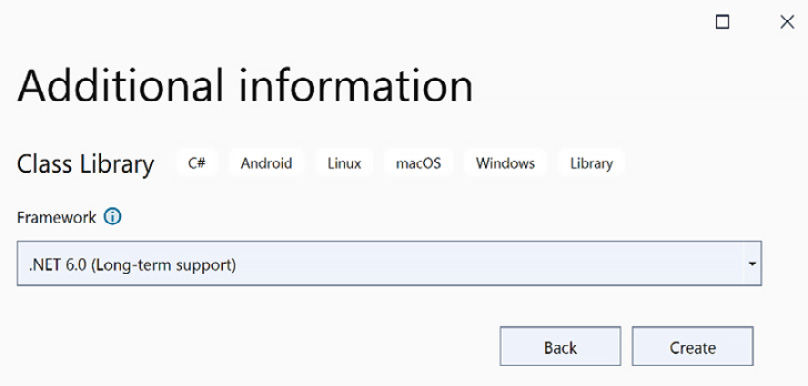
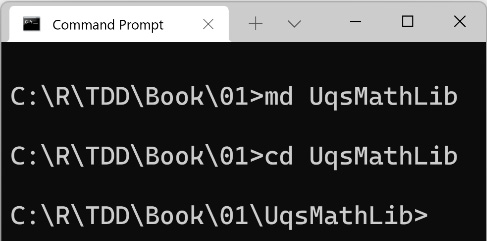
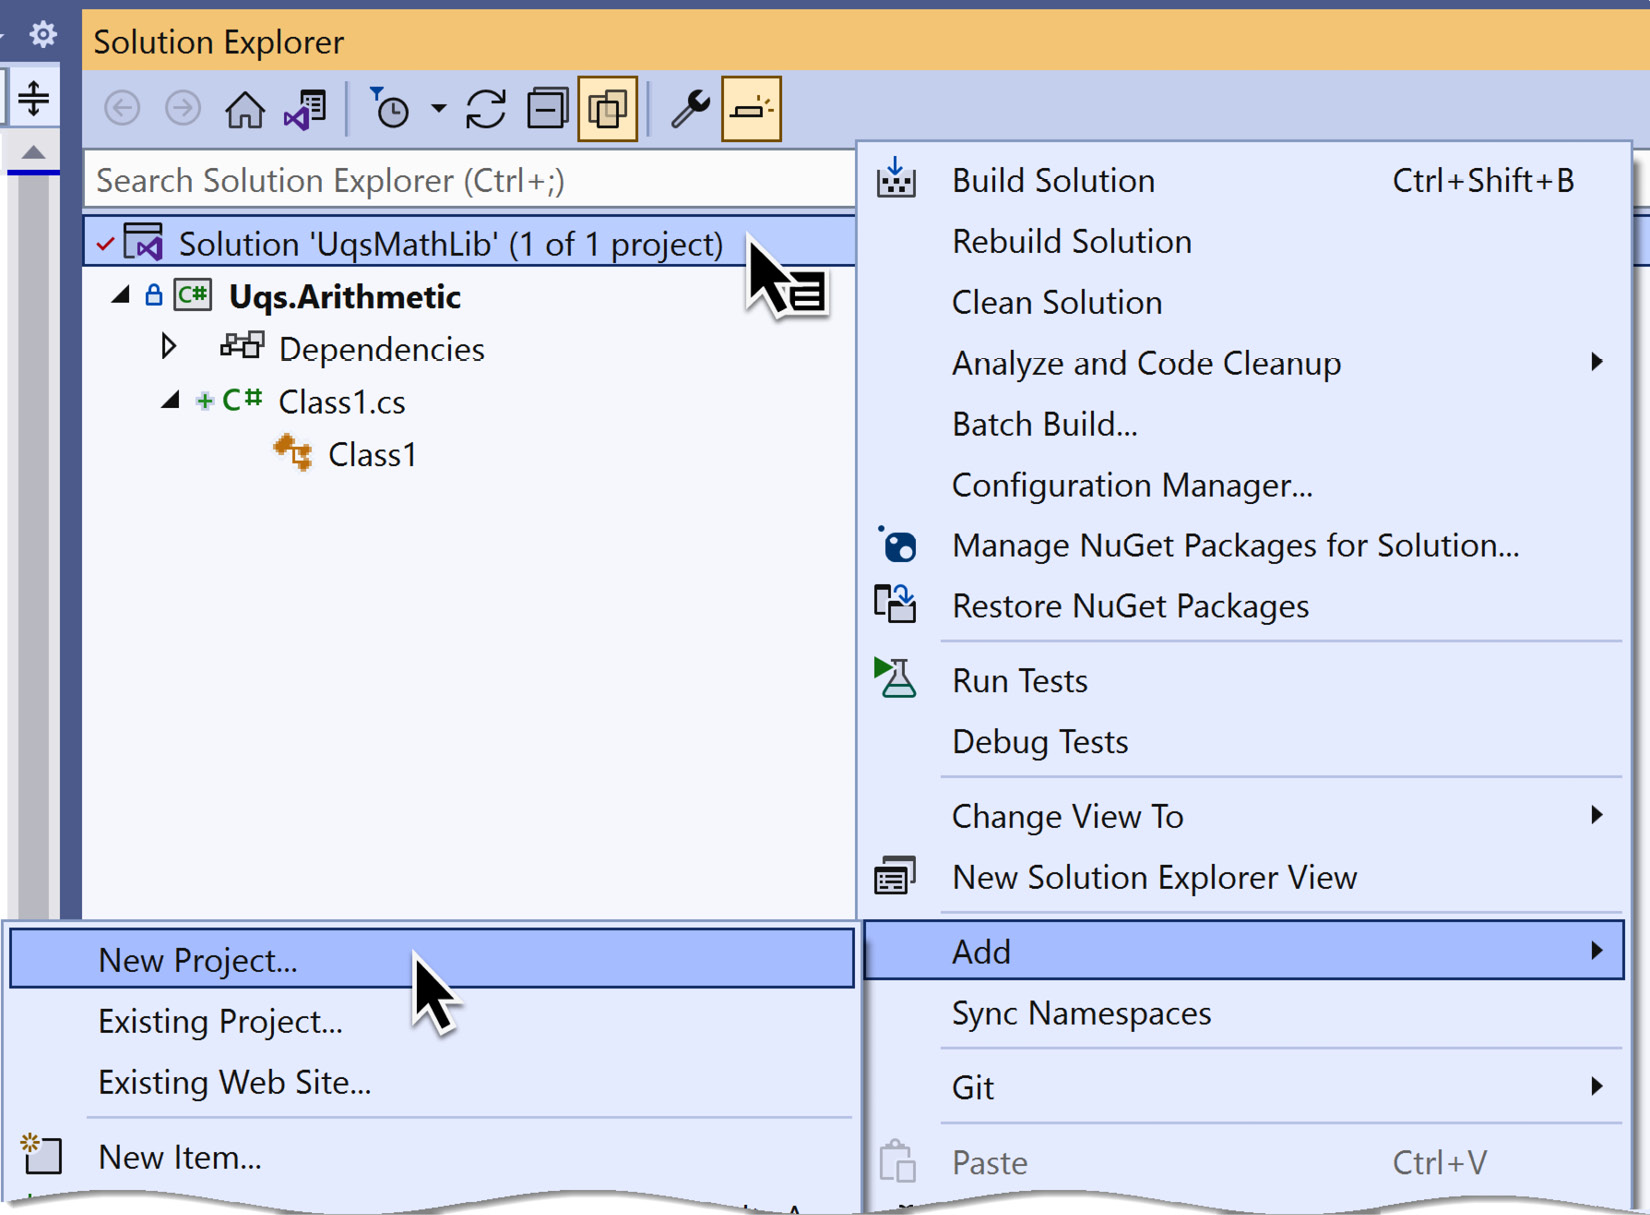
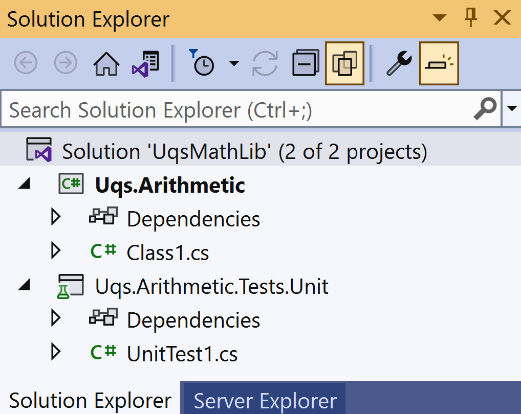
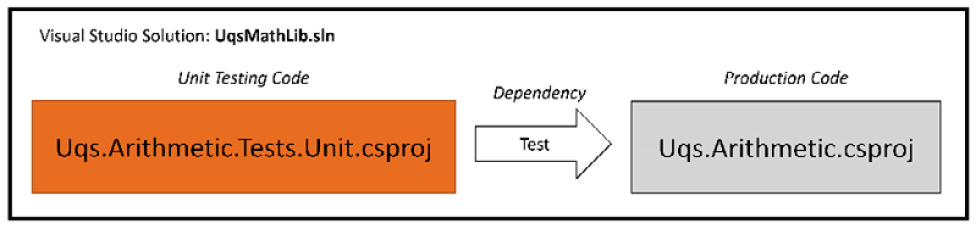
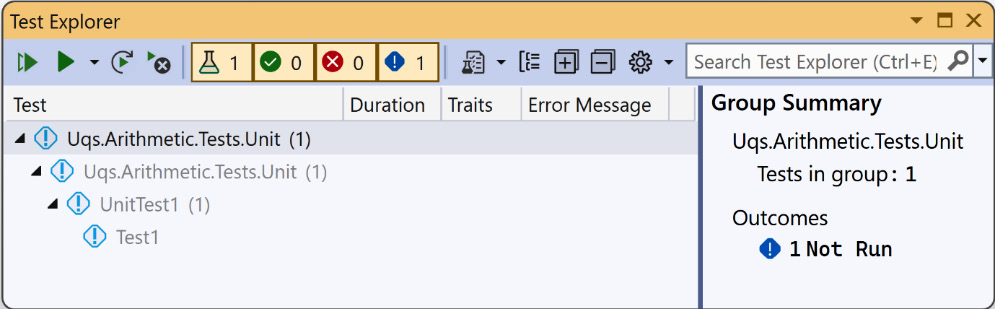
Chapter 1: Writing Your First TDD Implementation
Chapter 2: Understanding Dependency Injection by Example
Chapter 3: Getting Started with Unit Testing
Chapter 4: Real Unit Testing with Test Doubles
Chapter 5: Test-Driven Development Explained
Chapter 6: The FIRSTHAND Guidelines of TDD
Part 2: Building an Application with TDD
Chapter 7: A Pragmatic View of Domain-Driven Design
Chapter 8: Designing an Appointment Booking App
Chapter 9: Building an Appointment Booking App with Entity Framework and Relational DB
Chapter 10: Building an App with Repositories and Document DB
Part 3: Applying TDD to Your Projects
Chapter 11: Implementing Continuous Integration with GitHub Actions
Chapter 12: Dealing with Brownfield Projects
Chapter 13: The Intricacies of Rolling Out TDD
Index
Other Books You May Enjoy
Appendix 1: Commonly Used Libraries with Unit Tests
Appendix 2: Advanced Mocking Scenarios