

Dependency injection in Blazor WebAssembly
Modern software development is all about scaling, separation, and testing, so when you write the code, you should feel confident about its behavior and reliability. To achieve that goal, you need to keep the SOLID principles in mind throughout your development journey. The principle represented by the letter D is dependency inversion. This basically refers to hiding the implementation of your services behind interfaces. For example, for each service class you have, you can create an interface that contains the methods of that class, and make the class implement the interface. Then, while consuming this service, you reference the interface instead of the class directly. This strategy decouples the components or code pieces that use a service from its implementation by depending on the service’s abstract layer, which is the interface.
All this is amazing, but there is one missing part: how to initialize the object of a service that will be used in more than one place. This is where DI comes into play. It’s simply a technique that allows you to register your services that are used in other services or components in a centralized container, and that container will be responsible for serving those objects to the components that require them.
How dependency injection works
The following diagram shows the flow of a ConsoleLoggingService class:

Figure 1.7 – The flow of the dependency injection container and associated services
In the preceding figure, the ConsoleLoggingService class implements the ILoggingService interface. Then, in the DI container, we register an instance of ILoggingService with a new object of its implementation: ConsoleLoggingService. Whenever Component A requires logging logic, it uses ILoggingService (the abstraction layer of ConsoleLoggingService).
Instead of initializing a new object instance ourselves, the DI container is serving ILoggingService to Component A, which adds many benefits as it keeps the code separated. Further, the implementation logic for the full service could be changed at any time without touching Component A, which depends on the base interface of that service. For example, if we want to log the data to a server instead of the console to start using the new service, we can just write a new implementation of ILoggingService and register that instance in the DI container, without changing anything in Component A or any other client code.
Note
To learn more about the SOLID principles and software development, check out the following link: https://en.wikipedia.org/wiki/SOLID
Using dependency injection in Blazor WebAssembly
Blazor WebAssembly comes with a DI container out of the box. You can start by registering your services in the Program.cs file and then inject those services into the client components or services as well.
Let’s implement or write our first service, ILoggingService, as mentioned in the preceding section, with the Log method, and create an implementation to log the messages to the console window of the browser. Then, we will inject this service into the FetchData component and log the count of the weather data that the FetchData component gets. To implement the service, go through the following steps:
- In Solution Explorer, right-click on the project, and click on Add | New Folder. Name the folder
Services.
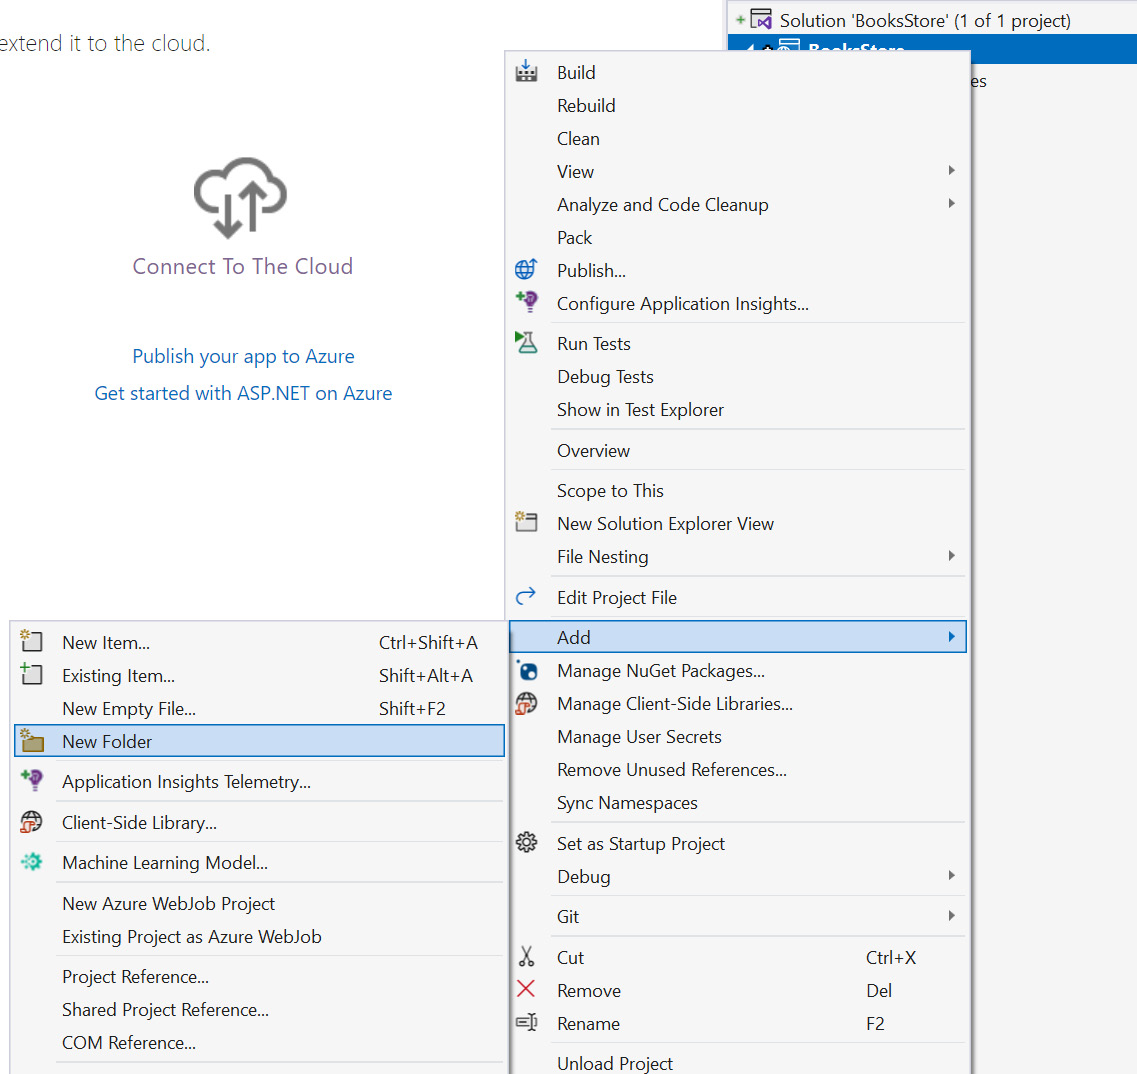
Figure 1.8 – Adding a new folder through Solution Explorer
- Right-click on the newly created folder and choose Add | New Item.
- From the dialog that shows up, choose Interface as the item type, and give it the name
ILoggingService. Then click Add. - The interface has been created, and the goal is to create the
Logmethod. As you know, in the interfaces, we only define the signature of the method (its return data type and its parameter), so we will define that method as follows:public interface ILoggingService{ void Log(string message);} - After creating the interface, we should create the implementation that logs that message to the console, so repeat step 2, but instead of creating an interface, let’s create a
classand give it the nameConsoleLoggingService. - After creating the class, let’s implement the
ILoggingServiceinterface and write the logic of that method as follows:public class ConsoleLoggingService : ILoggingService{ public void Log(string message) { Console.WriteLine(message); }}
The Log method calls the WriteLine method in the Console class, but in Blazor WebAssembly the Console.WriteLine method doesn’t act the same as it does in other .NET apps by printing a string in a console app. It prints the string in the console window within the developer tools of the browser.
You can access the developer tools in your browser as follows:
- Microsoft Edge: F12 in Windows or ⌘ + ⌥ + I for Mac
- Other browsers: Ctrl + Shift + I
The last thing to get this service ready to be injected into other components is registering it in the DI container.
- Go to the
Program.csfile and register the service using theAddScopedmethod:...using BooksStore.Services;var builder = WebAssemblyHostBuilder.CreateDefault(args);...builder.Services.AddScoped<ILoggingService, ConsoleLoggingService>();await builder.Build().RunAsync();
Our first service right now is ready to be used and injected within any other components. The following example will show you how to inject this service in the FetchData component and achieve the required target of logging the count of weather forecast items to the console window of the browser:
- Open the
_Imports.razorfile and add ausingstatement to theServicesnamespaces:@using BooksStore.Services
We add references to the Services namespace in the imports because those services will mostly be used across many components, so we don’t have to add that using statement in every component.
Open the FetchData component in the Pages folder and inject ILoggingService by using the @inject Razor directive in the component:
@page "/fetchdata"...
@inject ILoggingService LoggingService
<PageTitle>Weather forecast</PageTitle>
<h1>Weather forecast</h1>
....
- Our service is ready to be used and we can call the
Logfunction from the object instance in the C# code to log the count of the items as follows:.... </tbody> </table>}@code { private WeatherForecast[]? forecasts; protected override async Task OnInitializedAsync() { forecasts = await Http.GetFromJsonAsync<WeatherForecast[]> ("sample-data/weather.json"); LoggingService.Log($"Number of items retrieved is {forecasts.Count()}"); } …
If you run the project and navigate to the Fetch data page after the data is retrieved, you can open the console window in your browser and you should see the message Number of items retrieved is 5.
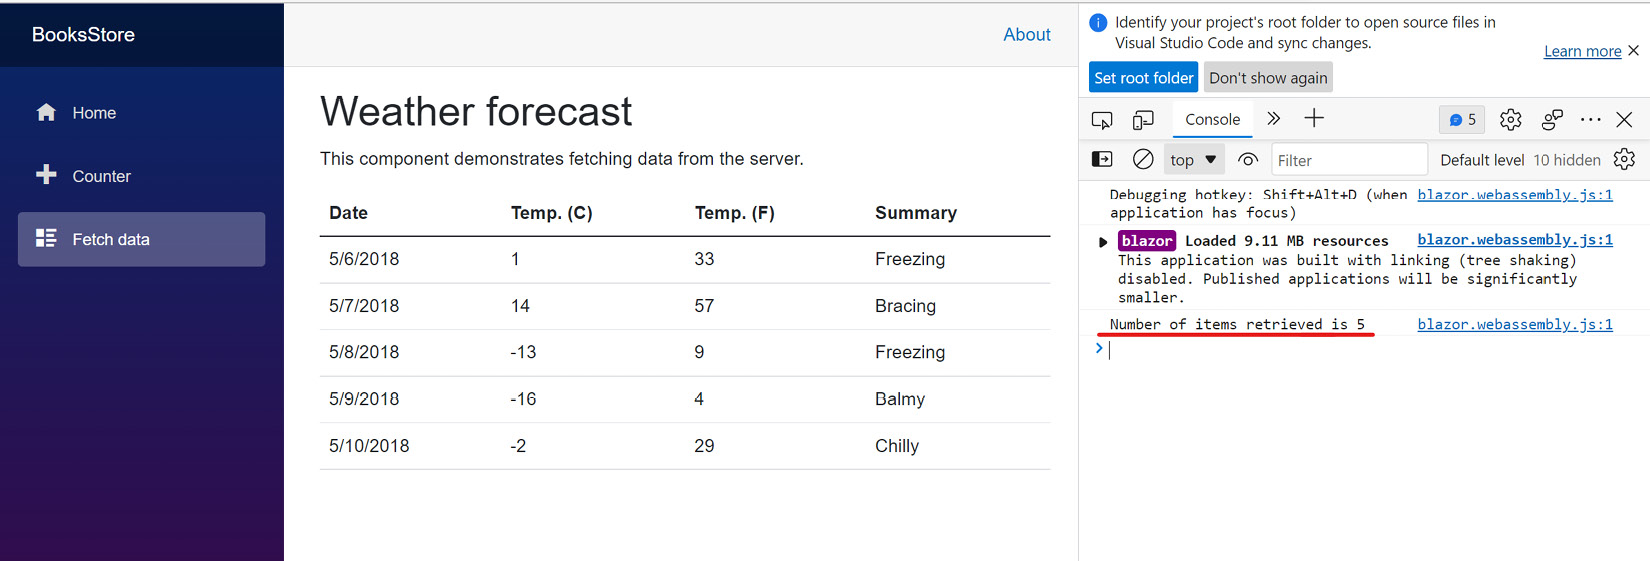
Figure 1.9 – A screenshot of the console window with the printed sentence
Tip
To learn more about the DI concept in Blazor, you can check the following link: https://learn.microsoft.com/en-us/aspnet/core/blazor/fundamentals/dependency-injection?view=aspnetcore-7.0.
Now we have implemented a full cycle, from creating the service abstract layer to its implementation, registering the service in the DI container, and finally injecting and consuming that service from a separate component.
Learning about DI and how it works will help you understand many aspects of the application, such as writing maintainable, decoupled services. Also, you will be able to consume built-in services such as the HttpClient to make API calls and the IConfiguration service, which we are going to use in the next section to read and consume the application configurations.