Ubercart can now be used for hotel bookings, thanks to the Hotel Booking System for Ubercart. To install it, browse to http://drupal.org/project/uc_hotel. After you download the module unzip it, and upload it to your site's /sites/all/modules folder. Now go to Administer | Site building | Modules to enable it. To configure it, go to Home | Administer | Store administration | Hotel Booking. Here you can set up all the options for your hotel using several available tabs as follows:
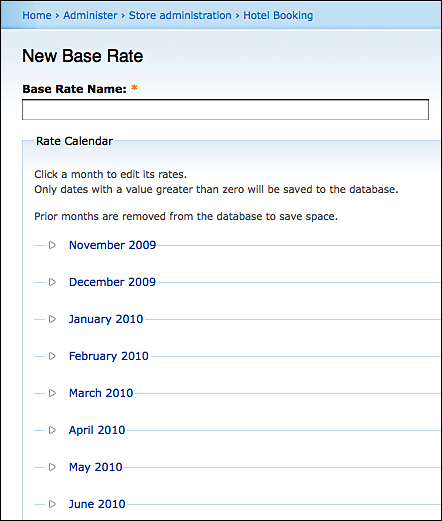
Base Rates: Here, you can create and manage the base rates for your hotel. Let's create a new one. Click on Add Base Rate. A new page will open.
This page has the following fields, which you need to fill:
Base Rate Name: Here, you can enter a descriptive name for this base rate.
Rate Calendar: Using the rate calendar, you can set up the base rates for the next 12 months. Click on a month to open its calendar. If you want to set a single rate for all the days of this month, enter it in the Set all month rates to field and click on Apply, else enter a different value for each day of this month.

Repeat this procedure for all the following months and click on Save.
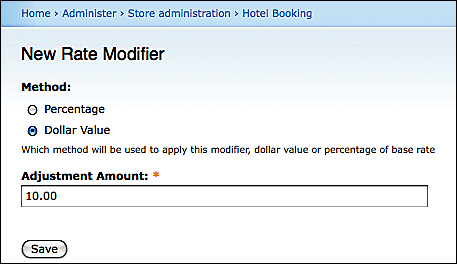
Rate Modifiers: By using the rate modifier, you can enter a price adjustment.
Click on Add Rate Modifier to create a new one.
Select whether your preferred method is Percentage or Dollar Value.
Enter an Adjustment Amount.
Click on Save to save the configuration.
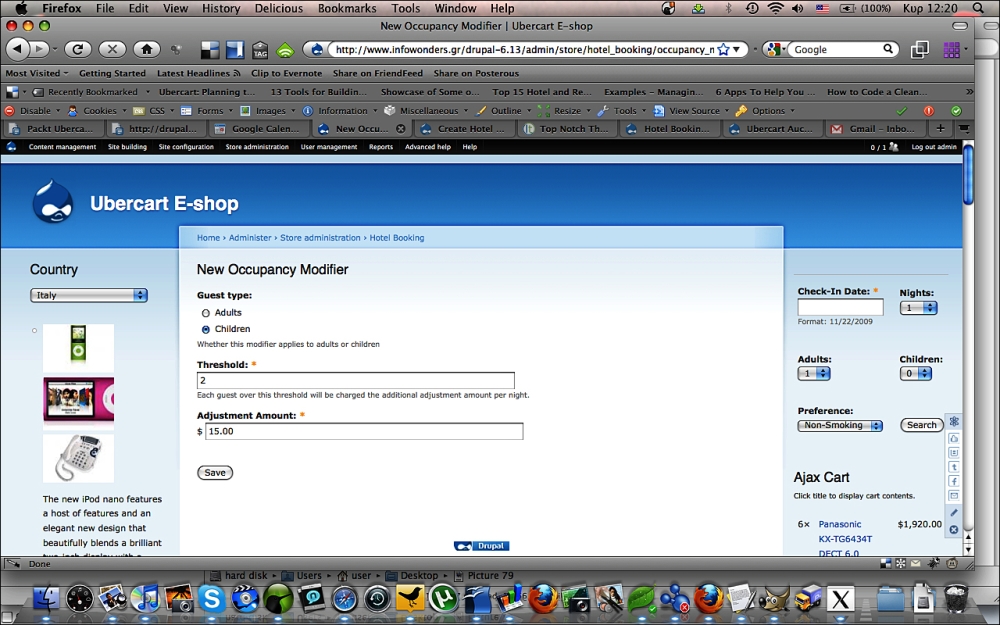
Occupancy Modifiers: The occupancy modifiers alter the cost of each room, for each additional guest in a room over the Threshold. Now click on Add Occupancy Modifier to create a new one.
Select which Guest type this modifier applies to: Adults, Children, or Occupants.
Enter a guest Threshold. Only guests above this threshold will be charged with the adjustment amount.
Enter the Adjustment Amount.
Click on Save to save the configuration.
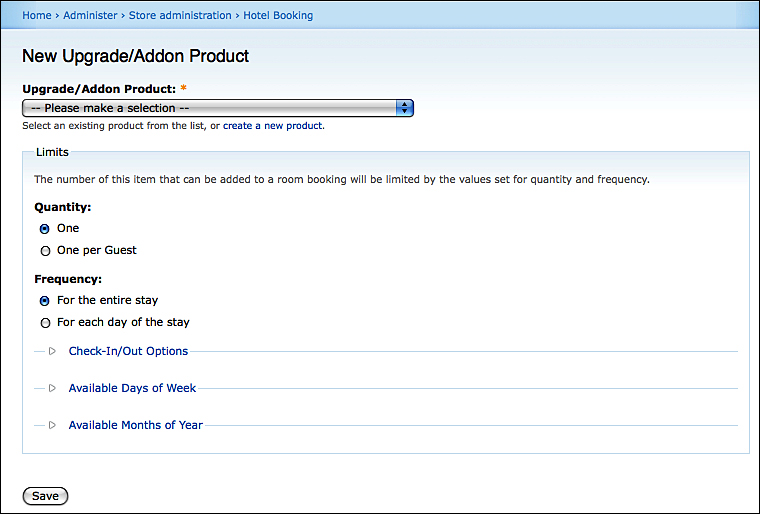
Upgrades & Addons: Here, products can be added as upgrade/addon products for your rooms. Click on Configure New Upgrade/Addon Product to add a new one.
Upgrade/Addon Product: Select this from the drop-down menu of the products in your site.
Quantity: Select whether the quantity will be One (per room) or One per Guest.
Frequency: Select whether this product will be available For the entire stay or For each day of the stay.
Check-In/Out Options: If this product is available for each day of the stay, you can define whether it will be Available on Check-In date or Available on Check-Out day.
Available Days of Week: Select for which days of the week this upgrade/addon will be available.
Available Months of Year: Select for which months of the year this upgrade/addon will be available.
Click on Save to store it.
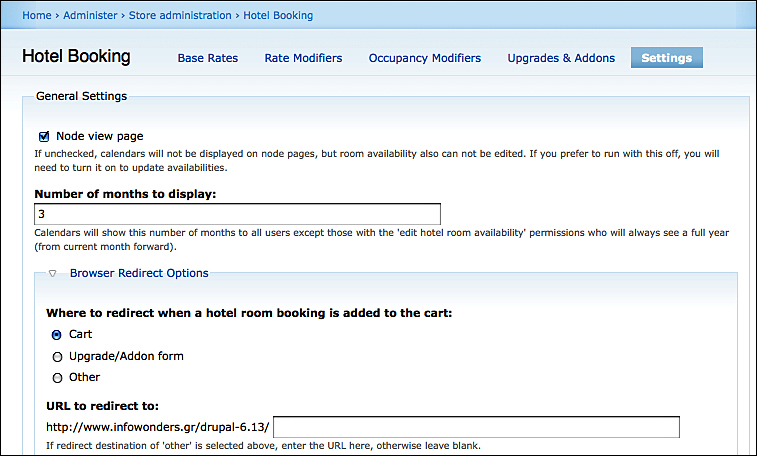
Settings: In this section you can set up the general settings for the hotel booking system.
Node view page: With this option turned off, you will not be able to view calendars on node pages, or update room availabilities, so it's better to keep it turned on.
Number of months to display: Here, you can define the number of months that site visitors will see in their calendars.
Browser Redirect Options: Here you can select the page to which the user will be redirected, when a room is added to the cart. You can select between the Cart page, the Upgrade/Addon form, or you can select Other, and enter a custom URL to redirect to.
Upgrade/Addon Page settings: If you are not satisfied with the default settings, enter a custom Upgrade/Addon Page Title and an Upgrade/Addon Page Text.
Search Result Options: In this section you can select the Sort Order of the search results. The available options are: Lowest price rooms first and Highest price rooms first.
Expiry Settings: If you haven't set an expiry date for the availability of your rooms, you can select when you want your available rooms to auto-expire, in relation to this date. The available options are: Yesterday, Today, and Tomorrow.
Teaser in cart: Select Yes if you want to show the teaser text in the cart page.
Teaser in cart, checkout, and order panes: Select Yes if you want to show the teaser text in cart, checkout, and order panes.
Reward Membership Prompt: If you are using a reward membership system, enter a text in this field to prompt the user to enter his or her reward number during checkout. Leaving this field empty disables it.
Finally, click on Save configuration to store these settings.