Book Image

OpenStack Networking Essentials

By : James Denton, Derek Chamorro
Book Image

OpenStack Networking Essentials

By: James Denton, Derek Chamorro

Overview of this book

The OpenStack Networking API offers users the ability to create and manage both basic and complex network architectures that blend the virtual and physical network infrastructure. This book kicks off by describing various components of Openstack Neutron and installing Ubuntu OpenStack based on Canonical's process. Further on, you will use various methods to interface with Neutron to create and manage network resources. You will also get to grips with the relationship between ports, networks, and subnets through diagrams and explanations, and see how the logical components are implemented via plugins and agents. Moving forward, you will learn how virtual switches are implemented and how to build Neutron routers. You will also configure networks, subnets, and routers to provide connectivity to instances using simple examples. At the end, you will configure and manage security groups, and will observe how these rules translate to iptables rules on the host machines. By the end of the book, you will be able to build basic network architectures using Neutron networks and routers in no time.
Table of Contents (15 chapters)
OpenStack Networking Essentials
Credits
About the Author
www.PacktPub.com
Preface
Index

Installing the CentOS operating system


Before an operating system can be installed, an ISO image must be downloaded from the Internet and attached to the virtual machine as a CD. The CentOS Server operating system can be downloaded from the following location:

https://www.centos.org/download/.

The minimal ISO is all that is required for a successful installation.

Attaching the ISO to the virtual machine

To attach ISO file to the virtual machine, follow these steps:

  1. Once the ISO has been downloaded, choose the virtual machine in the Oracle VM VirtualBox Manager and click the Settings icon. Click on the Storage icon to manage storage options:

  2. Click the first CD icon labeled Empty to modify the optical drive. Click the CD icon attach the downloaded ISO to the virtual machine. When prompted, click Choose Virtual Optical Disk File to find the ISO on the local machine:

  3. Select the ISO and click Open to attach the image. Once attached, the image will be listed under the IDE controller:

  4. Click OK to close the settings window.

Starting the virtual machine

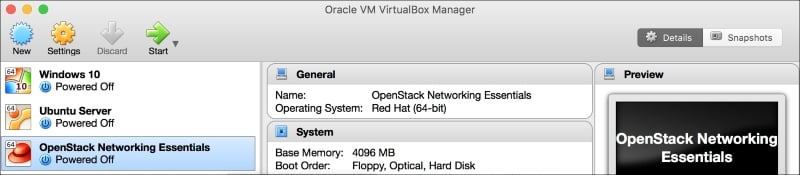
From the Oracle VM VirtualBox Manager, choose the virtual machine and click the Start icon:

The virtual machine will boot off the CD image and present you with the installation screen:

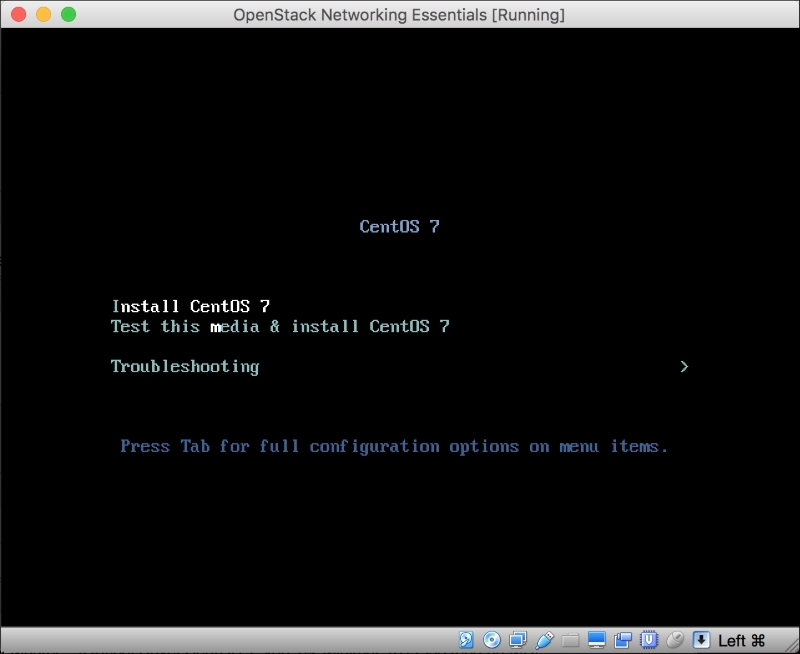
Choose Install CentOS 7 from the menu. Installing the guest operating system is outside the scope of this book. However, there are plenty of guides available on the Internet, including the following from HowtoForge:

https://www.howtoforge.com/centos-7-server.

It is safe to ignore prompts to configure networking, as those tasks will be completed once the virtual machine is up and running.