-
Book Overview & Buying
-
Table Of Contents

Windows Server Automation with PowerShell Cookbook - Fifth Edition
By :
Windows Server Automation with PowerShell Cookbook
By:
Overview of this book
The Windows Server Automation with PowerShell Cookbook is back with a new edition, featuring over 100 PowerShell recipes that will make your day-to-day work easier. This book is designed to help you learn how to install, configure and use PowerShell 7.2 effectively.
To start with, we’ll look at how to install and configure PowerShell 7.2, along with useful new features and optimizations, and show you how the PowerShell compatibility solution bridges the gap to older versions of PowerShell. We’ll also be covering a wide range of fundamental and more advanced use cases, including how to create a VM and set up an Azure VPN, as well as looking at how to back up to Azure. As you progress, you’ll explore topics such as using PowerShell to manage networking and DHCP in Windows Server, objects in Active Directory, Hyper-V, and Azure. We’ll also take a closer look at WSUS, containers and see how to handle modules that are not directly compatible with PowerShell 7. Finally, you’ll also learn how to use some powerful tools to diagnose and resolve issues with Windows Server.
By the end of this PowerShell book, you’ll know how to use PowerShell 7.2 to automate tasks on Windows Server 2022 with ease, helping your Windows environment to run faster and smoother.
Table of Contents (17 chapters)
Preface

 Free Chapter
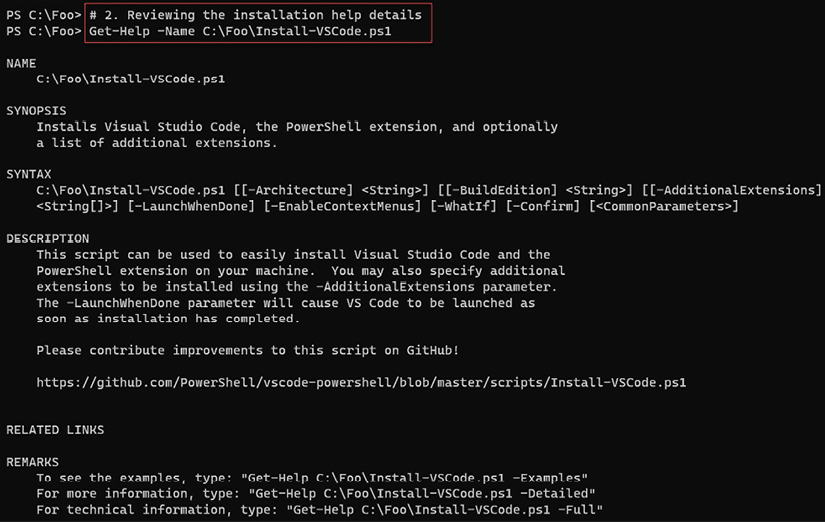
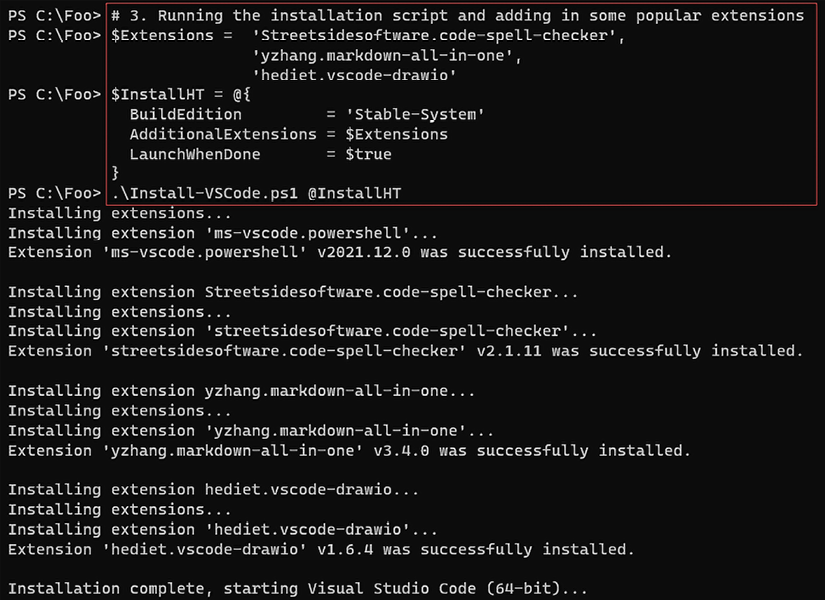
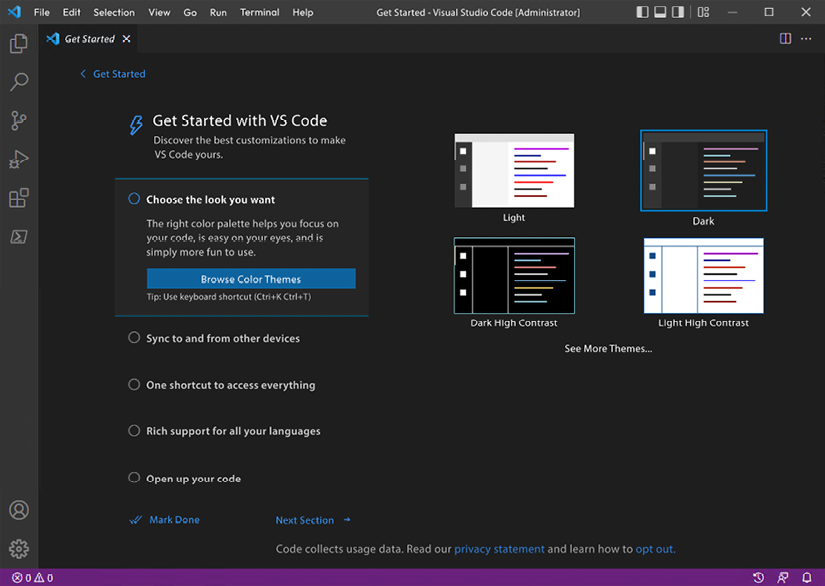
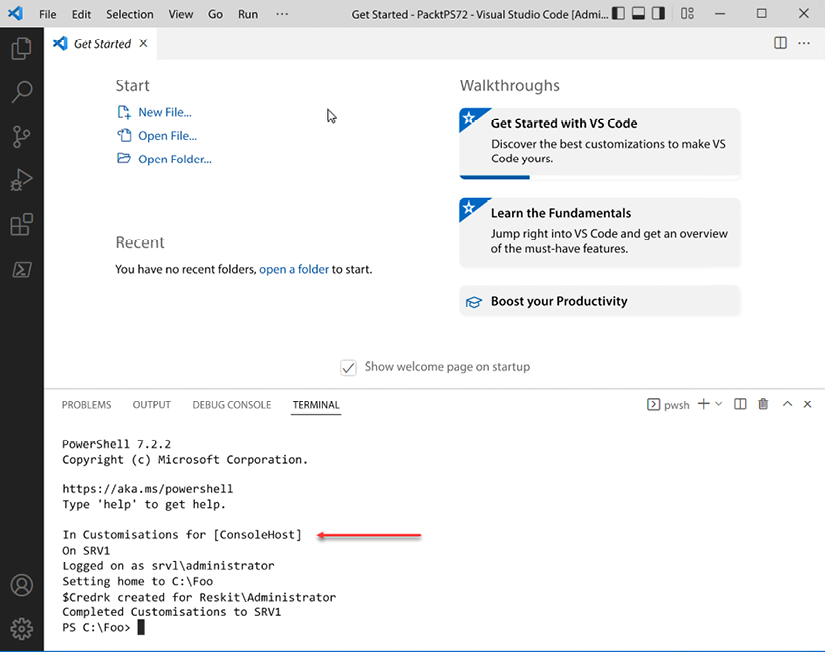
Installing and Configuring PowerShell 7
Managing PowerShell 7 in the Enterprise
Exploring .NET
Managing Active Directory
Managing Networking
Implementing Enterprise Security
Managing Storage
Managing Shared Data
Managing Printing
Exploring Windows Containers
Managing Hyper-V
Debugging and Troubleshooting Windows Server
Managing Windows Server with Window Management Instrumentation (WMI)
Managing Windows Update Services
Other Books You May Enjoy
Index