

Writing data to CSV and Hyper files
In this recipe, we'll create an output to a file. There are two file outputs supported by Tableau Prep, Comma-Separated Values (.csv) files and Tableau extracts (.hyper). When you're planning to perform downstream analysis with Tableau Desktop, I recommend using Tableau extracts as they have great performance benefits. If, however, you're utilizing it for any other purposes, CSV is a great open format to utilize.
Getting ready
Follow along with the steps in this recipe by downloading the Sample Files 2.8 folder from the book's GitHub repository.
How to do it…
To follow along with the recipe, open up a new flow in Tableau Prep Builder and configure a data input connection, using the Superstore Sales.hyper sample file.
Then, follow along with these steps:
- Hover your mouse over the data input step in your flow and click the + icon. The context menu allows you to select a step to be added to your flow in order to build your pipeline. In this recipe, we're focusing solely on the output, so select the Output option:

Figure 2.29 – Adding an Output step to your flow
- Tableau Prep will instantly add the Output step and select it, which brings up the bottom pane where the output configuration is visible, as well as a data preview.
- In the output settings, the default configuration is always File and the type is Tableau Data Extract (.hyper). We can change the output Name, which is the filename, Location, and Output type properties here. The only other available type is Comma-Separated Values (.csv). Let's change the location to the same folder as our input file:

Figure 2.30 – File output settings
Important note
Saving to Tableau Server: If you'd like to save a hyper extract output to Tableau Server, you can change the owutput from File to Published Data Source. This will then write the hyper file to Tableau Server. This is only possible for hyper files and not for CSV files.
- The only difference in settings between these two output types is the ability to append an existing file. This option is only available for Tableau data extracts and will write the data as new rows to an existing hyper file:

Figure 2.31 – Append to table is only available for Tableau hyper extracts
- We can adjust our output settings as desired. In this example, let's leave all the default settings as they are. When ready, click Run Flow to execute your flow and generate the output. When done, Tableau Prep will show a success message.
- Let's browse our filesystem and verify that the output has been produced:

Figure 2.32 – The output generated by Tableau Prep
- Anytime you've created a hyper extract, you can easily validate the extract by connecting to it in Tableau Desktop, using it as a data source:
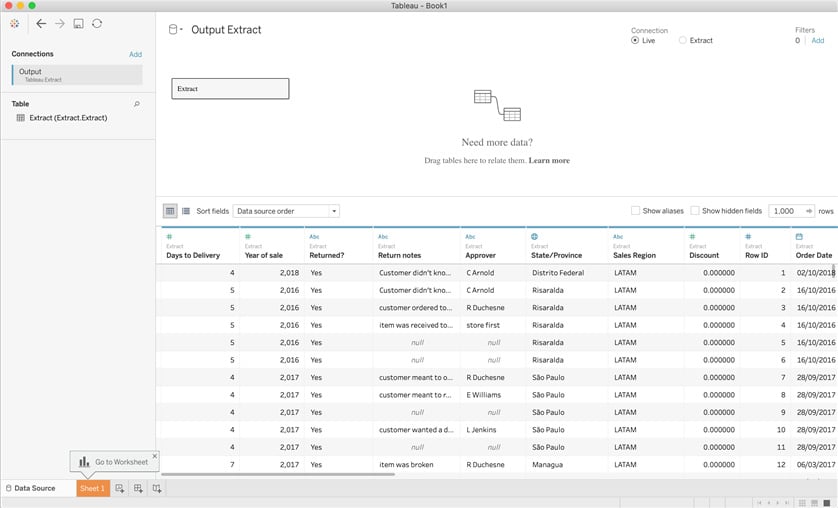
Figure 2.33 – Using Tableau Prep hyper output as a data source in Tableau Desktop
Using the steps in this recipe, you have learned how to write data from Tableau Prep to CSV and hyper files.
How it works…
Using the Output tool, you can easily write data to CSV and hyper files for use in other analytics applications. If you save your output to Tableau Server, this is a great way to maintain those outputs.