
A playground is basically an interactive Swift coding environment that displays the results of each statement as updates are made without having the need to compile and run a project. You can use playgrounds to learn and explore Swift, prototype parts of your app, and create learning environments for others. The interactive Swift code environment lets you experiment with algorithms, explore system APIs, and even create your very own custom views without the need to create a project. Once you perfect your code in the playground, simply move this code into your project. Given that playgrounds are highly interactive, they are a wonderful vehicle for distributing code samples with instructive documentation and can even be used as an alternative medium for presentations.
With the new Xcode 7 IDE, you can incorporate rich text comments with bold, italic, and bulleted lists with the addition of having the ability to embed images and links. You can even embed resources and support Swift source code in the playground to make the experience incredibly powerful and engaging, while the visible code remains simple.
Playgrounds provide you with the ability to do the following:
Share curriculum to teach programming with beautiful text and interactive code
Design a new algorithm and watch its results every step of the way
Create new tests and verify that they work before promoting them into your test suite
Experiment with new APIs to hone your Swift coding skills
Turn your experiments into documentation with example code that runs directly within the playground
Let's begin by opening the Xcode IDE and explore how to create a new playground file for the first time. Perform the following steps:
Open the
Xcode.appapplication either using the finder in yourApplicationsdirectory or using Apple's Launchpad. If you've never created or opened an Xcode project before, you will be presented with the following screen:
In the Welcome to Xcode dialog, select the Get started with a playground option. If this dialog doesn't appear, you can navigate to File | New | Playground… or simply press Shift + Option + Command + N.
Next, enter
SwiftLanguageBasicsas the name of your playground.Then ensure that you choose iOS as the platform that we will target.

Click on the Next button to proceed to the next step in the wizard.
Specify the location where you would like to save your project.
Then click on the Create button to save your playground at the specified location.
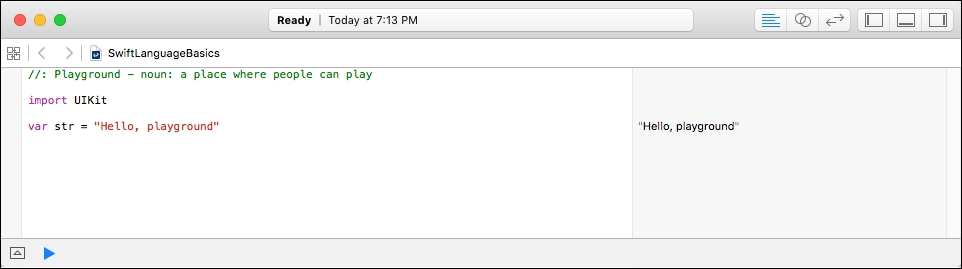
Once your project is created, you will be presented with the default playground template, as shown in the following screenshot:
In the next section, you will begin learning about some of the Swift language basics, start adding lines of code within this playground file, and see the results that we get when they are executed.