-
Book Overview & Buying
-
Table Of Contents
Oracle APEX Cookbook : Second Edition - Second Edition
The navigation bar is the area of an APEX application that is normally placed into the header of each page (unless the template is changed of course). As a standard, the Logout link is provided here, so users can quickly log out of the application from any page.
This recipe will show how a navigation bar can be customized. This will allow users to quickly reach certain pages in the application.
In this recipe we are going to see how you can create a quick link to a contact page. Before we can do that, we first need to have this page ready.
Contact and assign page ID 999 to it.For more information send an e-mail to [email protected]
For the second part of the recipe, we need an icon available. This can be any available icon as long as it measures 32 x 32 pixels. The Images directory of APEX offers some examples such as fndtip11.gif.
fndtip11.gif on your filesystem by using the Browse button.Furthermore, check your page template. In the Navigation Bar Entry section you should see at least the tags for image, alt, width, and height. For example:
<a href="#LINK#"><img src="#IMAGE#" alt="#ALT#" height="#HEIGHT#" width="#WIDTH#" />#TEXT#</a> [9672_01_06A.txt]
The navigation bar can be found in Shared Components. To reach it, navigate to Shared Components | Navigation Bar Entries.
As a default, there is already a logout entry available. Our new entry will be added here:
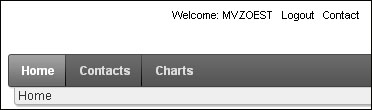
Contact and leave the rest on default. Click on Next.999 into Page and default the other fields. Click on Next.As you can see, a new entry is created next to the Logout entry. This means we are done and can now test it by running the application:


Instead of a link text it is also possible to use images. This can be helpful when developing, for example, a multi language application with a short list of languages. Instead of writing the full language name, we can use small icons depicting the available language.
In this example, we will only show you how to create a navigation bar icon and reuse our Contact page for this. Later on in the book, we will show you the details of how to create a language switch.
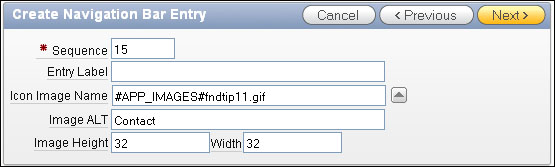
This time we need to enter some more information on this screen.
#APP_IMAGES#fndtip11.gif into the field.Contact into Image ALT.32 for both Image Height and Width:
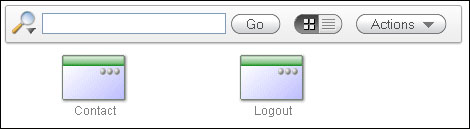
999 into Page and default the other fields. Click on Next.You will notice a new entry in the list of the navigation bar. When running the application, this will be shown with the selected icon.
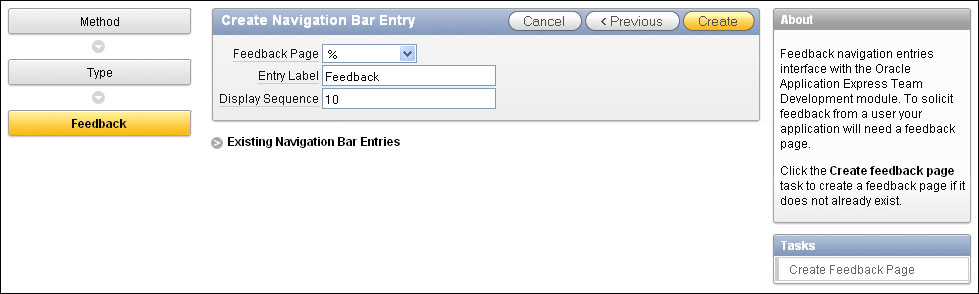
New in Application Express is the possibility to add a feedback link to the navigation bar. This will allow visitors of the application to quickly send feedback to the application developers or administrators.

102, leave everything else at default, and click on Create.102 from the Feedback Page pull down list, enter 20 into the Display Sequence, and click on Create.If you were to run the application now, no feedback link would be visible, because we have to allow the feedback option first.
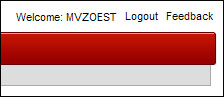
So click on Edit Application Properties and find the option Allow Feedback. Set the pull down to Yes and click on Apply Changes. Now the application is ready to receive some feedback from its visitors:

Change the font size
Change margin width
Change background colour