


-
Book Overview & Buying
-
Table Of Contents

Hands-On Automated Testing with Playwright
By :


Hands-On Automated Testing with Playwright
By:
Overview of this book
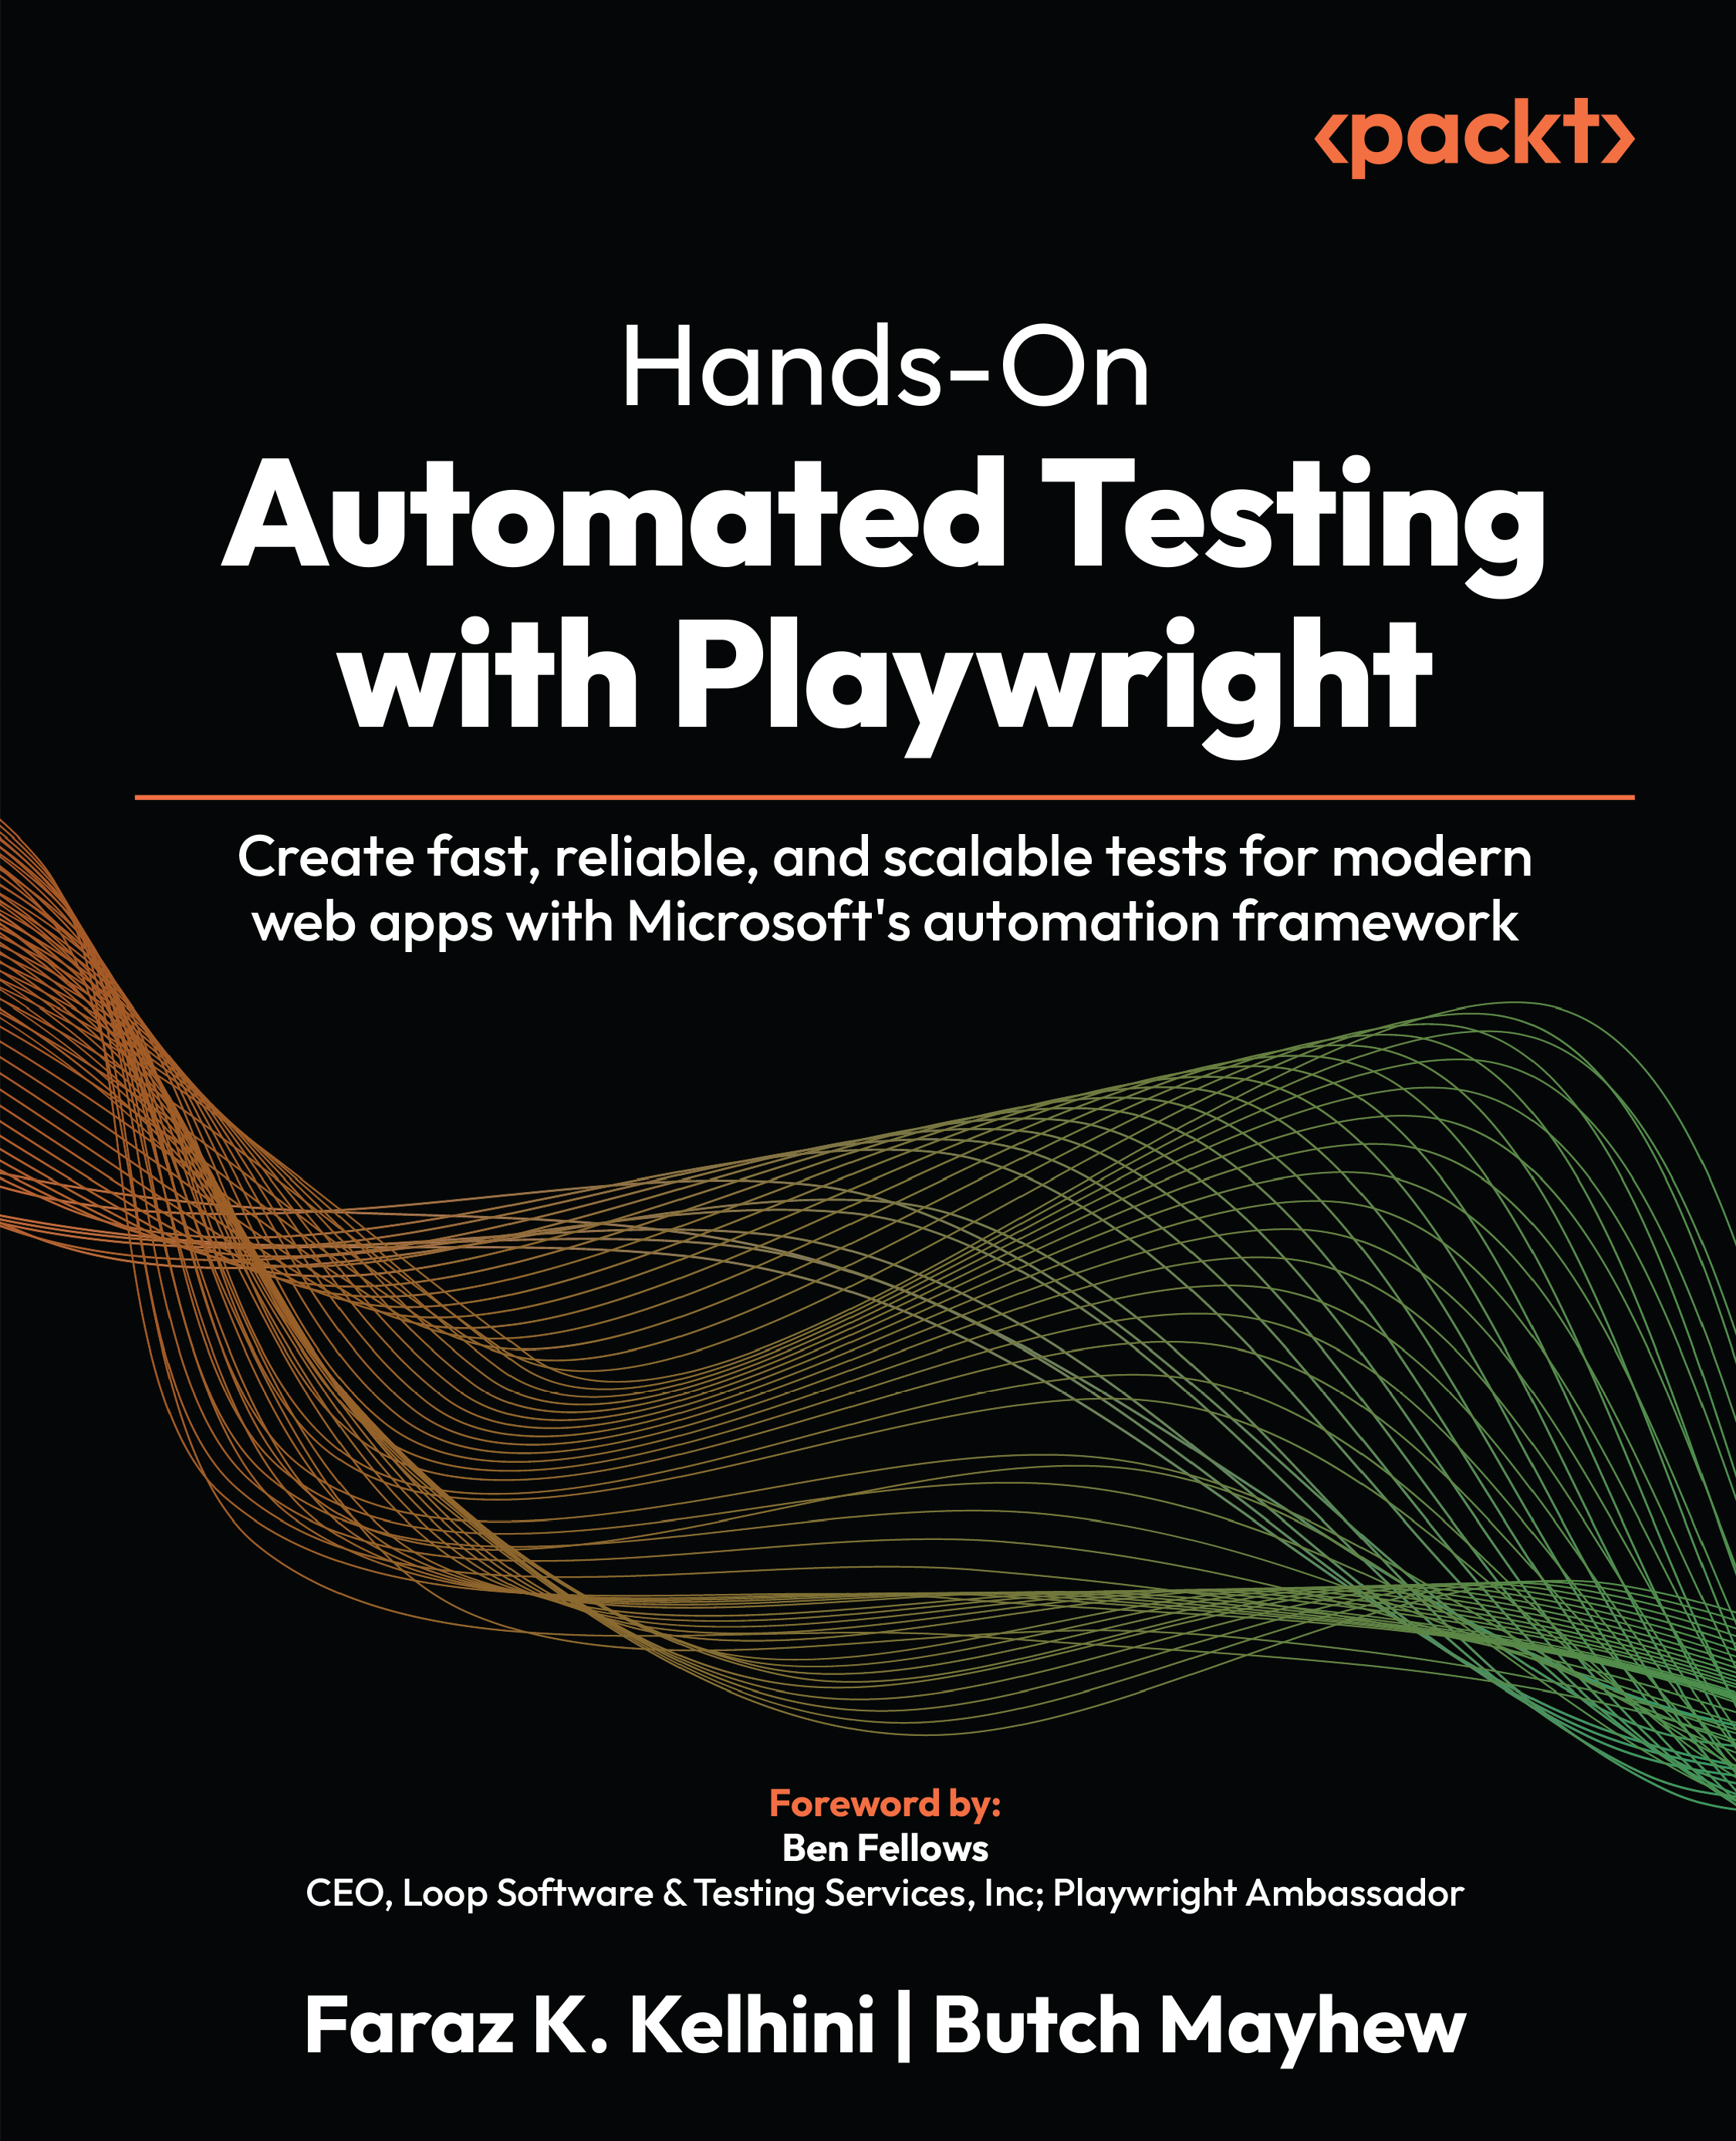
Hands-On Automated Testing with Playwright draws from Faraz and Butch’s extensive experience to help you harness the full potential of Microsoft's Playwright framework.
The book begins with a quick setup refresher, walking you through intermediate and advanced concepts such as dynamic content handling, accessibility testing, AI-generated test scripts, and parallel test execution. You'll explore real-world applications with end-to-end testing workflows for e-commerce and single-page applications. Alongside traditional topics such as accessibility, mobile, and visual regression testing, this book delves into modern trends such as CI/CD pipelines, DevOps integration, and AI-driven testing enhancements. Each chapter is packed with practical examples, expert techniques, and performance optimization tips, helping you gain a deep understanding of maintainable automation strategies.
Whether you're transitioning from manual testing or expanding your automation toolbox, this Playwright book provides the skills and confidence to build future-proof testing systems in today's complex web development landscape.
*Email sign-up and proof of purchase required
Table of Contents (22 chapters)
Preface


 Free Chapter
Quick Setup Refresher

Advanced Selectors and Handling Dynamic Content
Browser-Agnostic Testing Across Chromium, Firefox, and WebKit
AI-Powered Test Generation
Crafting Scalable Tests with the Fixture System
Test Parallelization and Performance Optimization
Integrating Workflows with CI/CD Pipelines
Headless Testing and Debugging
Accessibility Testing with Playwright and axe-core
Setting Up Visual Regression Testing
Testing Mobile Web Experiences
Testing Forms
Handling File Uploads and Downloads
Security and Authentication
Best Practices for Test Maintainability
Real-World Project – Testing an E-Commerce Website
Unlock Your Exclusive Benefits
Streamlining Playwright in Modern Development Workflows
References and Resources
Other Books You May Enjoy
Index


