VMware vSphere is a virtualization platform for building cloud infrastructure. It provides a high-performance virtualization layer. Multiple virtual machines can share hardware resources, for example, CPU, memory, storage, and so on. According to its licensed edition, vSphere can enable different features, such as vSphere vMotion, vSphere Storage vMotion, vSphere High Availability (HA), vSphere Fault Tolerance (FT), vSphere Data Protection, vSphere Distributed Switch, and so on.
Note
vSphere High Availability, vSphere Fault Tolerance, vSphere Data Protection, and vSphere Distributed Switch can be enabled on the vSphere Cluster Group and are managed by vCenter Server.
The following is the procedure for installation of VMware ESXi:
Download the VMware vSphere Server installer from VMware website at https://my.vmware.com/web/vmware/downloads.
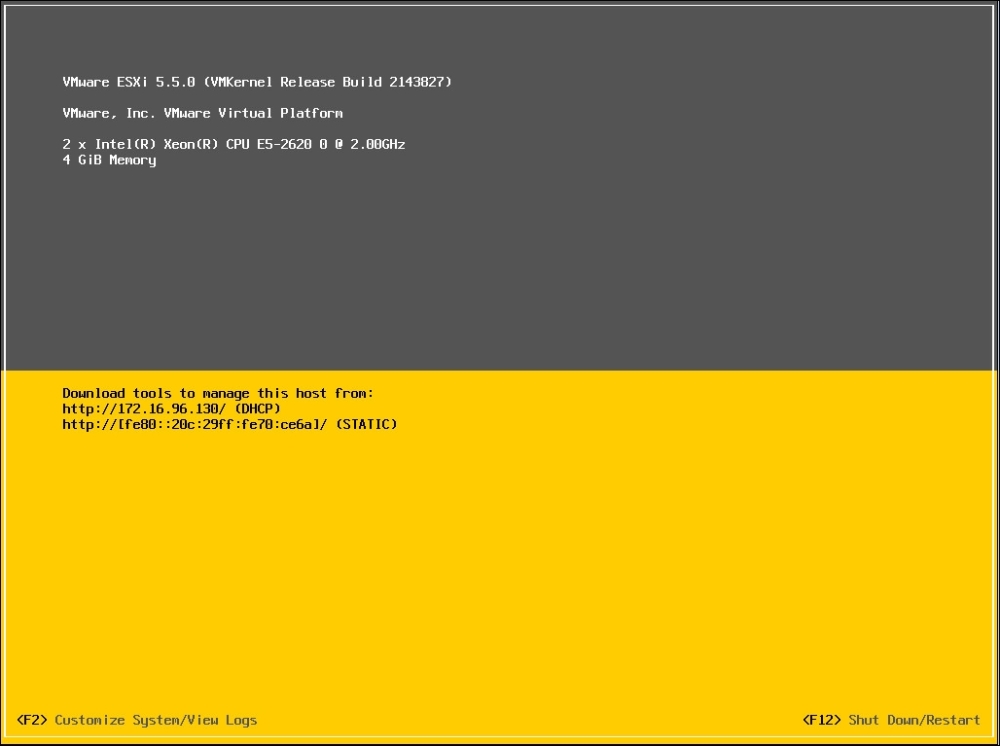
Ensure that your server is configured to boot from the CD-ROM drive.
Then ensure that the VMware ESXi installation media are available for the server:
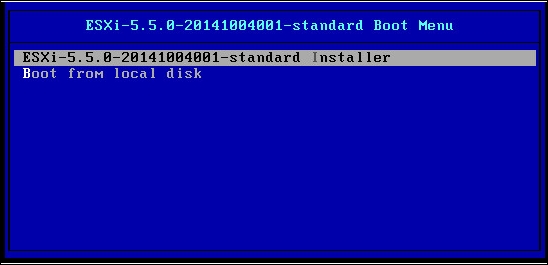
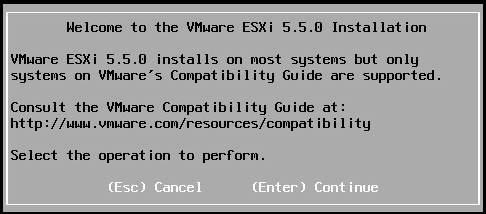
Press Enter to boot the ESXi installer, which will boot up and stop, showing a welcome message. Press Enter again to continue.
At the End User License Agreement (EULA) screen, press F11 to accept the EULA and continue with the installation.
Next, the installer will display a list of available disks on which you can install or upgrade ESXi.
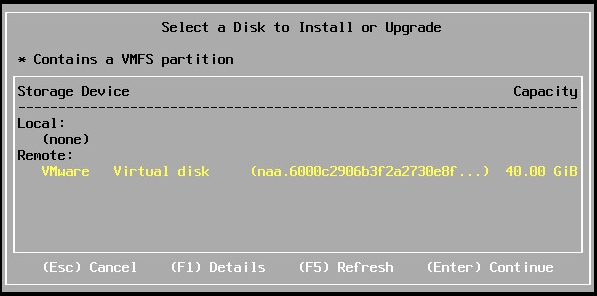
Select the device on which you are going to install ESXi, and press Enter.
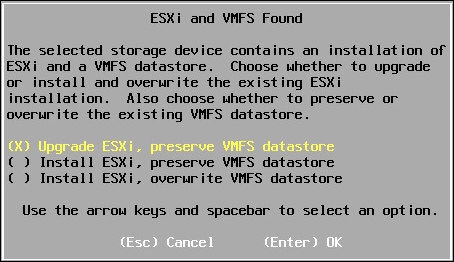
If the selected device includes a VMFS data store or an installation of ESXi, you'll be prompted to decide what action you want to take. Select the desired action and press Enter.
The available actions are as follows:
Upgrade ESXi, preserve VMFS datastore: This option upgrades to ESXi 5 and preserves the existing VMFS data store
Install ESXi, preserve VMFS datastore: This option installs a fresh copy of ESXi 5 and preserves the existing VMFS data store
Install ESXi, overwrite VMFS datastore: This option overwrites the existing VMFS data store with a new one, and freshly installs ESXi 5
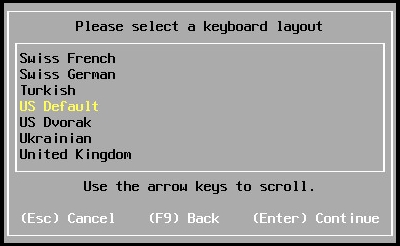
Select the desired keyboard layout and press Enter.
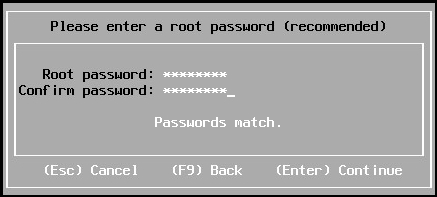
Enter a password for the root account. Press Enter when you are ready to continue with the installation:
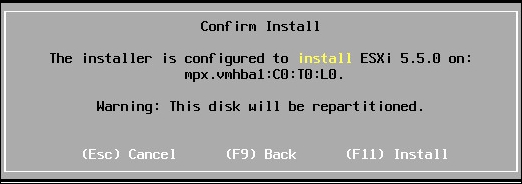
When you reach the final confirmation screen, press F11 to proceed with the installation of ESXi.
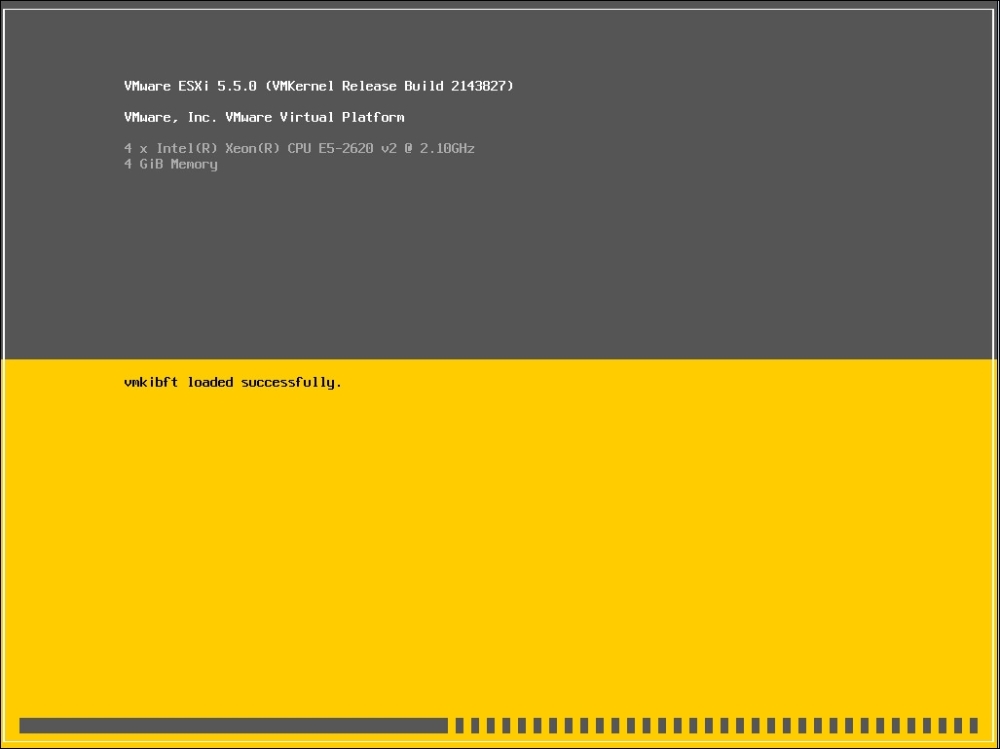
Once the installation process begins, it takes a few minutes to install ESXi on the selected storage device.
The installation of ESXi will start after you have clicked on Install:

Press Enter to reboot the host at the Installation Complete screen:

The ESXi installation is completed after reboot.