
A sample demonstration of a custom PAM portal can be downloaded at http://bit.ly/CustomPAMPortal.
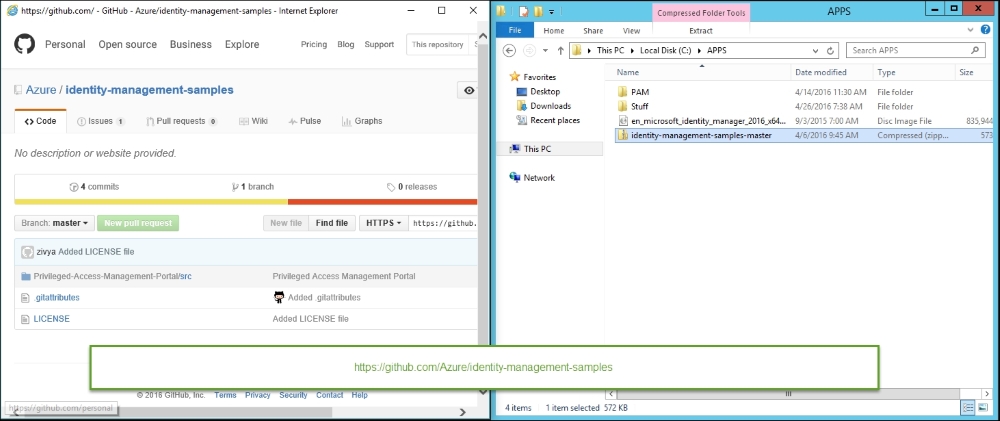
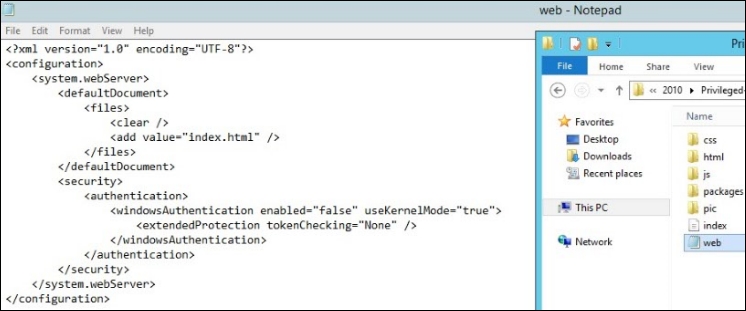
Unzip the Privileged-Access-Management-Portal\src folder to \Program Files\Microsoft Forefront Identity Manager\2010\Privileged Access Management Portal and create a web.config file, as shown in the following screenshot:
Note
As we have seen throughout this book, the MIM product still uses the old branding name of Forefront Identity Manager (FIM) in some of its services, folder paths, and portal dialog boxes.
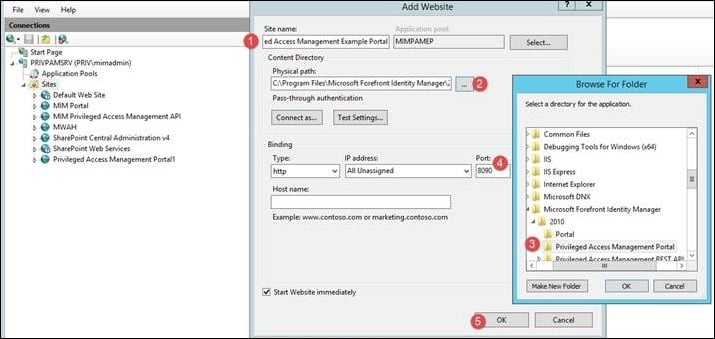
Next, create the IIS application pool, create a new IIS website with a name (1), then browse (2) and select the C:\Program Files\Microsoft Forefront Identity Manager\2010\Privileged Access Management Portal folder (3), and specify port 8090 (4). Lastly, click on OK (5). Take a look at the following screenshot:
If you try to create the website via PowerShell's New-Website cmdlet, you will find that the site will throw a server 500 error. The issue is documented in the blog...