
Please check the Git documentation (available at http://git-scm.com/documentation) for a thorough understanding of Git. However, let's see some basic commands on how to use Git (I assume that you have Git installed on your machine). The first step in setting up Git is to create a local folder where you'll be saving your work. So let's say you are writing a book on Angular and you want to show an example of Angular code to your readers, and you decide that you'll keep all the source code examples in a folder called
C:\book-examples.So let's open the Git bash on Windows (in the folder
C:\book-examples), or on Ubuntu you can open a terminal and type the following command:$ git init
Once you do that, you'll notice that there is a .git folder in your C:\book-examples folder:
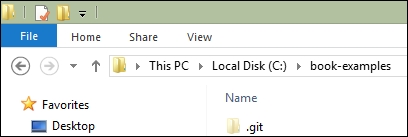
An empty Git repository
Now look at your terminal and it shows you the name of the Git branch as shown in the following screenshot:
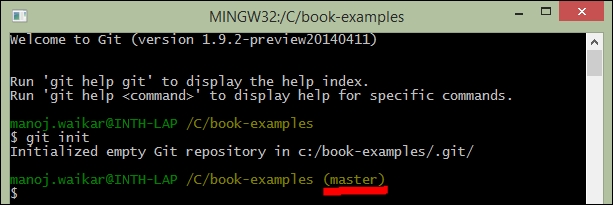
Git Bash showing the current branch of a Git repository
So as you see (in the preceding screenshot), master is the default branch created, and we can create any number of branches as we want.
Now suppose you add an index.html file in the folder. Run the following command:
$ git status
After running the command, you'll see that you have an untracked file in the local Git repository:
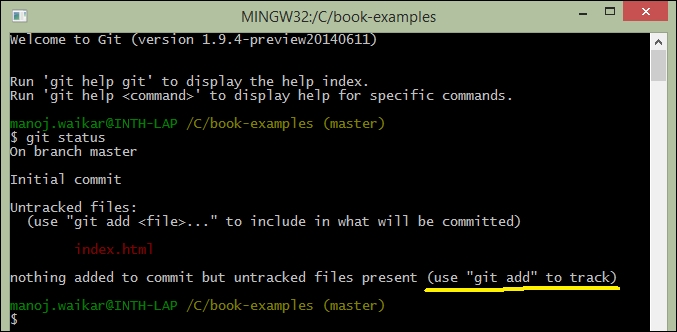
Git Bash showing an untracked file in the repository.
If you look closely, Git also gives you a helpful message to add the file to track.
Note
Tracking means the file is now being tracked by the Git (VCS), so any changes made to the file are being recorded, and we can see the entire history of changes made to that file.
So, now let's add the file to Git using the following command:
$ git add index.html
Check the Git status again:
$ git status
Now you'll see that Git has a newly added file (as shown in the following screenshot):
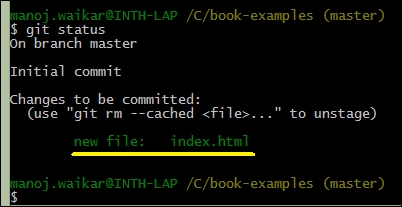
Git Bash showing the newly added file
Now we have to commit this file to Git. When we commit a file to any VCS, we ask the VCS to remember the changes to the file, and the VCS increments the version of the file with the changes in the file. So, let's commit our changes using the following command:
$ git commit -m "my first git commit"
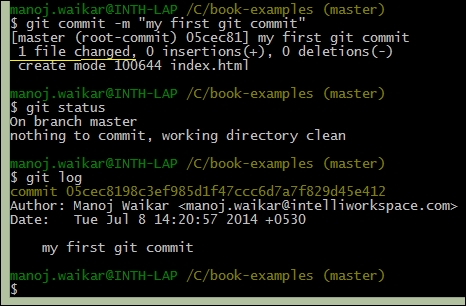
Git Bash showing the last commit message
Now, while committing, it's always good practice to enter a commit message describing what changes you have done or what additional code/documentation you are committing. The –m flag stands for the commit message. After committing, if you again check git status, you'll notice that you have a clean directory.
A VCS won't be too useful if you are not able to share your changes with the other team members, and that's where the centralized part of the VCS comes into picture; every change made to a system should go into the centralized (remote) repository (if it has to be shared with the team). So to share your changes with the team, you'll have to push your changes to a remote repository using the following command:
$ git push origin master
Here, origin is an alias for the URL of the remote repository, and master is the branch we are working in. To use this command, we need to set up a remote repository. Please check the section for GitHub and Bitbucket on how to set up a remote repository.
Now, let's see how we can create a new branch in Git. To create a new branch, we've to use the following command:
$ git branch bugfix15
To switch to that branch, use the following command:
$ git checkout bugfix15
There is a shortcut for the preceding two commands which is this command:
$ git checkout –b bugfix15
This command will create a new branch and switch to it at the same time. Please check Git branching (available at http://git-scm.com/book/en/v2/Git-Branching-Basic-Branching-and-Merging) for more information about branching and merging. Now let's see why branching and merging are useful.