Book Image

JavaScript from Frontend to Backend

By : Eric Sarrion
Book Image

JavaScript from Frontend to Backend

By: Eric Sarrion

Overview of this book

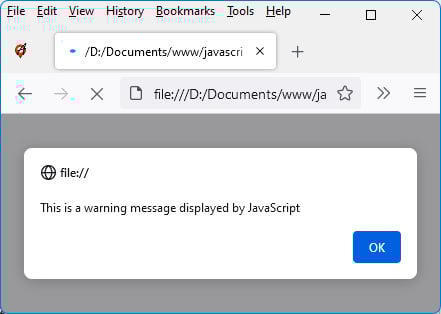
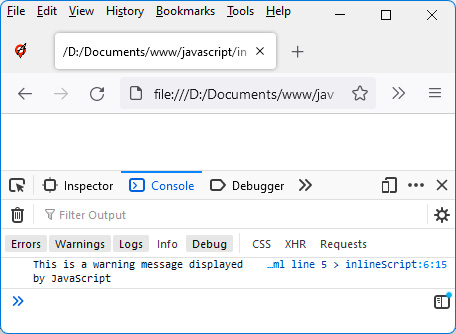
JavaScript, the most widely used programming language in the world, has numerous libraries and modules and a dizzying array of need-to-know topics. Picking a starting point can be difficult. Enter JavaScript from Frontend to Backend. This concise, practical guide will get you up to speed in next to no time. 
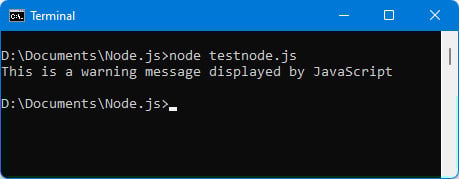
This book begins with the basics of variables and objects in JavaScript and then moves quickly on to building components on the client-side with Vue.js and a simple list management application. After that, the focus shifts to the server-side and Node.js, where you’ll examine the MVC model and explore the Express module. Once you've got to grips with the server-side and the client-side, the only thing that remains is the database. You’ll discover MongoDB and the Mongoose module. In the final chapter of this fast-paced guide, you'll combine all these pieces to integrate a Vue.js application into a Node.js server, using Express to structure the server code and MongoDB to store the information. By the end of this book, you will have the skills and confidence to successfully implement JavaScript concepts in your own projects and begin your career as a JavaScript developer.
Table of Contents (14 chapters)
1
Part 1: JavaScript Syntax
4
Part 2: JavaScript on the Client-Side
8
Part 3: JavaScript on the Server-Side

Running a JavaScript program

JavaScript is a language that can be executed in a browser (Edge, Chrome, Firefox, Safari, and so on) or on a server with Node.js installed. Let’s see how to write JavaScript programs for these two types of configurations.

Running a JavaScript program in a browser

To run a JavaScript program in a browser, you must insert the JavaScript code into an HTML file. This HTML file will then be displayed in the browser, which will cause the execution of the JavaScript code included in the file.

JavaScript code can be specified in the HTML file in two different ways:

  • The first way is to write it between the <script> and </script> tags, directly in the HTML file. The <script> tag indicates the beginning of the JavaScript code, while the </script> tag indicates the end of it. Anything written between these two tags is considered JavaScript code.
  • The second way is to write the JavaScript code in an external file and then include this external file in the HTML file. The external file is included in the HTML file by means of a <script> tag in which the src attribute is indicated, the value of which is the name of the JavaScript file that will be included in the HTML page.

Let’s take a look at these two ways of writing the JavaScript code that will run in the browser.

Writing JavaScript code between the <script> and </script> tags

A file with an .html extension is used; for example, the index.html file. This file is a traditional HTML file, in which we have inserted the <script> and </script> tags, as shown in the following code snippet:

index.html file

<html>
  <head>
    <meta charset="utf-8" />
    <script>
      alert("This is a warning message displayed by 
      JavaScript");
    </script>
  </head>
  <body>
  </body>
</html>

We have inserted the <script> tag (and its ending </script>) in the <head> section of the HTML page. The <meta> tag is used to indicate the encoding characters to use. In the preceding code, we have used utf-8 so that accented characters can be displayed correctly.

The JavaScript code inserted here is rudimentary. We use the alert() function, which displays a dialog box on the browser screen, displaying the text of the message indicated in the first parameter of the function.

To run this HTML file, simply move it (by dragging and dropping) from the file manager to any browser; for example, Firefox. The following screen is then displayed:

Figure 1.1 – Displaying a message in the browser window

Figure 1.1 – Displaying a message in the browser window

The JavaScript code present in the <script> tag ran when the HTML page was loaded. The message indicated in the alert() function is therefore displayed. A click on the OK button validates the message displayed and continues the execution of the JavaScript code. As we can see, there is nothing more in the program; the program ends immediately by displaying a blank page on the screen (because no HTML code is inserted into the page).

Writing JavaScript code to an external file

Rather than integrating the JavaScript code directly into the HTML file, we can put it in an external file, then insert this file into our HTML file by indicating its name in the src attribute of the <script> tag.

Let’s first write the file that will contain the JavaScript code. This file has the file extension .js and will be named codejs.js, for example, and will be coded as follows:

codejs.js file (in the same directory as index.html)

alert("This is a warning message displayed by JavaScript");

The codejs.js file contains the JavaScript code that we had previously inserted between the <script> and </script> tags.

The index.html file is modified to include the codejs.js file using the src attribute of the <script> tag as follows:

index.html file

<html>
  <head>
    <meta charset="utf-8" />
    <script src="codejs.js"></script>
  </head>
  <body>
  </body>
</html>

Note

Notice the use of the <script> and </script> tags. They are contiguous (that is, they have no spaces or newlines between them), which is necessary for this code to work.

In the rest of our examples, we will mainly use the insertion of the JavaScript code directly in the code of the HTML file, but the use of an external file would produce the same results.

Let’s now explain another way to display messages, without blocking the program as before with the alert(message) function.

Using the console.log() method instead of the alert() function

The alert() function used earlier displays a window on the HTML page, and the JavaScript program hangs waiting for the user to click the OK button in the window. Thus, the function requires the intervention of the user to continue the execution of the program.

An alternative makes it possible to use a display without blocking the execution of the program. This is the display in the console, using the console.log() method.

Note

The console.log() form of writing means that we use the log() method, which is associated with the console object. This will be explained in detail in the following chapter.

Let’s write the program again using the console.log() method instead of the alert() function. The index.html file will be modified as follows:

index.html file using console.log() method

<html>
  <head>
    <meta charset="utf-8" />
    <script>
      // display a message in the console
      console.log("This is a warning message displayed by 
      JavaScript");
    </script>
  </head>
  <body>
  </body>
</html>

Note

The use of comments in the JavaScript program requires placing // before what needs to be commented out (on the same line). You can also comment out several lines by enclosing them with /* at the beginning and */ at the end.

Let’s run this program by pressing the F5 key on the keyboard to refresh the window. A white screen will appear, with no message.

Indeed, the message is only displayed in the console. The console is only visible if you press the F12 key (and can be removed by pressing F12 again).

Note

You can go to the site https://balsamiq.com/support/faqs/browserconsole/, which explains how to display the console in the event that the F12 key is inoperative.

The following is what you will see when the console is displayed:

Figure 1.2 – Message displayed in the console

Figure 1.2 – Message displayed in the console

The message is displayed in the lower part of the browser window.

Now that we have learned how to run a JavaScript program in a browser, let’s move on to learning how to run a JavaScript program on a Node.js server.

Running a JavaScript program on a Node.js server

To run a JavaScript program on a Node.js server, you must first install the Node.js server. To install, simply go to https://nodejs.org/ and download and install the server. Note that if you are using macOS, Node.js is already installed.

We can verify the correct installation of Node.js by just opening a shell and typing the command node -h in it. Node.js is correctly installed if the command help appears as follows:

Figure 1.3 – node -h command that displays help

Figure 1.3 – node -h command that displays help

Once Node.js is installed, it can run any JavaScript program you want. All you have to do is create a file containing JavaScript code, for example, testnode.js. The contents of this file will be executed by the server using the node testnode.js command.

Here is a very simple example of a JavaScript file that can be executed by Node.js: It displays a message in the server console. The server console here represents the command interpreter in which you type the command to execute the testnode.js file:

testnode.js file

console.log("This is a warning message displayed by JavaScript");

Let’s type the command node testnode.js in the preceding terminal window.

Figure 1.4 – Running a Node.js program

Figure 1.4 – Running a Node.js program

We see that the message is displayed directly in the command interpreter.

In the previous examples, we have written JavaScript code that runs both on the client side (the browser) and on the server side. The question that can be asked is: can the same code run in exactly the same way on the client side and on the server side?

Differences between JavaScript code written for the browser and the server

Although the two pieces of code are similar, we cannot say that they are the same, because the issues to be managed are different in the two cases. Indeed, on the client side, we will mainly want to manage the user interface with JavaScript, while on the server side, we will rather want to manage files or databases. So, the libraries to use in these two cases will not be the same.

On the other hand, we find in both cases the same basic language, which is the JavaScript language that we will be describing now.