It is sometimes necessary to repeat an instruction (or a block of instructions) several times. Rather than writing it several times in the program, we put it in a processing loop. These instructions will be repeated as many times as necessary.
Two types of processing loops are possible in JavaScript:
- Loops with the
while() statement
- Loops with the
for() statement
Let’s take a look at these two types of loops.
Loops with while()
The while(condition) instruction allows you to repeat the instruction (or the block of instructions) that follows. As long as the condition is true, the statement (or block) is executed. It stops when the condition becomes false.
Using this while() statement, let’s display the numbers from 0 to 5:
Displaying numbers from 0 to 5
var i = 0;
while (i <= 5) {
  console.log("i = " + i);
  i++;
}
The preceding console.log() instruction is written only once in the program, but as it is inserted in a loop (while() instruction), it will be repeated as many times as the condition is true.
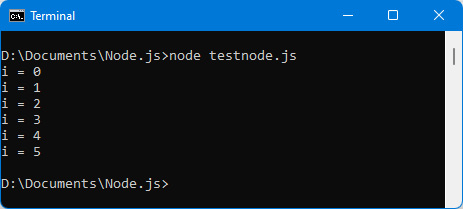
The variable i allows you to manage the condition in the loop. The variable i is incremented by 1 (by i++) at each pass through the loop, and we stop when the value 5 is exceeded:
Figure 1.15 – Displaying numbers from 0 to 5
We can verify that this program works in a similar way on the client side, that is to say in a web browser, as follows:
Displaying digits 0–5 in a browser console
<html>
  <head>
    <meta charset="utf-8" />
    <script>
      var i = 0;
      while (i <= 5) {
        console.log("i = " + i);
        i++;
      }
    </script>
  </head>
  <body>
  </body>
</html>
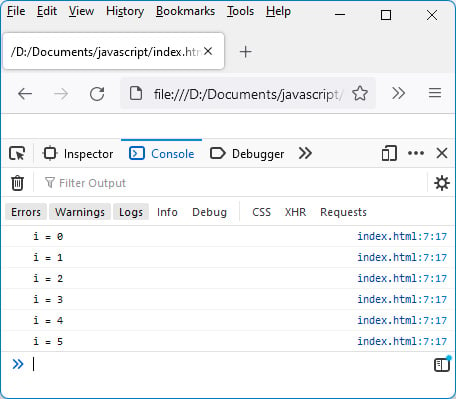
The result is displayed similarly in the browser console:
Figure 1.16 – Displaying numbers from 0 to 5 in the browser console
Loops with for()
Another widely used form of loop is one with a for() statement. It simplifies the writing of the previous loop by reducing the number of instructions to write.
Let’s write the same program as before to display the numbers from 0 to 5 using a for() statement instead of the while() statement:
for (var i=0; i <= 5; i++) console.log("i = " + i);
As we can see in the preceding code, a single line replaces several lines as in the previous instance.
The for() statement has three parts, separated by a ;:
- The first corresponds to the initialization instruction. Here, it is the declaration of the variable
i initialized to 0 (which is the beginning of the loop).
- The second corresponds to the condition: as long as this condition is
true, the statement (or the block that follows) is executed. Here, the condition corresponds to the fact that the variable i has not exceeded the final value 5.
- The third corresponds to an instruction executed after each pass through the loop. Here, we increment the variable
i by 1. This ensures that at some point, the condition will be false, in order to exit the loop.
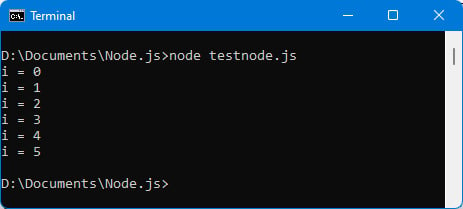
Let’s verify that it works identically to the while() statement:
Figure 1.17 – Loop with the for() statement
In this section, we learned how to write sequences of statements that will be executed multiple times, using the while() and for() statements. Now let’s look at how to group statements together, using what are called functions.


 Free Chapter


