
Once the installation files have been uploaded to the root directory, and the database has been created, it's time for the Drupal installation to begin.
1. We begin the installation of Drupal by navigating in our browser to the same directory into which we put it, such as http://mydomain.com or
http://localhost. The first screen will look like the screenshot shown below. On the left-hand side you should see a progress list. Here, you can choose to install Drupal in a language other than the default option of English, but we'll click on the Install Drupal in English option.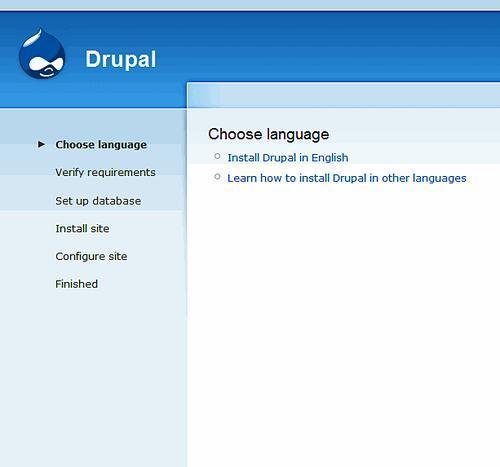
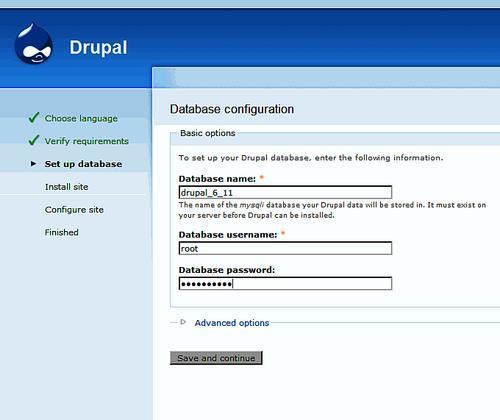
2. The next step is to provide the database information. As mentioned earlier, Drupal expects the database to exist. We'll fill in the information (as seen in the screenshot below), and then click on the Save and continue button.
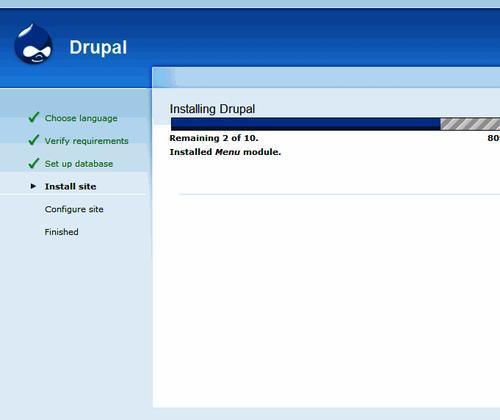
3. And away we go! As shown in upcoming screenshot, Drupal will now begin installing itself. It creates the tables and initial records in the database.

4. During the installation, you might see progress information, as shown next, but the installation is so quick that the numbers will flash by in a moment.
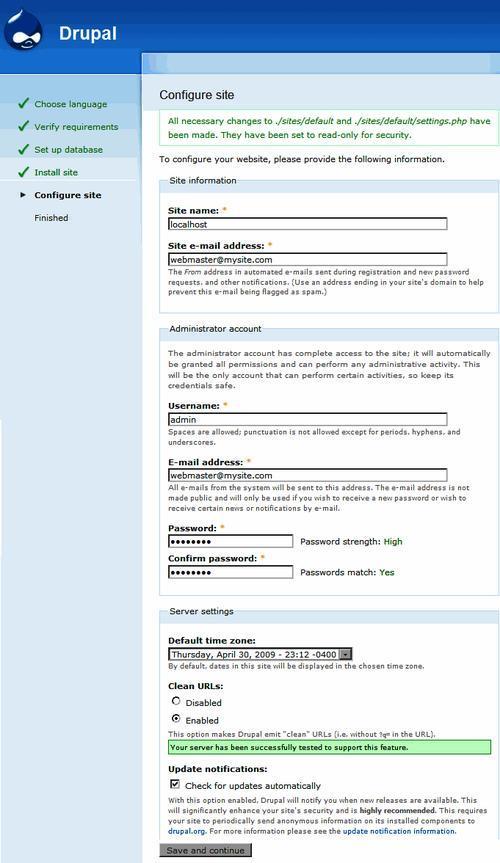
5. Once the file installation has completed, Drupal will prompt you for the configuration information in order to update the skeleton configuration file that you copied earlier. Let's take a look at the entries on this screen:
The Site name will default to the name of your web server. Change it to the name that you want to give the site.
The Site email address will be the address that the site will send emails from to new users, such as
<[email protected]>or<[email protected]>.The Username is the name that will be used for the super-administrator (the one who can do anything to the site).
The E-mail address here is the one belonging to the user that we have just named.
Password is the password for this user. Drupal will tell you how secure it feels the password is: Low, Medium or High. Using a mix of upper and lowercase characters, numbers, and/or a symbol like '$' will make the password more secure.
Next, we will identify the Timezone in which the server is located. The time zone is based on Greenwich Mean Time (GMT) being 0. Therefore, for example, New York, which is five hours behind Greenwich, England, would be in the -0500 time zone, while Paris, which is an hour past Greenwich, would be in +0100.
I would recommend always using Clean URLs. Normally, the URL for a piece of content on Drupal might be something like mydomain.com/index.php?q=42, where
42is the ID number of that piece of content. This kind of URL is confusing for site visitors, and isn't great for search engines either. Turning on Clean URLs would make the URL suffix/node/42, which is a little better. If you also enable the Path module, then you can then assign whatever URL suffix you'd like, such as/about-our-company.The final question on this page is whether Drupal should automatically check for updates, and see if there are any available for it and/or the modules that you install. I normally recommend enabling this, since often there are security updates released. That said, when updates are available, Drupal will throw up a pink warning box in the back end, indicating that there are updates available, and that the world might end if you don't use them. If you would like to schedule your updates without having nervous people suggesting it to you, then don't have updates done automatically.
The completed configuration page will look similar to the following screenshot. We can now click on the Save and continue option.
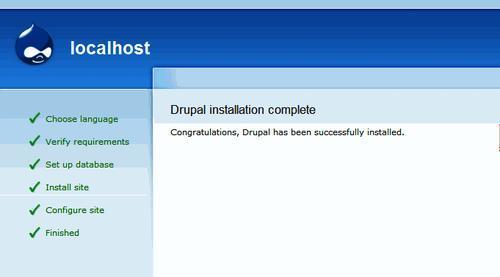
6. At this point, the installation is complete, as indicated by the page shown in the screenshot.
7. The only thing left that we need to do is to see our new front (home) page. By going to the original address again, instead of receiving the installation screen, we receive a page as follows:

8. Now it would be a good idea to delete the
install.phpfile, and the installation directory from our site's root directory.