
Using and organizing the Browser and Channel Rack
In this section, you will learn what the Browser and Channel Rack are and how to use them efficiently to create optimum workflow capabilities.
The Browser represents the organization and sound selection palette. This contains all of the FL Studio stock sounds and menu options and will contain the custom workflow folders we will create in this section. The Channel Rack is the tool you will use to plug in sound files (kicks, snares, hi hats, and sound design) to then create rhythmic patterns. The two are intimately connected, as sound files in the Browser will ultimately go into the Channel Rack.
We will now explore both the Browser and Channel Rack in detail in the next sections.
Exploring the Browser tool
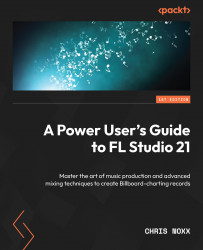
This figure is a screenshot of the FL Studio software system:
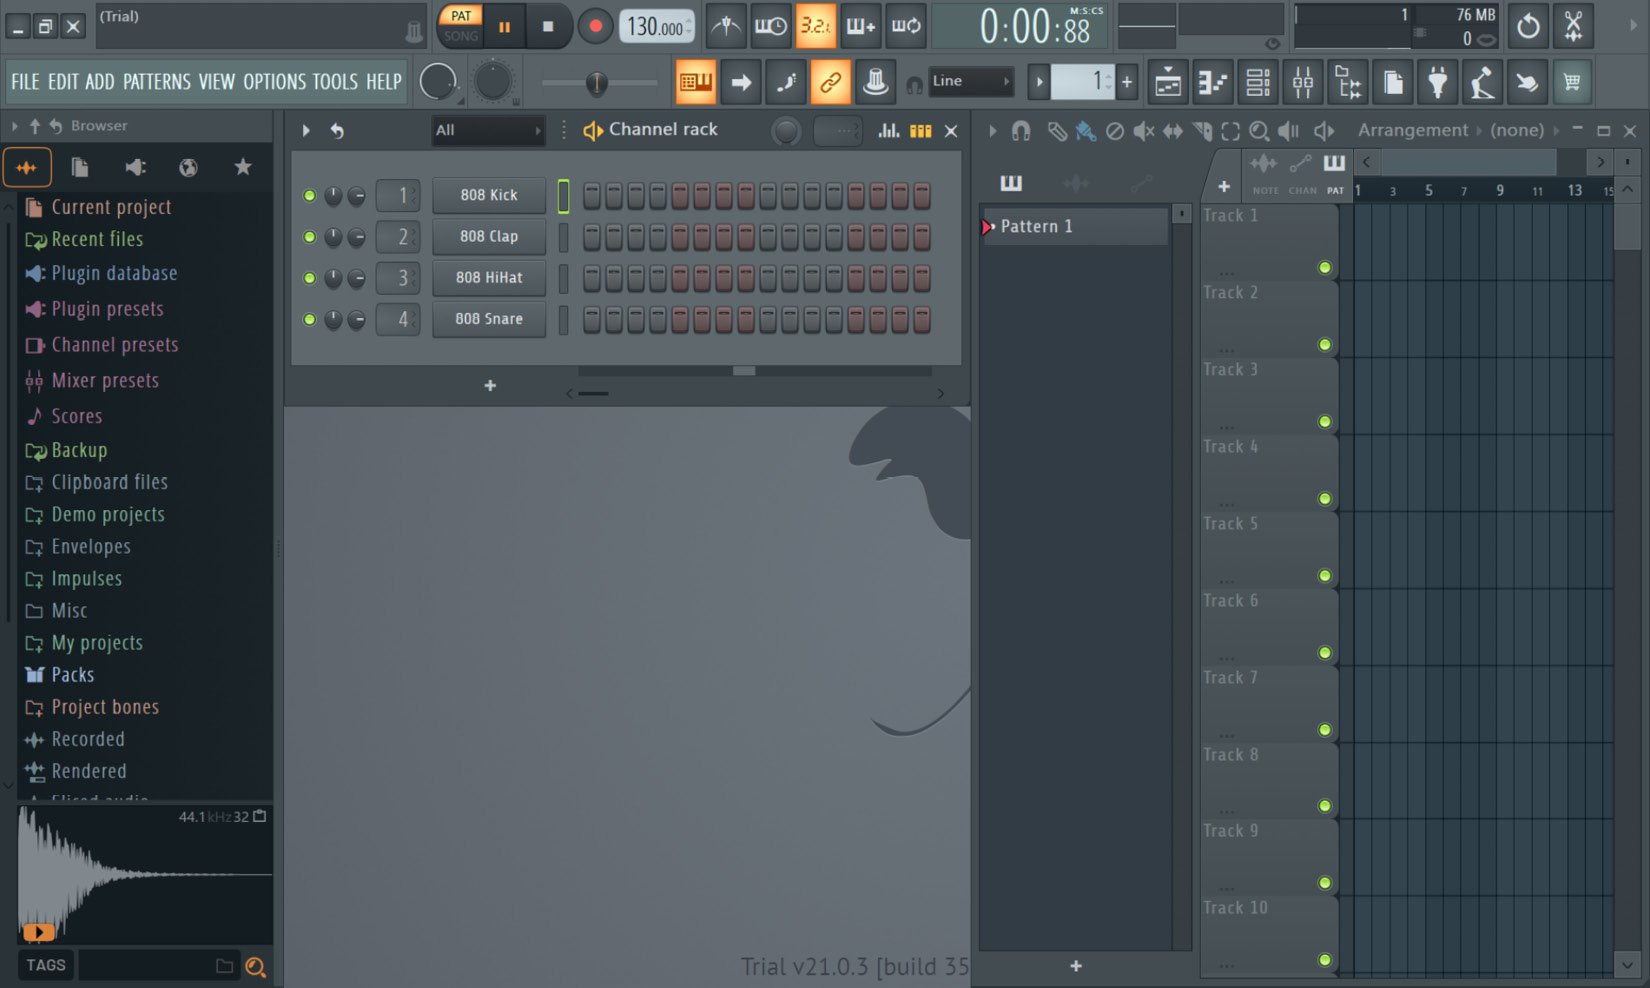
Figure 1.1: On the left, you will see the Browser, and in the middle, you will see the Channel Rack
The Browser on the left side window is the library to all of your sound kits. Organizing the Browser from the Windows folder externally is key to setting up an optimum workflow. The objective of organizing the Browser is to find the location of your go-to sounds and sound kits that you can begin to memorize through your workflow to create “clicking” habits through repetition, and to organize your go-to sounds into custom folders, which saves you time searching FL’s robust sound kit sections each time you want to start a new production.
For this book, I will be focusing on using the stock sound kits that FL Studio provides, but as you grow as a producer, you will likely purchase or create your own sound design that you will incorporate into your FL Studio workstation folder.
Now, let’s start our journey of learning how to master FL Studio by following these steps:
- When you open FL Studio, you will see an option selection on the left side of the window, as seen here:
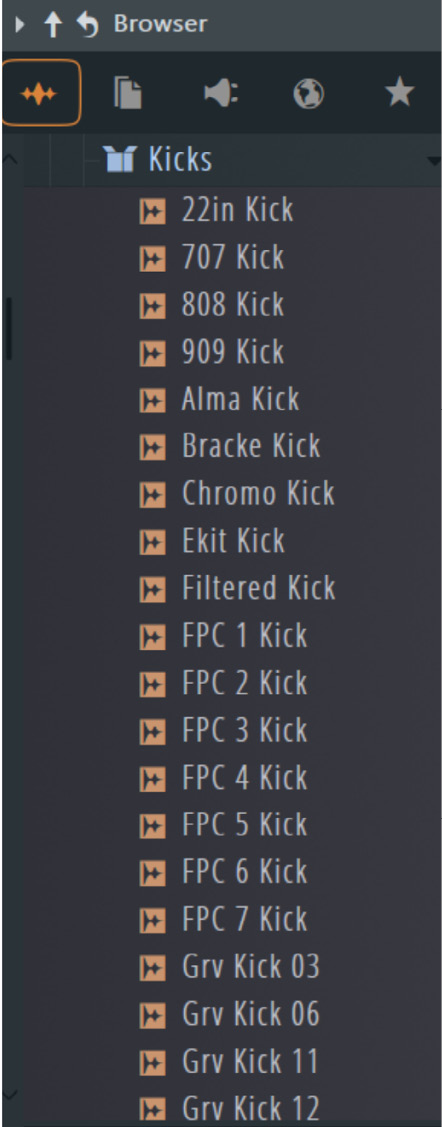
Figure 1.2: Packs folder within the FL Studio Browser
Clicking the Packs tab will open up FL Studios’ stock selection of sounds, which you can use to start making the bare bones of how your production will sound.
- To create your own folders that generate tabs in FL Studio, right-click on Packs and click Open to start using the Windows Explorer tab externally from the software in the location you have installed FL Studio, under the
Image-Linefolder. Then, you will be able to access thePatchesfolder, as seen here:
Figure 1.3: Windows Explorer folder, Packs
Note
In Windows 10, the application formerly known as Windows Explorer underwent a transformation and is now referred to as File Explorer. Please note that the terminology and naming may vary depending on the specific version of Windows being used.
By default, FL Studio gets installed in your main drive, under the Image-Line folder. You will then click through the FL Studio 20 | Data | Patches folders. This is where all of your sound kits will be installed and ready for organization.
- Once you have accessed the
Patchesfolder, you can create your own folders from within to start organizing the sounds we will create in later chapters. For this example, I’ve chosen to name the new folderPower UsersDrum Kit:
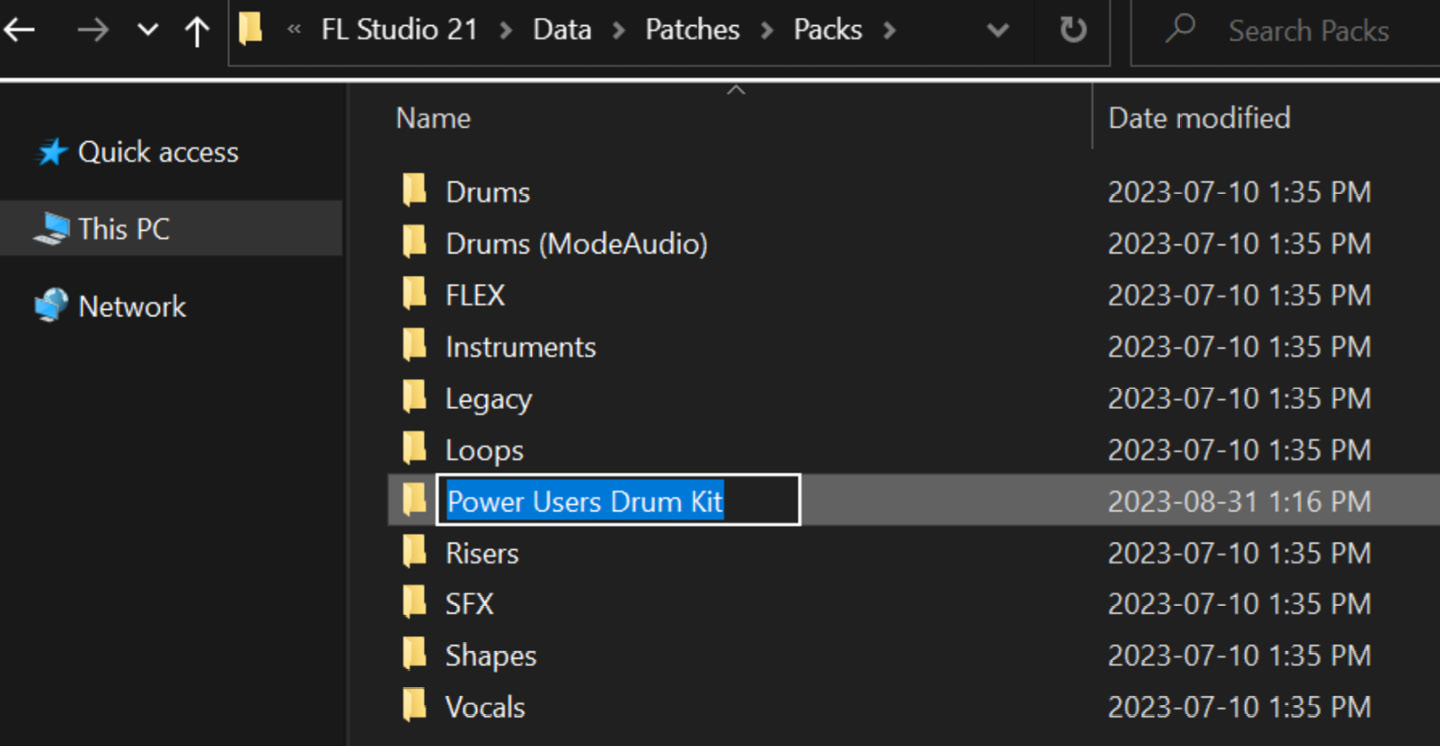
Figure 1.4: Power Users Drum Kit folder within the Image-Line install folder
The potential is limitless for how you want to organize your Browser – you may only have one or two folders, or you may have many – it’s up to you what makes sense in your own toolkit and preference.
- Once you create the folder, you will now see it populate within FL Studio under the Packs tab in the Browser:
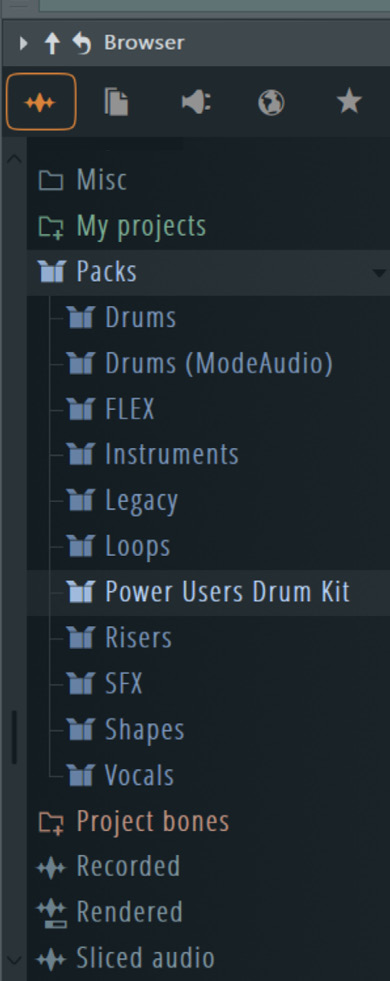
Figure 1.5: Power Users Drum Kit within the Browser
In Chapter 4, we will create drums and WAV sounds so that you can begin to formulate your own unique sound, and ultimately, revisit strengthening your workflow templates to include drums, VSTs, and mixing plugins. For now, we are simply getting you used to organizing the Browser to fit this specific workflow habit.
In addition to creating custom sound design, you may find specific sounds you already have or ones that are within FL Studio and are your favorite – you can simply copy and paste these files into your custom folder to shorten the workflow by “clicking” within the DAW, as I have done here:
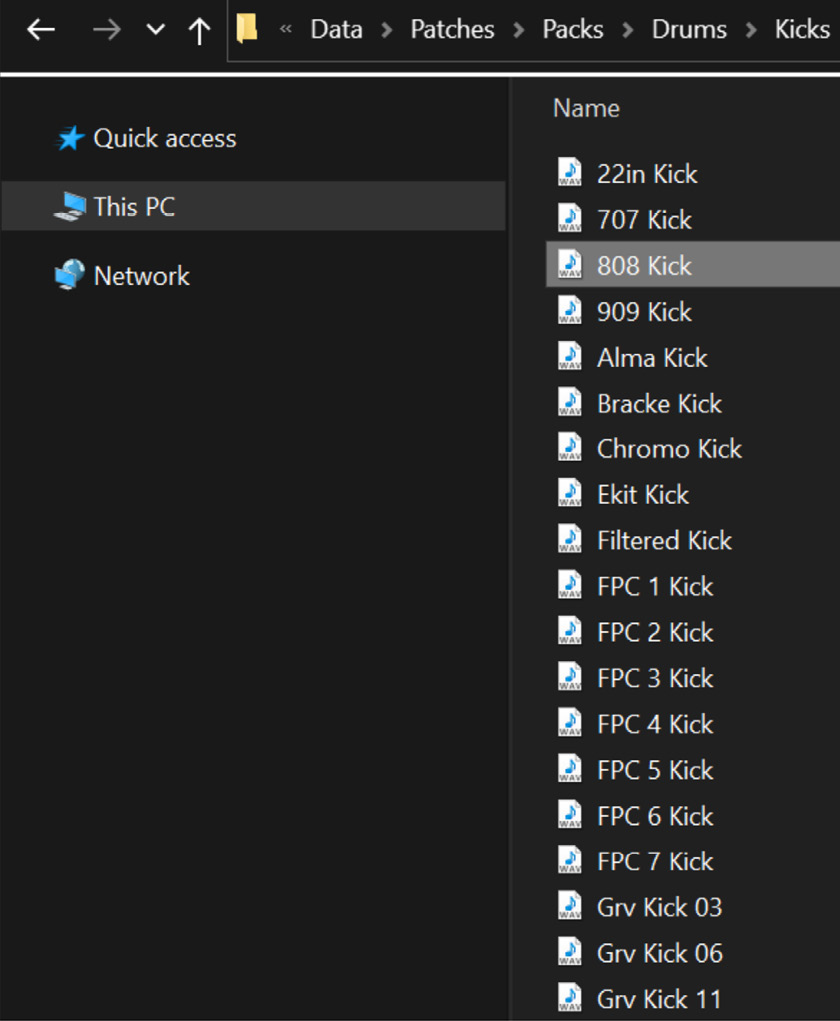
Figure 1.6: Windows Explorer | FL Studio 20 | Data | Patches | Packs | Drums | Kicks
In Figure 1.7, we will locate the 808 kick contained in Data | Patches | Packs | Power Users Drum Kit:

Figure 1.7: Windows Explorer folder | FL Studio 20 | Data | Packs | Power Users Drum Kit | 808 Kick
The reality is you do not need a million different kick sounds to create great records. In fact, most of the high-level producers I know typically only use a small number of drum sounds in every record they create (although they mix them according to what type of feel and vibe the record permits – we will discuss this in Chapter 4).
- You can start adding your go-to sounds in your custom folder by locating your sound file in the specific FL Studio stock folder, copying the file, and simply pasting it into your own custom folder – this will populate the file in your FL Studio Browser under the Packs tab:
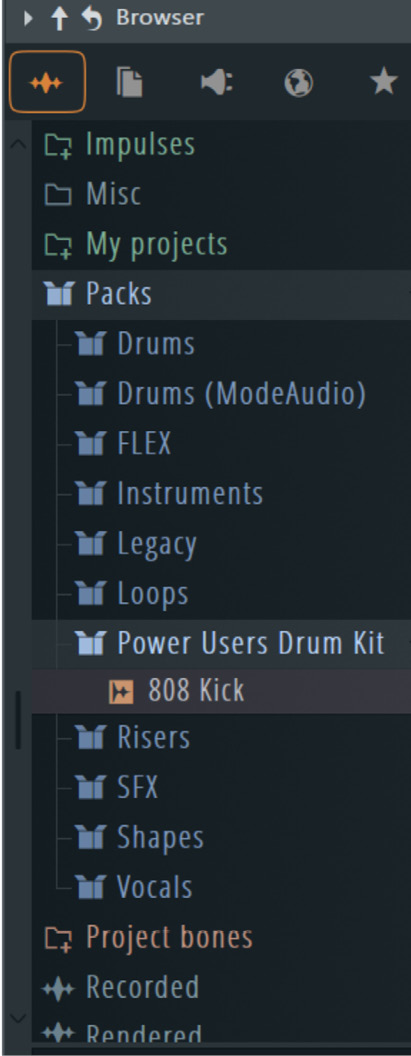
Figure 1.8: The Power Users Drum Kit within the Packs folder within the FL Studio Browser
Viola! You have now created your first workflow benefit by moving your favorite kick into your first custom folder. This allows you to avoid going through each pack in the Browser to find it the next time you wish to use it in a production.
Important note
In Chapter 2, we will delve into utilizing the Piano Roll for crafting custom sound designs and enhancing your workflow practices.
Exploring the Channel Rack
The Channel Rack is one of the most important tools within FL Studio that you can master – it is where you will add your VST’s instruments, and where you will add drum sounds. I use the Channel Rack to create the backbone of my drum sequencing, and ultimately, the foundation for what the track can become. To begin optimizing the workflow and using it efficiently, we need to create a preloaded template with your go-to sound already loaded. This will save you time when you are experimenting with new ideas or just want to explore your creativity.
The following figure shows the Channel Rack. This is located in the main window when you open FL Studio and, by default, populates the center of the screen:
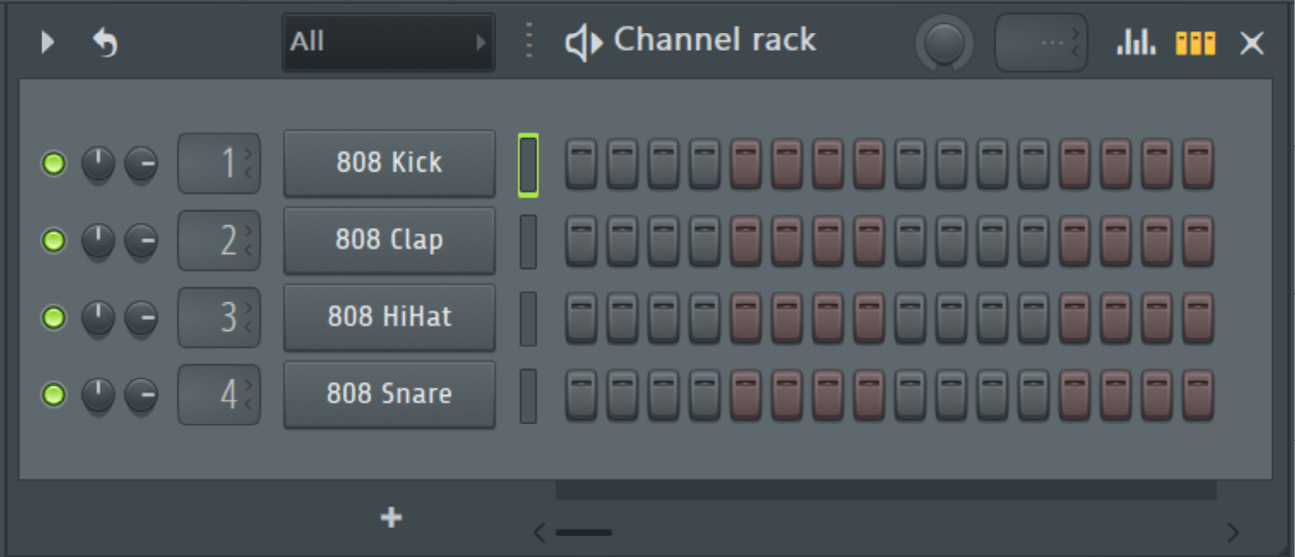
Figure 1.9: The Channel Rack within the FL Studio Browser
To start loading sounds into the Channel Rack, simply right-click the desired sound in the Browser and click Open in new channel, as seen here:
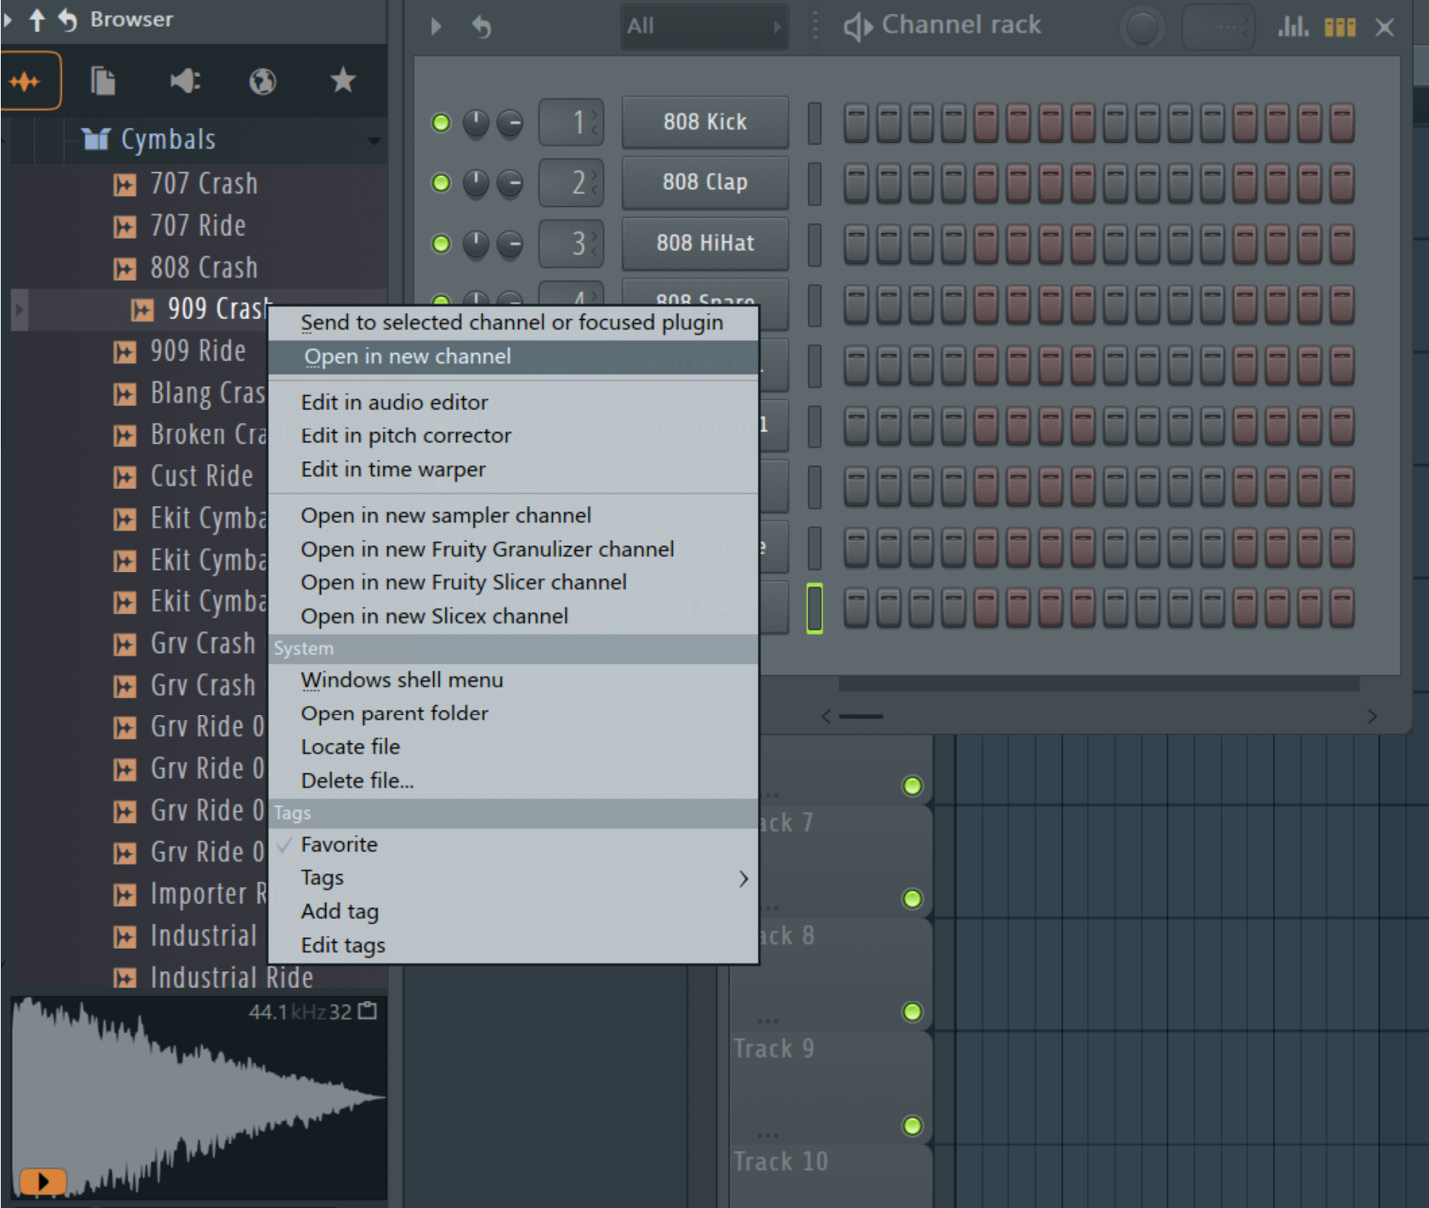
Figure 1.10: The Open in new channel selection
You may ask, if we are organizing files in the Browser, why don’t we just preload everything into a channel rack template? To avoid confusion, understand that a channel rack template is a basic foundational template, and we just want to have our basic sounds loaded – your custom folders may end up having hundreds of different sounds contained within them as you grow your sound design library. So, this is to keep your setup simple and give you the best place to start a new record.
To create a template, we are going to simply add the desired sounds into the Channel Rack. This will import the sound into the Channel Rack. You can do this for as many sounds as you like. Once you have added the desired sounds into the Channel Rack, click FILE | Save as…:

Figure 1.11: Clicking FILE | Save as… within the FL Studio main page window
This will bring up the project folder within the FL Studio Window Explorer. Name your template to your liking, and save the template FLP file. This will now act as your go-to workflow template. Clicking Save will add this FLP file to your Projects folder, and it can now be used for future projects:
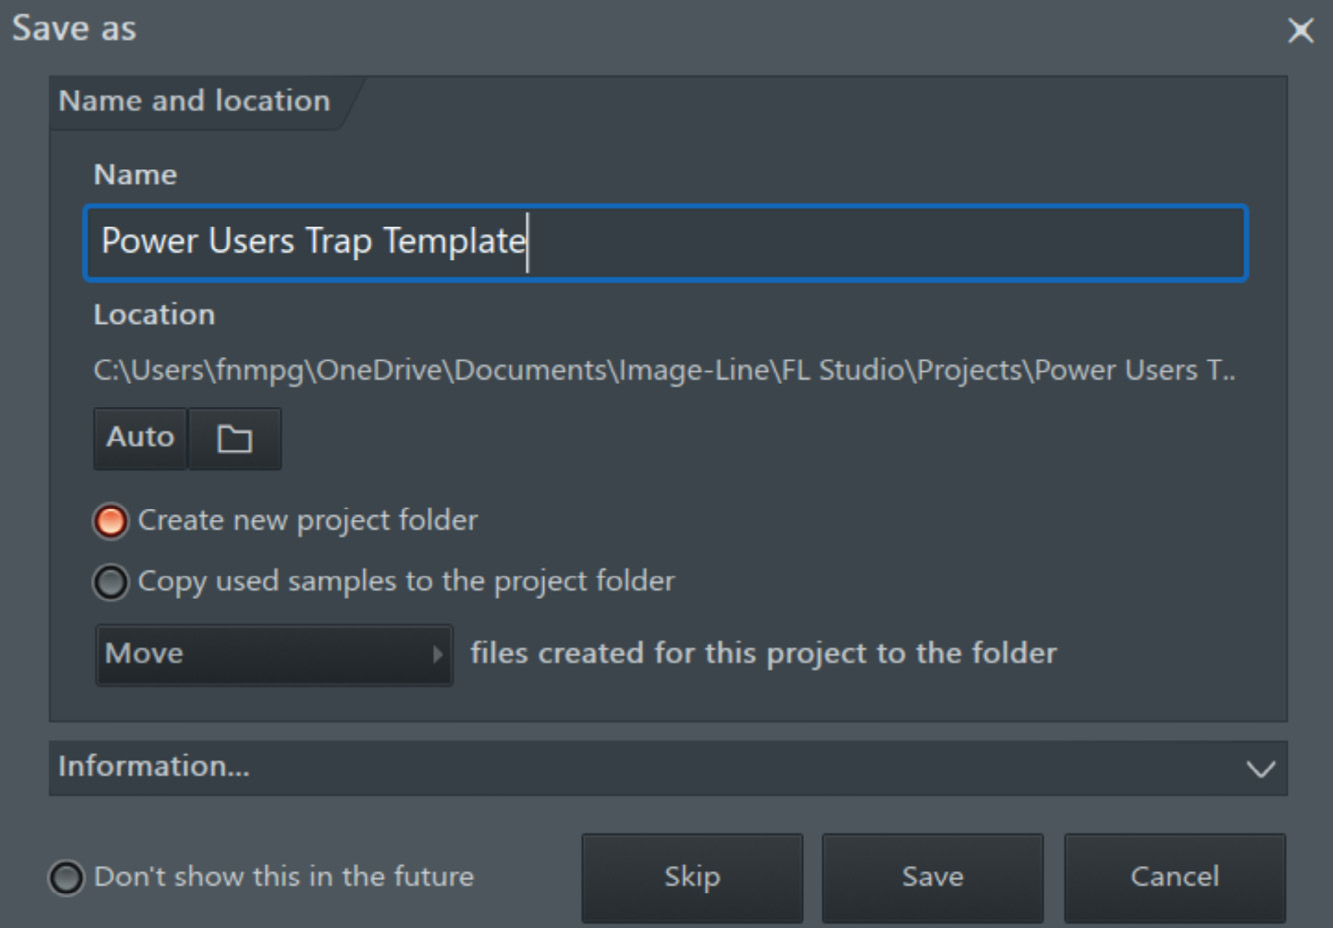
Figure 1.12: FILE | Save As, creating a template name
You can get creative with the different templates you want to use. For example, you may wish to create a hip hop template, or a trap template that only preloads specific sounds for those types of productions. I recommend keeping it simple and adding to your templates as you become more comfortable with your production skill set. For example, I have named this template Power Users - Hip Hop Template:
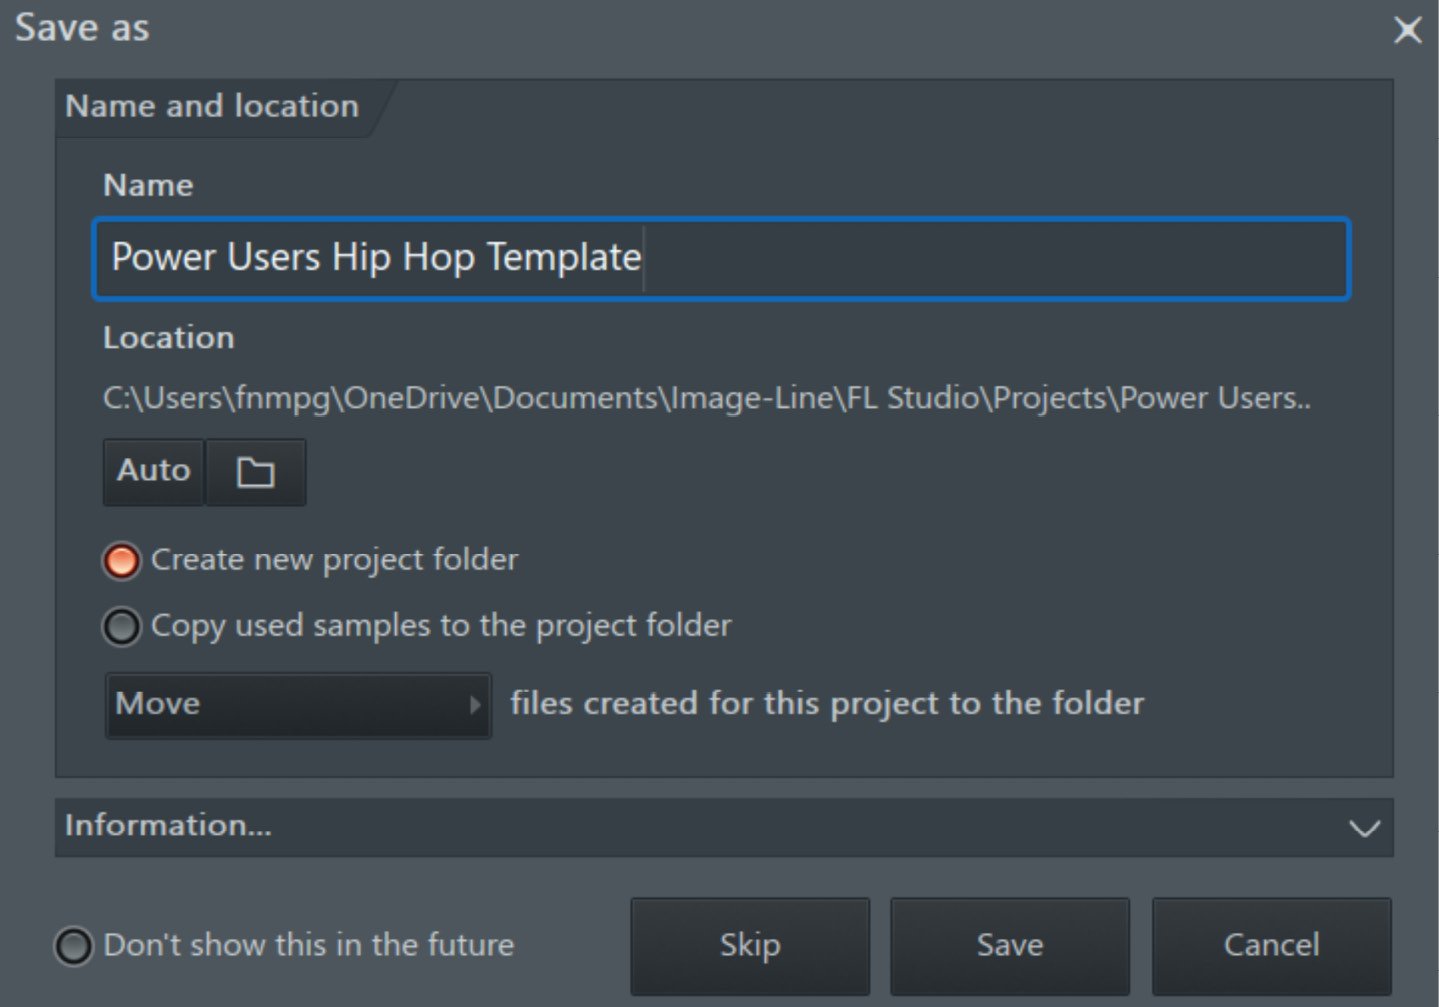
Figure 1.13: FILE | FL Studio | Projects | Save As | File name
Now, let’s talk about how the Playlist tool works, and what we can do with it to create full productions!