
Setting up agent pools
Before using Azure Pipelines to build code and deploy code, you need at least one build agent. There are two build agent types: Microsoft-hosted build agent, which is included by default, and self-hosted build agent. Each agent type will be located under an agent pool, which is a collection of build and release agents.
A Microsoft-hosted build agent will be located under an agent pool called Azure Pipelines. You can create a new agent pool for self-hosted build agents and assign them under it.
To create pools, follow these steps:
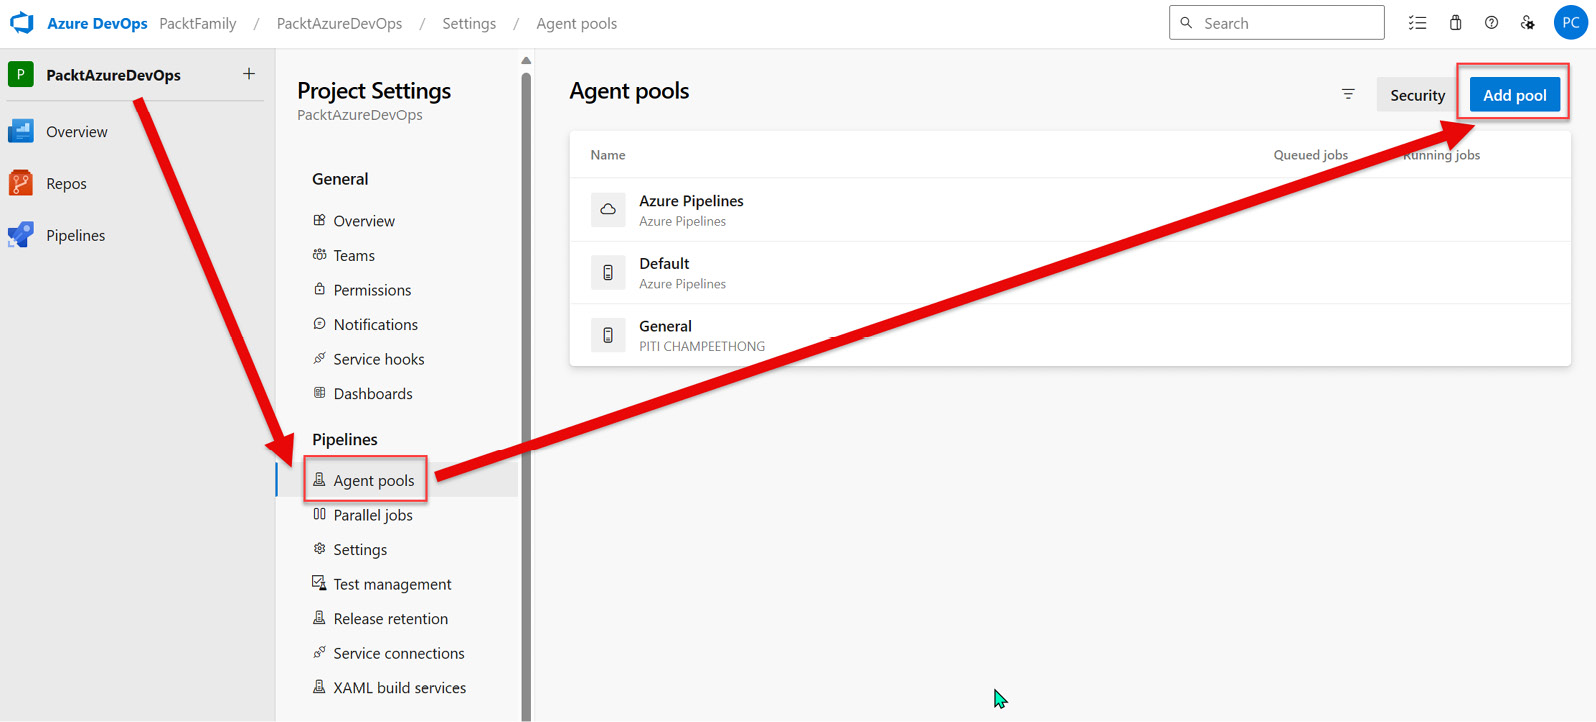
Figure 1.10 – Adding a pool
- Enter the information shown in the following screenshot and then click Create:
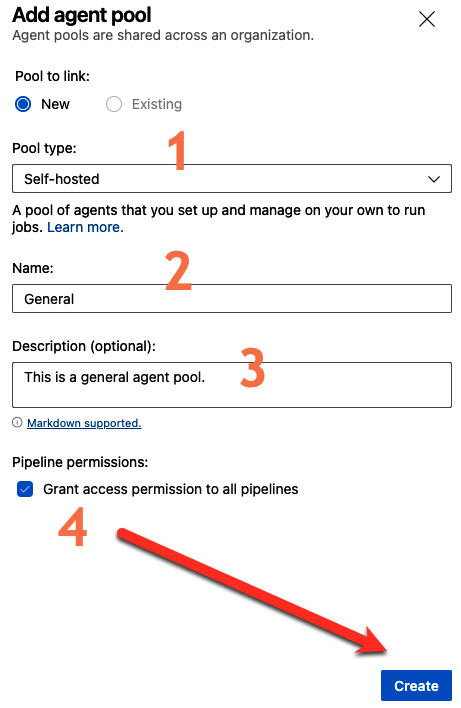
Figure 1.11 – Creating an agent pool
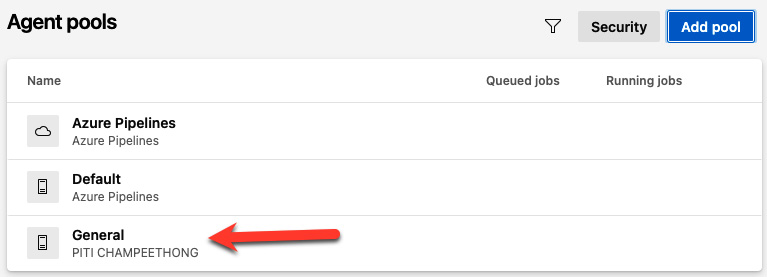
Figure 1.12 – Displaying the new agent pool
Once you’ve finished creating the new agent pool, you can start creating and setting up the self-hosted agent under a new agent pool. The following section will show you how to create a personal access token (PAT).