

To obtain the Splunk software, you need to carry out the steps explained in the following sections.
The first step is to read the Splunk Software License Agreement (which can be found at http://www.splunk.com/view/SP-CAAAAFA; once you install the software, you'll find it in the installation folder).
The next step is typical for any software installation, that is, evaluating your hardware to ensure that you can successfully run Splunk to meet your requirements. Though Splunk is extremely optimized, a best practice is if you are evaluating Splunk, you should use hardware typical of the environment you intend to employ to. The hardware you use for evaluation should meet or exceed the recommended hardware capacity specifications for your intentions (check the Splunk website or talk to a Splunk professional to be sure).
Beyond the minimal physical footprint of Splunk itself, you will need some "operational space." When you add data to Splunk, it creates a compressed/indexed form of your "raw data," and this is approximately 10 percent of the needs of the original data. Also, Splunk will create index files that point to the compressed file. These associated index files can range in size from approximately 10 percent to 110 percent of the raw data file, based on the number of unique terms in the data that affect this value. Again, rather than getting into sizing specifics here, if your goal is to explore Splunk, go ahead and install Splunk on your local machine or laptop—it'll be sufficient.
Today, most organizations will run a combination of physical and virtual machines. Generally speaking, Splunk runs just fine on both. It is imperative to understand the needs of any software and to ensure that your environment is configured suitably.
From the Splunk documentation:
"If you run Splunk in a virtual machine (VM) on any platform, performance does degrade. This is because virtualization works by abstracting the hardware on a system into resource pools from which VMs defined on the system draw as needed. Splunk needs sustained access to a number of resources, particularly disk I/O, for indexing operations. Running Splunk in a VM or alongside other VMs can cause reduced indexing performance." | ||
| --Splunk.com | ||
Splunk Version 6.0.2 runs on both MS Windows and Linux operating systems, but for this discussion, I'm going to focus only on the MS Windows version.
You can run Splunk as either 32- or 64-bit; be sure to choose the version you need.
Let's get the software! You can download the installation package (.msi for MS Windows) from the website.
I recommend that you read the release notes for the version that you intend to install—release notes list the known issues along with possible workarounds, and this information can save plenty of time later.
You need to have a Splunk account to download any version of Splunk. I've already suggested that you create your own user account for support and for your own education. If you have, then you are all set. If not, set one up now by following these steps:
Visit http://www.splunk.com/.
Click on Sign Up—yes, it's really that easy!
Once you have set up a Splunk account, click on Free Download. From here, you will be directed to the Download Splunk Enterprise page, where you can review the list of available downloads. Click on the link of the Splunk version you want to install.
Next, you will be redirected to the Thank You for downloading page and will be asked to save the installation file to your location:

After downloading Splunk, you'll see a screen as follows. Let's get started now.

After navigating to the (http://www.splunk.com/) website, download and save the Splunk installation file (the one that is appropriate for your system); you can then begin the installation process.
You should have already received the Thank You for Downloading e-mail.
This e-mail provides valuable information about the limitations of your free Splunk license (don't worry, you can upgrade it later) as well as provides links to get you up and running just as fast as possible. Some examples of the links provided include the following options:
If you are running MS Windows, once the download is complete, you will be prompted to run it, shown as follows:

After you click on the Run button, you will see the Welcome to the InstallShield… screen, as shown in the following screenshot:

Next, click on I accept the terms in the license agreement (you have read the agreement and accept the terms, right?) and then on the button labeled Next>, as shown in the following screenshot:
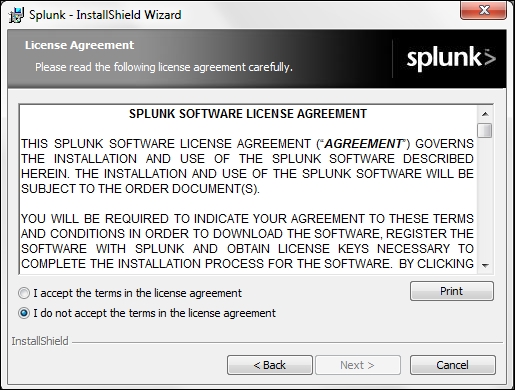
Tip
Alert! If you do not accept the terms, you will not be able to proceed (the Next> button remains disabled until you accept the terms).
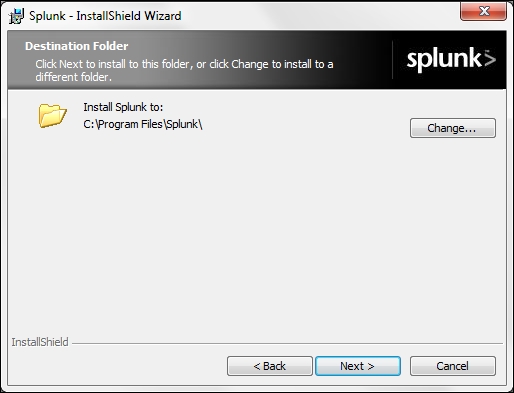
Once you've accepted the terms and clicked on the next button, the process informs you that it intends to install at the default location, C:\Program Files\Splunk.
Note that the destination folder you choose is important as it is required for multiple reasons. For this installation—education and evaluation—I recommend that you stay with the default destination.
Keep in mind that wherever you choose to install Splunk, that location will be referred to as $SPLUNK_HOME or %SPLUNK_HOME%.
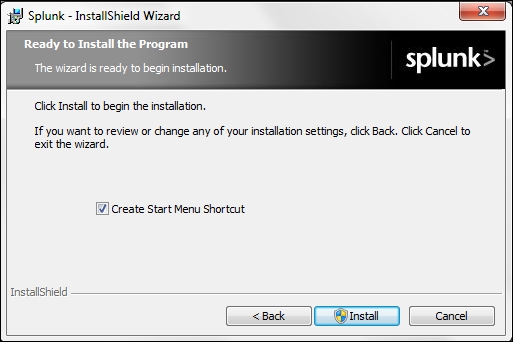
After you click on Next>, the installation process will ask if you'd like to create a shortcut on your MS Windows Start menu.
I always check the checkbox and then click on the button labeled Install.
The process should then begin by performing a validation. The validation attempts to verify that you are installing the version of Splunk that is correct for your operating system and that the appropriate support files that Splunk expects are present. You'll see a screen similar to the following screenshot:
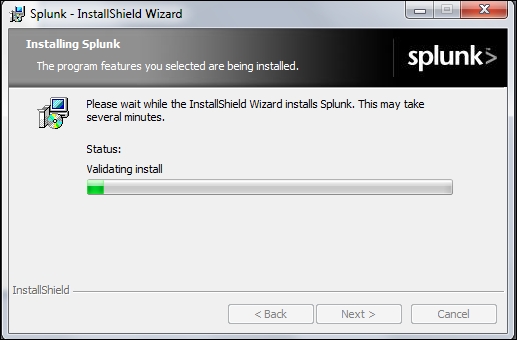
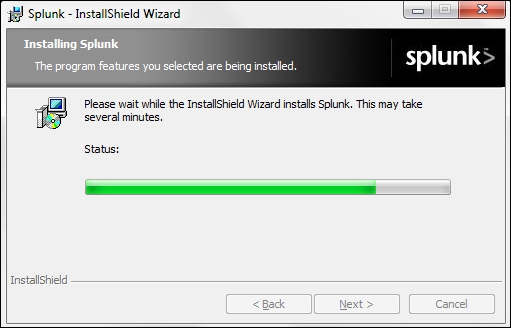
Depending on your hardware, the entire process might take several minutes, as shown in the following screenshot:
During the installation, Splunk will install (and configure) two MS Windows services:
Both the services will install and run (by default) using the machine's local system user (but can be set up to run using another user account). The Splunk user is significant and determines what it can monitor, whereas the local system user has access to all the data on the local machine only and nothing else. A user other than the local system user has access to whatever data the user wants to access, but you must provide the user with this access before installing Splunk. The following screenshot shows the Splunk installation in progress:
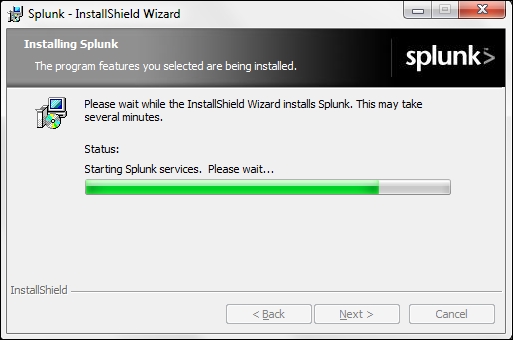
In the last step, the process will start the two (new) MS Windows services it has added to your machine (explained earlier). On successfully starting them up, it will give you the successful installation dialog, as shown in the following screenshot, and prompt you for permission to launch Splunk within your default web browser:

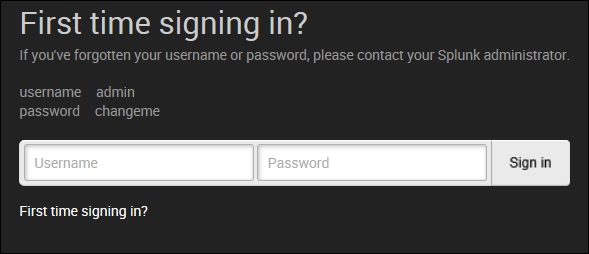
Once you open Splunk in your web browser, you are ready to sign in for the first time. Splunk makes this very easy by including the question First time signing in?, which is located beneath the username and password, as shown in the following screenshot:

When you click on the First time signing in? link, Splunk will give you a one-time password (After you use it to sign in, Splunk will force you to change the password: write it down) for the username admin, as shown in the following screenshot:
If this is your first visit, you will see a What's new in 6.0 banner, as shown in the following screenshot:
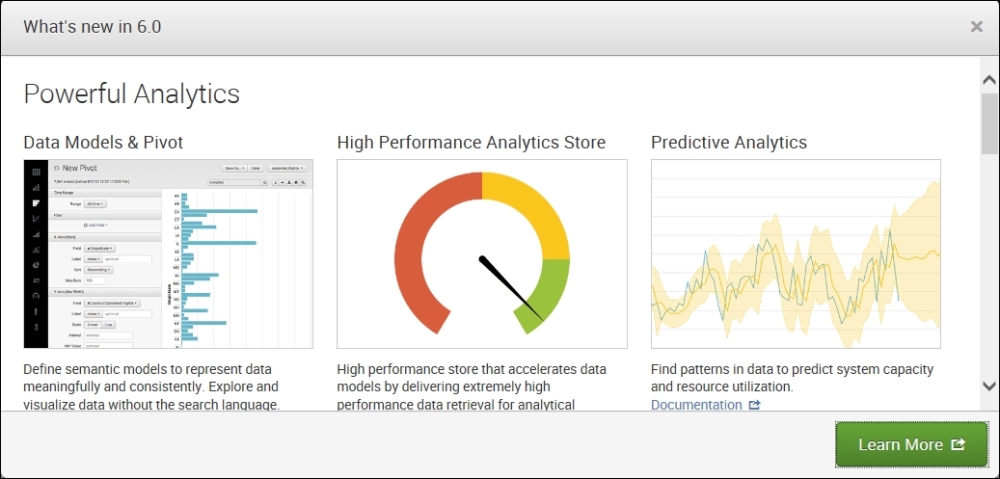
Are you a new Splunker? If yes, then I recommend that you take the time to explore these topics by clicking on the Learn More button before proceeding to Splunk's Home page.
Once you've closed the What's new banner (either after selecting the Learn More button and taking the tour, or by clicking on the x button in the upper-right corner to close the window), you will find yourself on Splunk's home page, ready to begin with Splunking, as shown in the following screenshot:
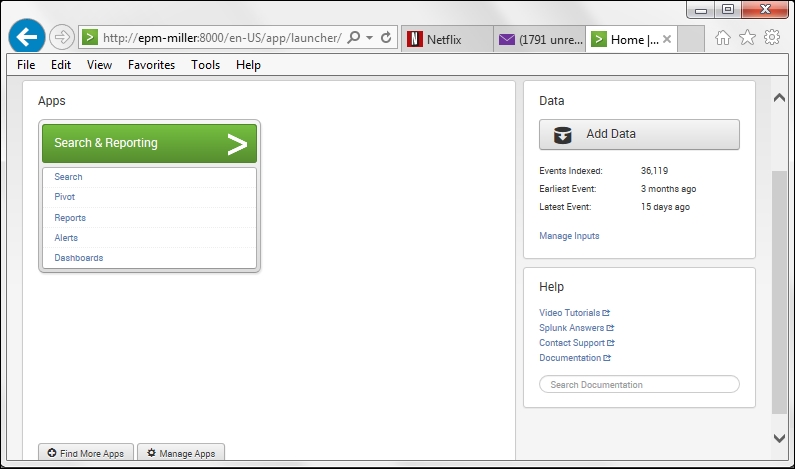
Splunk home is the entry point to all the apps and data accessible from the installation (referred to as a Splunk instance).
Home has been redesigned in Version 6.0, and includes a handy search bar, Add Data, and the Help panel.
Note
Note that after signing in to Splunk for the first time, you can configure your instance to "go directly to" a particular view that might be the most efficient for you and your needs—such as search or pivot (keep in mind that you can always jump back to Splunk's Home page by clicking on the Splunk logo).
Happy Splunking!