
Apigility is built and developed by Zend in Zend Framework 2. Apigility provides an easy to use GUI to create and manage APIs. It is very easy to use and is capable of creating complex APIs. Let's start by installing Apigility using Composer. Issue the following command in the terminal:
composer create-project -sdev zfcampus/zf-apigility-skeleton packt
The preceding command will download Apigility and its dependencies, including Zend Framework 2, and will set up our project named packt. Now, issue the following command to enable the development mode so that we can have access to the GUI:
php public/index.php development enable
Now, open the URL as yourdomain.com/packt/public, and we will see a beautiful GUI, as shown in the following screenshot:
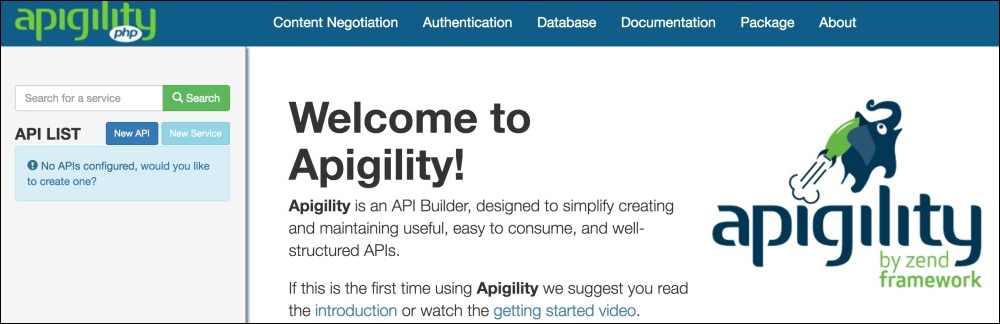
Now, let's create our first API. We will call this API "books", which will return a list of books. Click on the New API button, as shown in the preceding picture, and a popup will be displayed. In the text box, enter books as the API name and click on Create button; the new API will be created. When the API is created, we will be presented with the following screen:
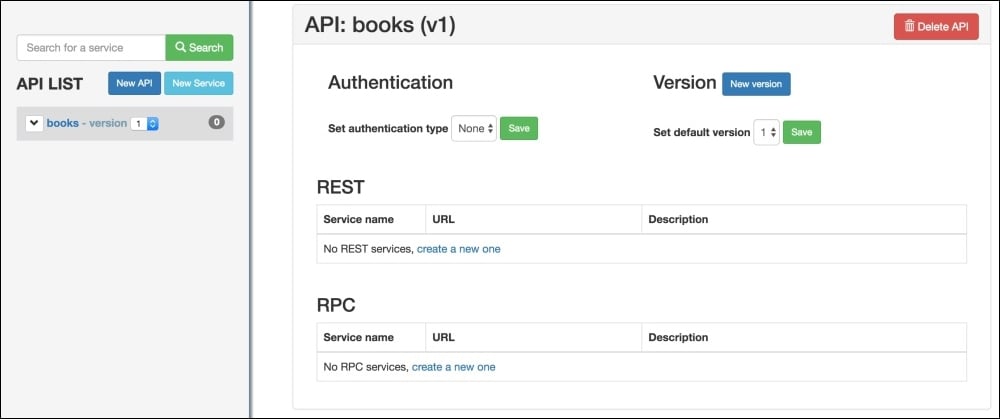
Apigility provides easy ways to set other properties for the API, such as versioning and authentication. Now, let's create an RPC service by clicking on the New Service button in the left sidebar. Also, we can click on the Create a new one link in the RPC section in the preceding screenshot. We will be presented with the following screen:
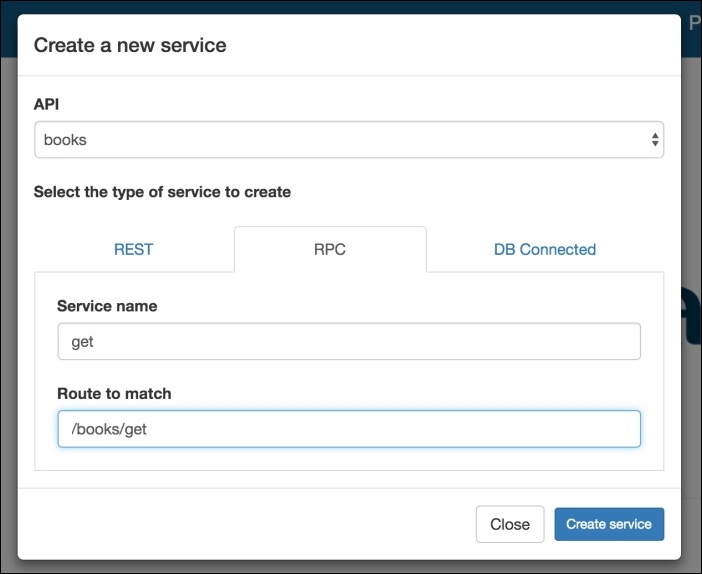
As shown in the preceding screenshot, we created an RPC service named get in the books API. The route URI entered is /books/get, which will be used to call this RPC service. When we click on the Create service button, the API creation successful message will be displayed, and also, the following screen will be displayed:
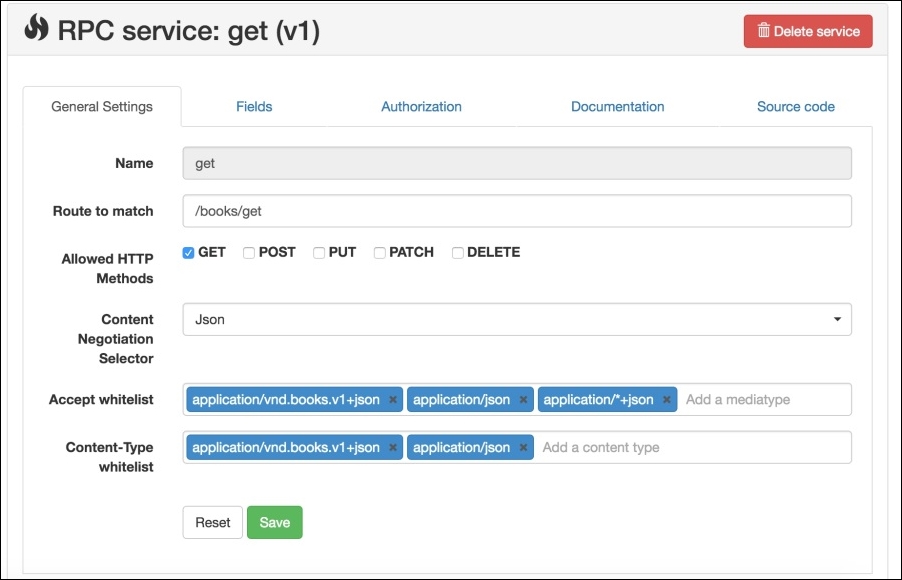
As can be seen in the preceding screenshot, the allowed HTTP method for this service is only GET. Let's keep this as it is, but we can select all or any of them. Also, we want to keep Content Negotiation Selector as Json, and our service will accept/receive all the content in the JSON format. Also, we can select different media types and content types.
Next, we should add some fields to our service that will be used. Click on the Fields tab, and we will see the Fields screen. Click on the New Field button, and we will be presented with the following popup:
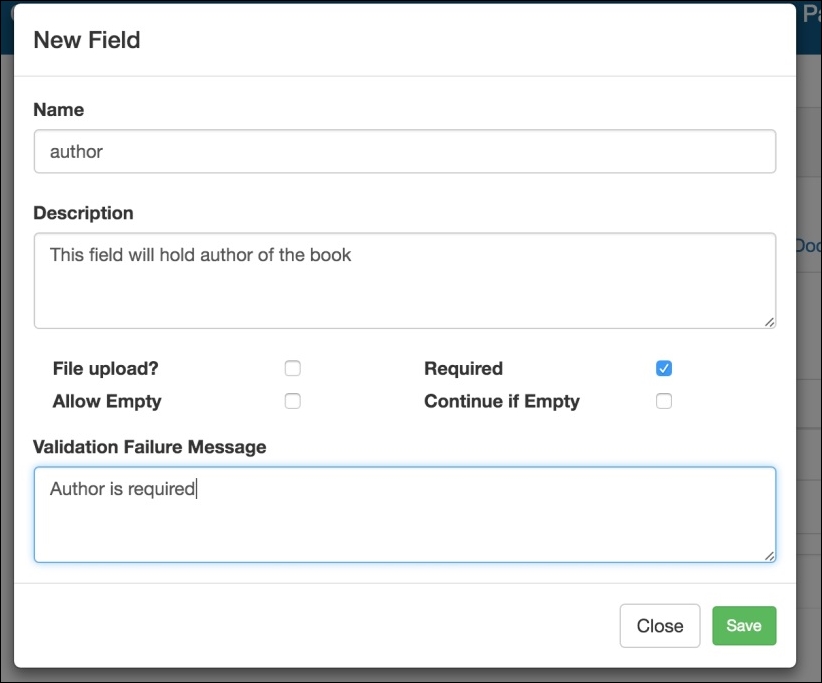
As can be seen in the preceding screenshot, we can set all the properties for a field, such as the Name, Description, whether it is required or not, and some other settings, including an error message if the validation fails. After we created two fields, title and author, we will have a screen similar to the following:
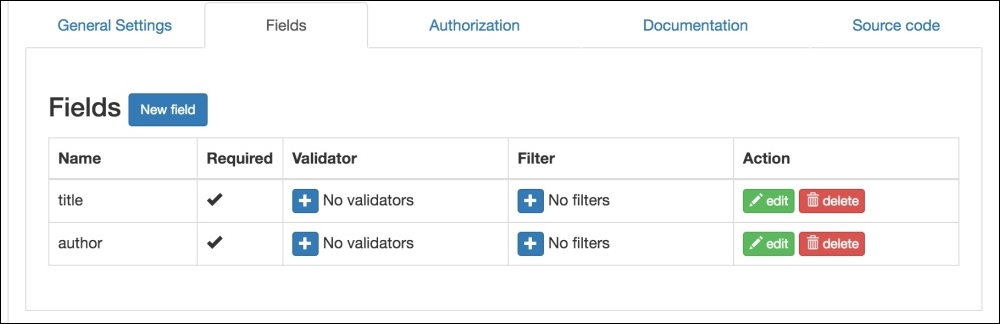
As can be seen in the preceding screen, we can add validators and filters to each individual field too.
Note
As this is just an introductory topic for Apigility, we will not cover validators and filters and some other topics in this book.
The next topic is documentation. When we click on the Documentation tab, we will see the following screen:
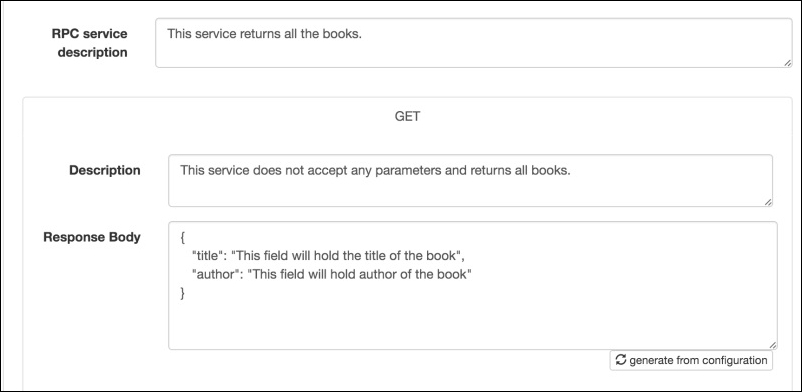
Here, we will document our service, add some description, and also can generate the response body for documentation purposes. This is very important as it will enable others to better understand our APIs and services.
Now, we need to get the all the books from somewhere. It can be either from the database or from another service or any other source. However, for now, we will just use an array of books for test purposes. If we click on the Source tab, we will find that our code for the service is placed at module/books/src/books/V1/Rpc/Get/GetController.php. Apigility created a module for our API books and then placed all the source code in this module in different folders according to the version of our API, which is V1 by default. We can add more versions, such as V2 and V3, to our APIs. Now, if we open the GetController file, we will find some code and an action called getAction according to our route URI. The code is as follows, and the highlighted code is the one we added:
namespace books\V1\Rpc\Get;

use Zend\Mvc\Controller\AbstractActionController;
use ZF\ContentNegotiation\ViewModel;


class GetController extends AbstractActionController
{
  public function getAction()
  {
    $books = [ 'success' => [
    [
      'title' => 'PHP 7 High Performance',
      'author' => 'Altaf Hussain'
    ],
    [
      'title' => 'Magento 2',
      'author' => 'Packt Publisher'
    ],
    ]
    ];

    return new ViewModel($books);
  }
}
In the preceding code, we used ContentNegotiation\ViewModel, which is responsible for responding with the data in the format that we selected in the service setup, which is JSON in our case. Then, we created a simple $books array with the fieldnames we created for the service and assigned our values to them. Then, we returned them using the ViewModel object, which handles the response data conversion to JSON.
Now, let's test our API. As our service can accept GET requests, we will just type our URL in the browser with the books/get URI, and we will see the JSON response. It is best to check the API with tools such as RestClient or Postman for Google Chrome, which provides an easy-to-use interface to make different types of requests to APIs. We tested it with Postman and got the response shown in the following screenshot:
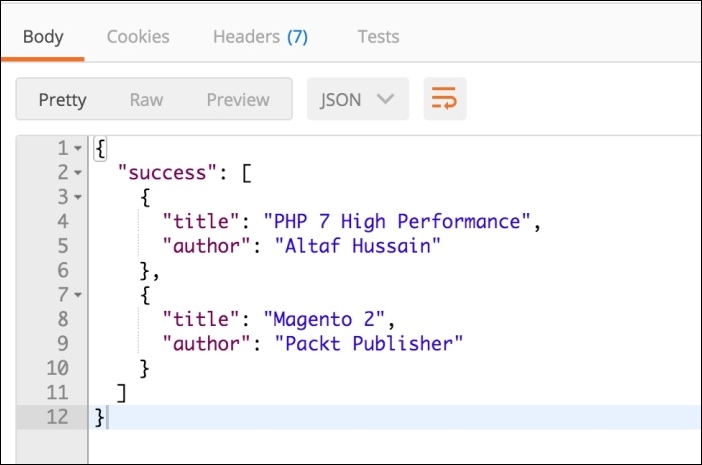
Also note that we set our service to accept only GET requests. So, if we send a request other than GET, we will get an HTTP Status code 405 methods not allowed error.
Apigility is very powerful and provides tons of features, such as RESTFul APIs, HTTP authentication, database connected services with easy-to-create DB connectors, and a selection of tables for a service. While using Apigility, we need not worry about the API, service structure security, and other things, as Apigility does this for us. We need to only concentrate on the business logic of the APIs and services.
Note
Apigility can't be covered completely in this Appendix. Apigility has lots of features that can be covered in a complete book. Apigility's official documentation at https://apigility.org/documentation is a good place to get started and read more about this.