
Preparing a lab environment
To prepare for this book’s exercises, we will work now on deploying a forensics lab with tools that we will utilize during our investigation of each artifact. In this section, we will show you how to install a VMware workstation to deploy our Windows OS (Windows 10).
Note that to prepare labs for this book, I will proceed and deploy a lab virtual machine on a VMware product; if you prefer to use VirtualBox, you can apply the same steps when installing Windows OS.
Let’s start with installing Workstation 17 Pro:
- Visit the following link to download the trial version of Workstation 17 Pro for Windows (this is the latest version available as of December 2022):
https://www.vmware.com/mena/products/workstation-pro/workstation-pro-evaluation.html
- Click on DOWNLOAD NOW; it will prompt you to save the executable file, as shown here:
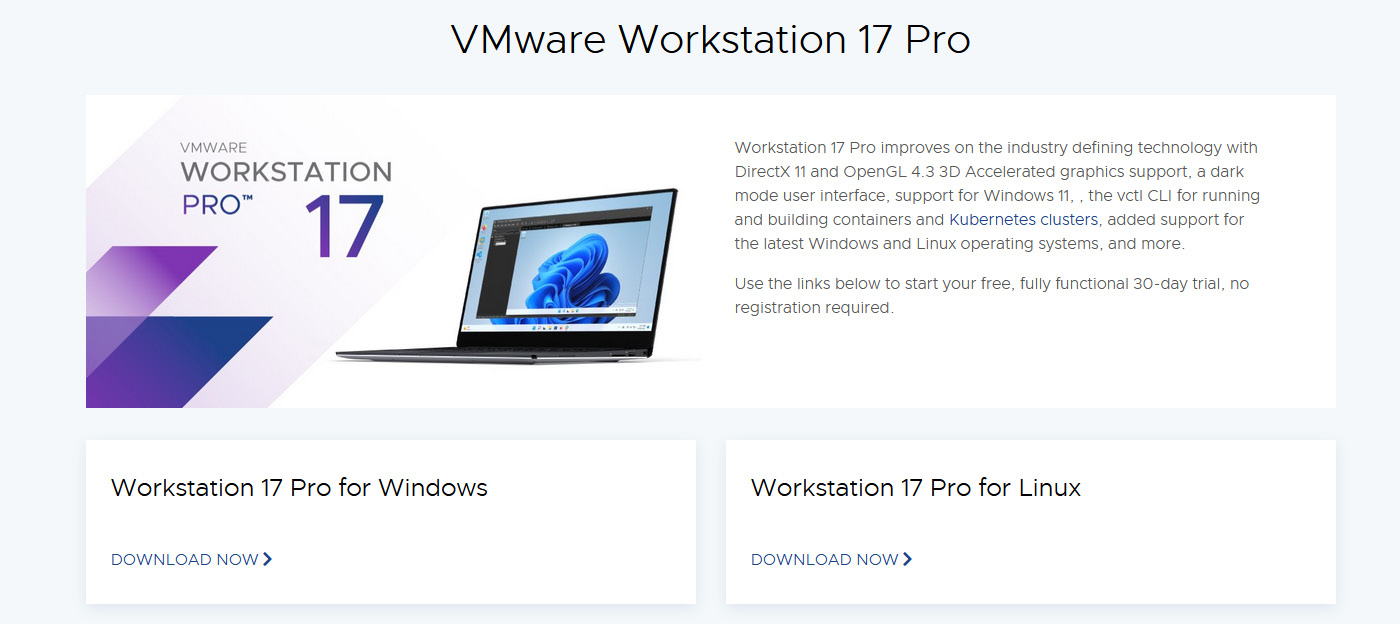
Figure 1.9 – VMware Workstation download page
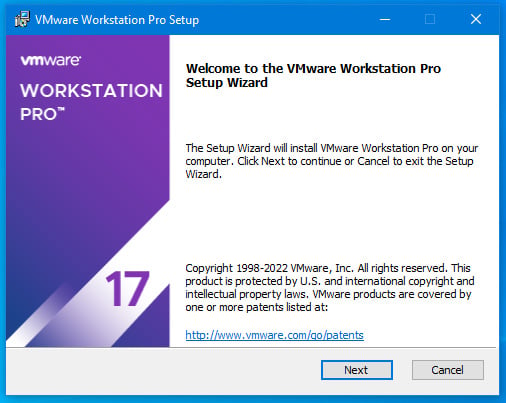
Figure 1.10 – VMware Workstation installation process – part 1
- Once prompted for an end user license, accept it by checking the free trial option and then click Next. It will prompt you to select the path to install Workstation 17 Pro; click on Next once you have selected it:
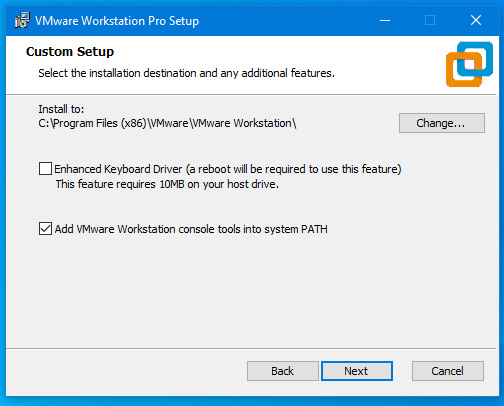
Figure 1.11 – VMware Workstation installation process – part 2
- Select the Desktop and Start Menu Programs Folder options to create a shortcut or add a VMware workstation application to the Start menu:
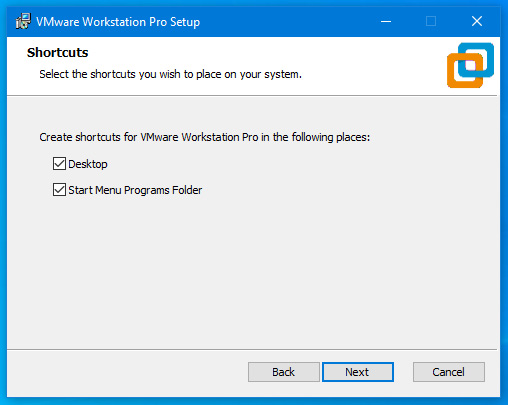
Figure 1.12 – VMware Workstation installation process – part 3
- Now, once we click on Next, it will start installing the application. The process might take a couple of minutes, depending on your system specifications:
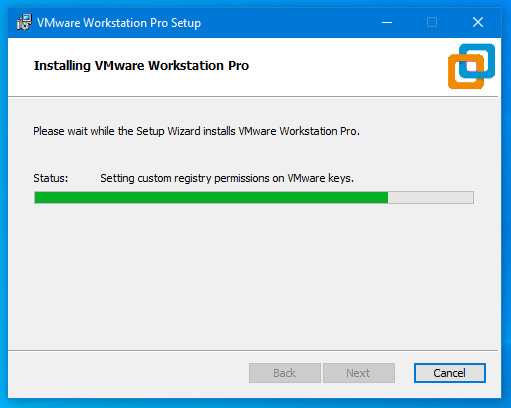
Figure 1.13 – VMware Workstation installation process – part 4
- The last step for this process is to either select the I want to try VMware Workstation 17 for 30 days option or use a legitimate key to activate your product, and then click on Continue:
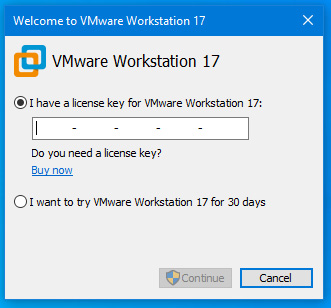
Figure 1.14 – VMware Workstation installation process – part 5
Once Workstation 17 Pro is installed, you can see the Library pane and the Home tab, which shows your virtual machines:
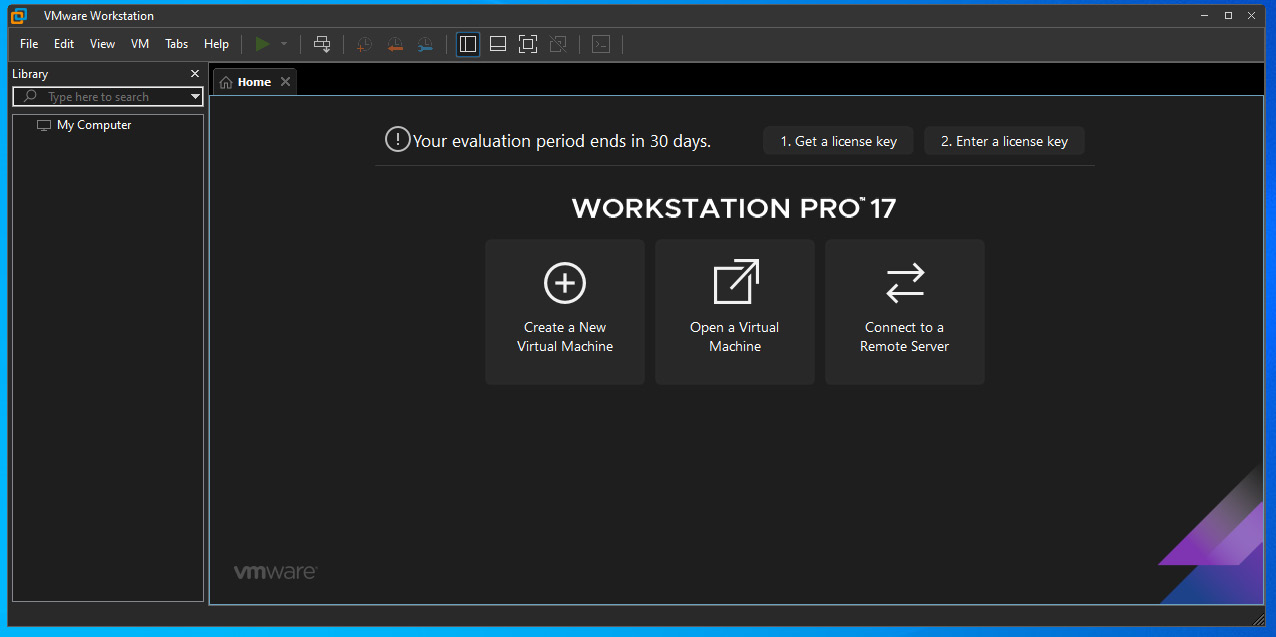
Figure 1.15 – VMware Workstation interface
For the next exercise, let’s start making a Windows ISO file to install on a virtual machine:
- Visit the following link and click on Download Now; it will download media creation tools for us to use:
- Double-click on the Windows 10 Setup executable and accept the license (the tools will take some time to download, depending on your network speed):
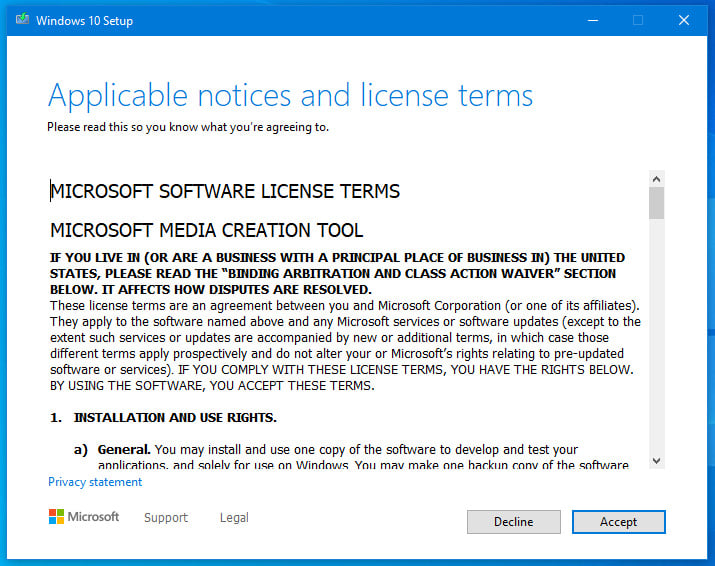
Figure 1.16 – Preparing Windows 10 ISO – part 1
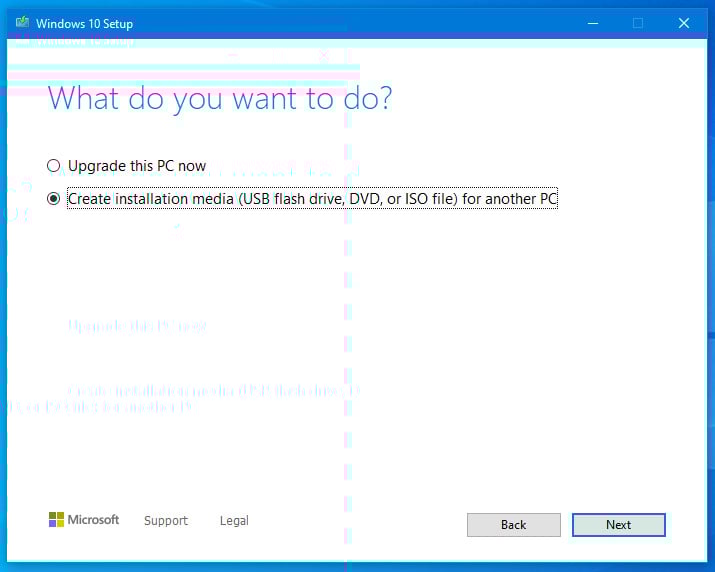
Figure 1.17 – Preparing Windows 10 ISO – part 2
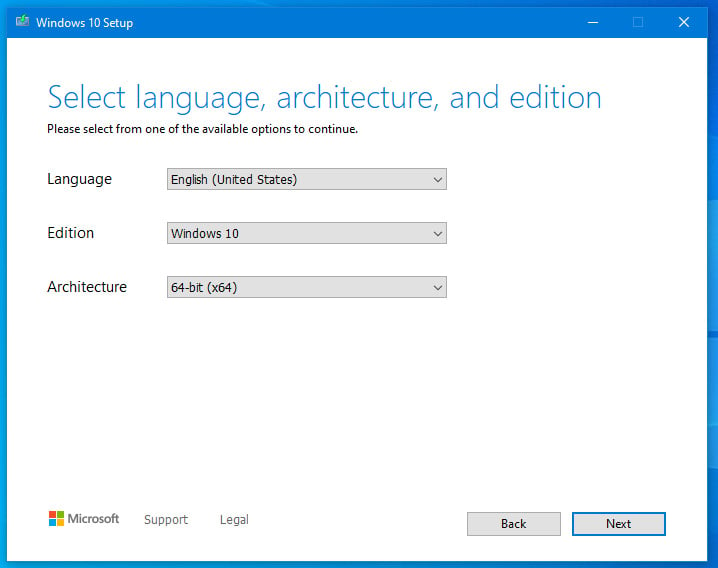
Figure 1.18 – Preparing Windows 10 ISO – part 3
- Now, we will select the ISO file option and the saving path on your local machine to download and create a Windows 10 image:
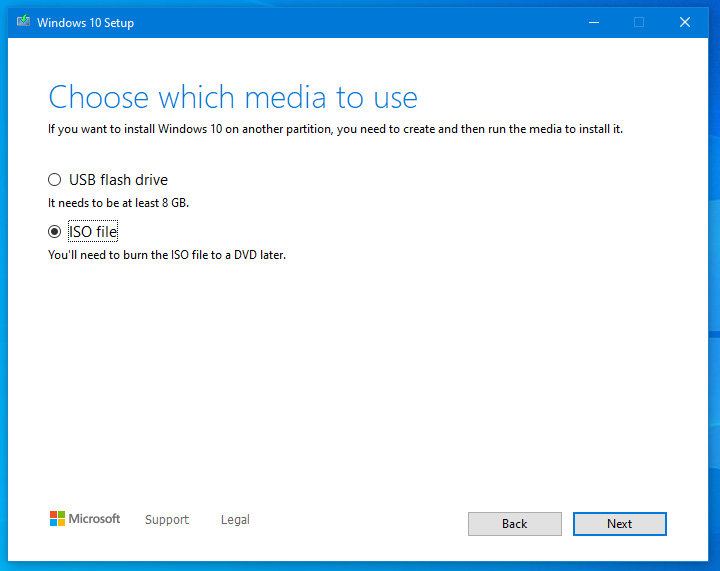
Figure 1.19 – Preparing Windows 10 ISO – part 4
The next exercise is to install Windows 10 as a virtual machine on Workstation 17 Pro:
- Click on Click Virtual Machines > Create VM and select the Typical installation option:
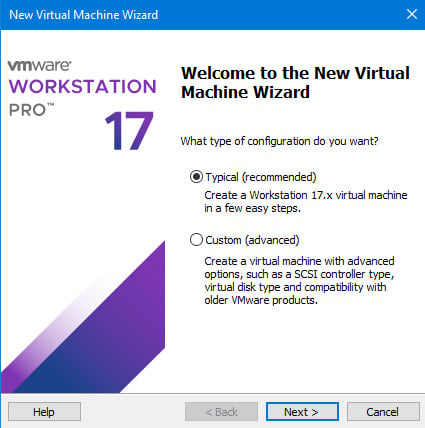
Figure 1.20 – Windows 10 installation process – part 1
- Click on the Installer disc image file (iso) option, as shown in the following screenshot, and select the path for the Windows 10 ISO file:
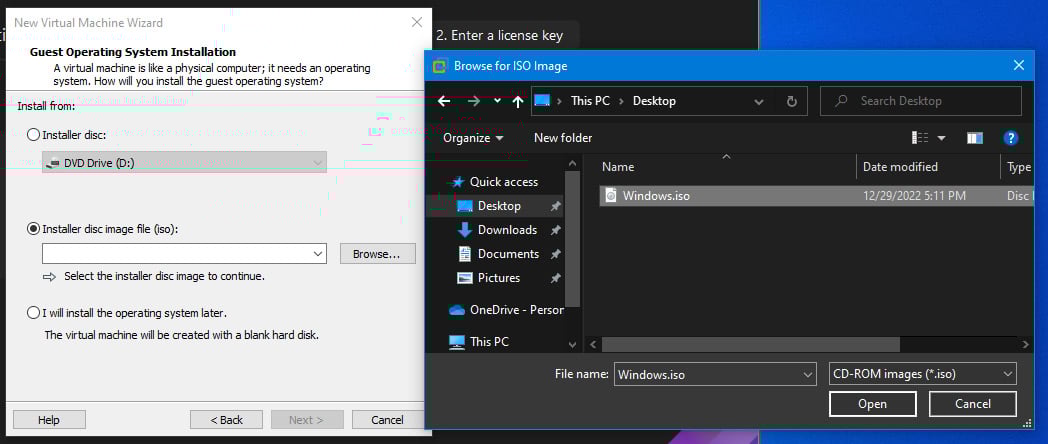
Figure 1.21 – Windows 10 installation process – part 2
- Click Next and name the virtual machine
DFIR Labs, assign60 GBas the virtual HDD, and select a minimum of4 GBof RAM:
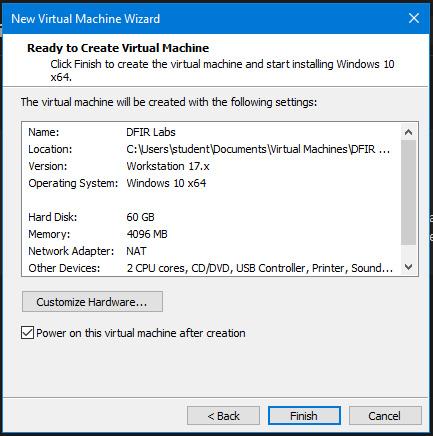
Figure 1.22 – Virtual machine settings
- The last step is to follow the Windows installation guide and run the virtual machine, for which we are all set up now.
During the exercises in the next chapters, we will start downloading and setting up the tools to use for our investigation and artifact analysis each tool will be presented with link to download.
Now we have completed setting up our virtual machine. Let’s take a snapshot of it just in case we need to revert and avoid re-installing it.
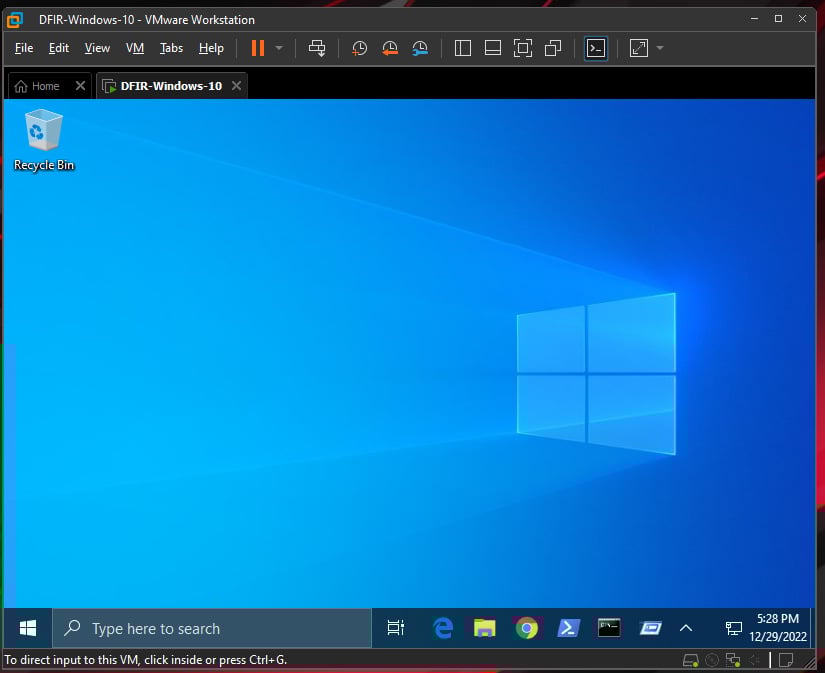
Figure 1.23 – Windows 10 ready for a lab
In conclusion, setting up a forensic lab is a critical step toward conducting effective digital forensics investigations. A properly configured forensic lab can help ensure the integrity of evidence, streamline the investigation process, and increase the chances of successful investigations. By following the guidelines and best practices outlined in this chapter, forensic analysts can establish a reliable and efficient forensic lab that can meet the demands of modern digital investigations.