

As the first step of using Play! Framework, we'll see how to install it on our machine with minimum requirements as possible. The goal is to have our basic environment set up in a few and simple tasks.
The simplest way to install Play! Framework 2 is to download it from the website http://www.playframework.org/. This is fairly simple. Just go to the Download link in the upper-right-hand side of the website and click on the Latest official version link. This will download a .zip file to your system. Unzip it to a location of your choice.
This package can seem quite large (almost 150 MB, compressed), but if we have a look inside, we'll see that it contains everything needed to run the framework or for the developer to develop with it. That's because it is composed of documentation, libraries with their dependencies (repository), and the framework itself. This means that even when disconnected, we'll have access to all the information needed.
Let's have a look at the documentation folder:
Apart from these, we'll find the samples folder. It is a mine of snippets for common tasks and is split into two parts: java and scala. As you can imagine, here we have an access to plenty of simple or advanced Play! 2 projects that have been written in both in Java and Scala. For example, the forms sample project that introduces some patterns to deal with forms, or the websocket-chat sample project that goes deeper into the details of using the more advanced Play! 2 features.
At this stage, we're almost done; all we have to do is to update our PATH environment variable to point to the extracted folder, which contains the command-line tool: play!
.
However, before that, as Play! Framework 2 is a JVM web framework, you must check that Java 6 or a higher version is installed and available for use.
Note
However, for "non-JVM" people, you can get the last version from http://www.oracle.com/technetwork/java/javase/downloads/index.html.
Let's perform the following steps to update our PATH environment variable:
Press the Windows key.
Type
sys var.Select Edit the system environment variables.
In the new window, click on the Environment Variables... button.
In the user variables panel, we can now add/edit the
PATHvariable with the path to the Play! installation. The following screenshot summarizes what we just did:
As you may know, Play! Framework is now part of a more general stack provided by Typesafe, which redefines almost all the layers of the modern applications built on top of the JVM: the Typesafe Stack 2.
Roughly, it begins with the language (Scala), continues with a concurrent layer (Akka), and completes with a web layer (Play!).
It's quite helpful to install the stack rather than Play! 2 alone because it will install versions that are validated to work together.
At this stage, we can use the command-line tool embedded with Play! Framework 2. This tool, simply named play!, is the very beginning as it will start the whole machinery. For that, let's open a terminal depending on our OS, as follows:
We're ready to check whether our Play! environment has been correctly set up. Let's enter the following command:
$> play
Once done, you should see the following screenshot:
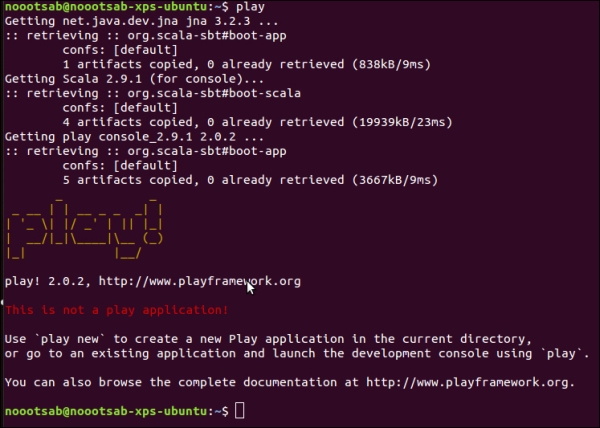
This means that Play! is correctly installed. Bravo! Don't worry about the message; it only tells you that you weren't in a valid Play! project folder, that's all!
What's interesting at this point is that the play! tool is actually starting an SBT console (http://www.scala-sbt.org/release/docs/index.html).
You can also get some help from the tool by executing:
$> play help
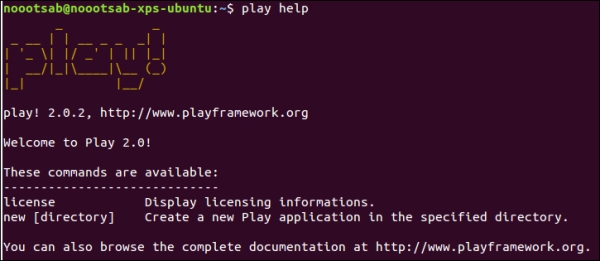
As you may notice, it recommends that you create your first application. Here we go!