Book Image

Instant jQuery Masonry How-to

By : Kyle David Taylor
Book Image

Instant jQuery Masonry How-to

By: Kyle David Taylor

Overview of this book

jQuery Masonry is a revolutionary new plugin that enables dynamic layouts on any website. This powerful tool shuffles and rearranges elements to fit any screen size which will ensure your website keeps up with one of the biggest trends of the year, Responsive Web Design.Instant jQuery Masonry How-to will allow you to start building fully responsive layouts for portfolios, galleries, blog pages, and more. Gain a complete understanding of the workings of Masonry, which will allow you to integrate this unique tool into your existing and future projects.The hands-on guide will take you from the basics of jQuery Masonry to utilizing its power within Wordpress and Drupal. You will learn the basics such as implementing single and multi-column layouts, before developing more complex solutions for various media types, fluid layouts, and animating transitions. With the widespread adoption of responsive web design, this book will bring your blog, portfolio, or any project you are working on up to speed.
Table of Contents (7 chapters)

Integrating with WordPress (Advanced)


With the growing popularity of content management systems (CMS), integrating new features can sometimes be difficult. Even though there are some custom plugins available for integrating Masonry with WordPress, it is not necessarily as simple as that. To implement Masonry, we will need to edit a few theme files and use some functions to import our scripts. The upcoming recipe is somewhat complex, so if you don't get it the first time, don't worry! There is also more than one way to do this; if you work with WordPress often, build your site in a way that you are used to.

Getting ready

We will need an installation of WordPress, either local or on a server. In this demonstration, we will be using the version of WordPress that was most recent at the time of writing (WordPress 3.6) and modifying the Twenty Thirteen theme. Demo content has already been added, including categories, so we will be targeting the content of a specific category to apply Masonry to. The demo content being used in this example can be found under WordPress's theme-unit-testing page, located at the following URL:

http://codex.wordpress.org/Theme_Unit_Test

How to do it...

  1. Open content.php in either the WordPress editor under Appearance or locally in a text editor, and locate the following line:

    <article id="post-<?php the_ID(); ?>" <?php post_class(); ?>>
  2. Replace the line with the following:

    <article id="post-<?php the_ID(); ?>" <?php if ( in_category('9') && is_category('9')){ post_class('masonry-item'); }else{ post_class();} ?>>
  3. In the same manner, open category.php and locate the following line:

    <div id="content" class="site-content" role="main">
  4. Replace the line with the following:

    <div id="content" <?php if( is_category('9')){ print 'class="masonry-container site-content"'; } else { print 'class = "site-content"';}  ?> role="main">
  5. In the same category.php file, directly below the previous line is an if statement (<?php if ( have_posts() ) : ?>), and directly below that is a header section. Move the entire header section above the site-content area and below the primary area, and wrap it in the same if statement. When finished, it should look like the following:

       <div id="primary" class="content-area">
          <?php if ( have_posts() ) : ?>
             <header class="archive-header">
                <h1 class="archive-title"><?php printf( __( 'Category Archives: %s', 'twentythirteen' ), single_cat_title( '', false ) ); ?></h1>
                <?php if ( category_description() ) : // Show an optional category description ?>
                <div class="archive-meta"><?php echo category_description(); ?></div>
                <?php endif; ?>
             </header><!-- .archive-header -->
          <?php endif; ?>
          <div id="content" <?php if( is_category('9')){ print 'class="masonry-container site-content"'; } else { print 'class = "site-content"';}  ?> role="main">
          <?php if ( have_posts() ) : ?>
             <?php /* The loop */ ?>
             <?php while ( have_posts() ) : the_post(); ?>
                <?php get_template_part( 'content', get_post_format() ); ?>
             <?php endwhile; ?>
             <?php twentythirteen_paging_nav(); ?>
          <?php else : ?>
             <?php get_template_part( 'content', 'none' ); ?>
          <?php endif; ?>
          </div><!-- #content -->
       </div><!-- #primary -->
  6. In the Twenty Thirteen theme folder, create a new JavaScript file named custom-masonry.js inside the js directory. Insert the following code into custom-masonry.js:

    (function($) {
       var $container = $('.masonry-container');
       $container.imagesLoaded(function() {
          $container.masonry({
             itemSelector : '.masonry-item',
             isAnimated : true
          });
       });
    })(jQuery);
  7. Open functions.php and add the following at the very bottom:

    /**
     * Custom script for loading masonry when needed.
     */
    function load_masonry() {
       if (is_category('9')) {
          wp_enqueue_script('custom-masonry', get_stylesheet_directory_uri() . '/js/custom-masonry.js', array('jquery'), '1.0', true);
       }
    }
    add_action('wp_enqueue_scripts', 'load_masonry', 20);
  8. Lastly, we need to add our Masonry styles at the bottom of the style.css file:

    .masonry-item {
       float: left;
       margin: 5px;
       padding: 5px;
       width: 380px;
    }

How it works...

We did multiple things in this recipe, in the simplest way. To start with, we created a lot of demo content within the same category with an ID of 9. In content.php, we added the masonry-item class to each article if it was tagged in category 9 and if the current page had articles listed from that category. We did this by passing the class name into post_class(), which adds the masonry-item class to any existing classes that are applied to that article.

In category.php, we did pretty much the same thing. We added the masonry-container class to the content element, where posts appear if the category archive page is based on category 9. We also moved the header outside of the content area since it is not part of implementing Masonry and would break our page. Now we have a container and items we can apply Masonry to.

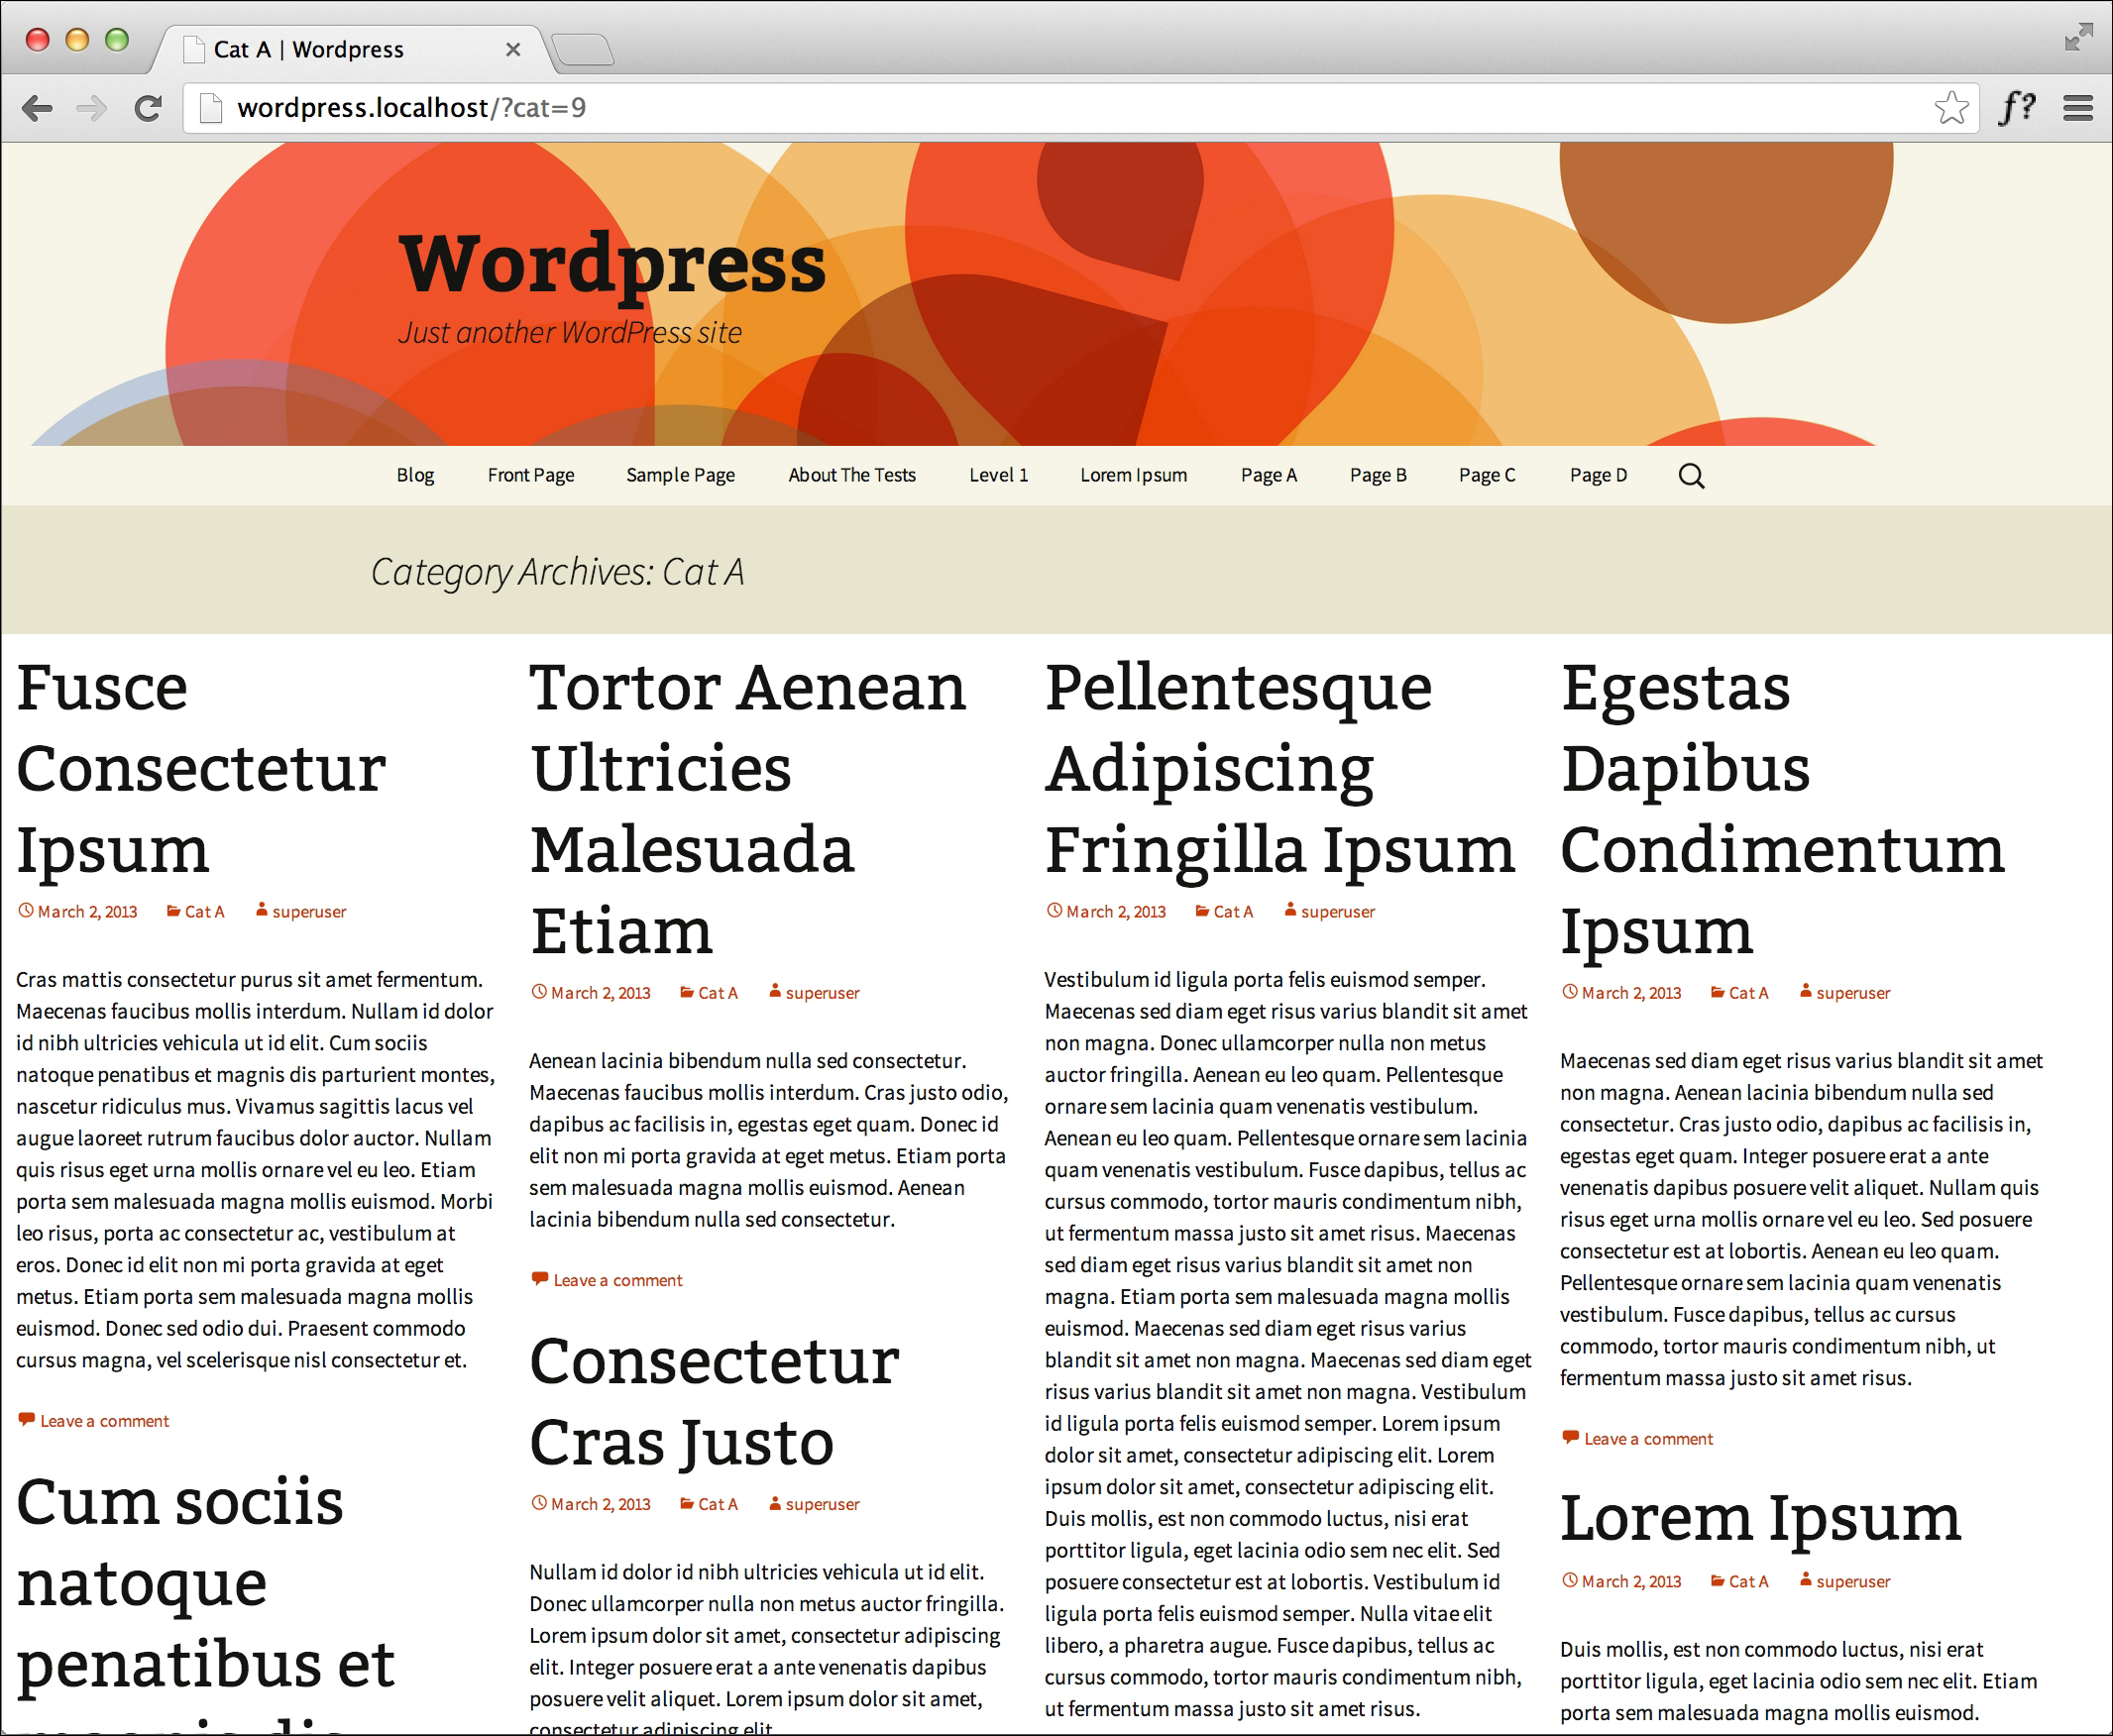
We created a JavaScript file that contains our Masonry script and we included the script by using WordPress's wp_enqueue_script() function, directing the source to the JavaScript folder in the theme; we then placed it in the footer with the other scripts by setting the last parameter set to true. To ensure that we are not running Masonry on every page, we put in another check to only load Masonry when on the category 9 archive page. When using the add_action() function, we set the last parameter to 20 to ensure that it loads after jQuery and that the core of Masonry has been loaded. After everything is completed, the result should look like the following screenshot:

There's more…

We didn't need to load jQuery or Masonry because both are built into WordPress, making it really nice and easy. If we did need to, in WordPress, we would use the same wp_enqueue_script() method that we used earlier.