
Installing SvelteKit
To begin, open your terminal or command-line interface and navigate to a directory where you are comfortable starting a new project. From there, we’ll run three simple commands. The first will create a new SvelteKit project with various prompts to initialize the application, the second will install dependencies, and the third will start our development server:
npm create svelte@latest
npm install
npm run dev
When running the first command, you’ll be presented with several prompts. The first of these will ask you to install create@svelte to which your response should be y for yes. When prompted to select a directory to install the project in, leave the option blank to use the current directory (or specify the directory if you’d prefer to). You’ll then be asked which template to use. We’ll be working primarily with the option Skeleton project but feel free to come back and give the SvelteKit demo app a try in another directory at your convenience.
The next prompt pertains to TypeScript (TS) usage, for which SvelteKit has excellent support. However, to keep the focus of this book on SvelteKit itself and to appeal to developers that may not yet be familiar with TS, we will be using plain JavaScript. As such, to properly follow along with this text, you should select No. If you feel comfortable enough with TS, then by all means, select Yes. Be sure to select Yes for ESLint and Prettier support as they will very likely save you headaches and further improve your development experience. It is also recommended to include supported testing packages, but this book will not be covering testing strategies.
After installing the project dependencies with npm install, we run npm run dev, which starts our development server. The output from the command should look similar to that shown in Figure 1.1.
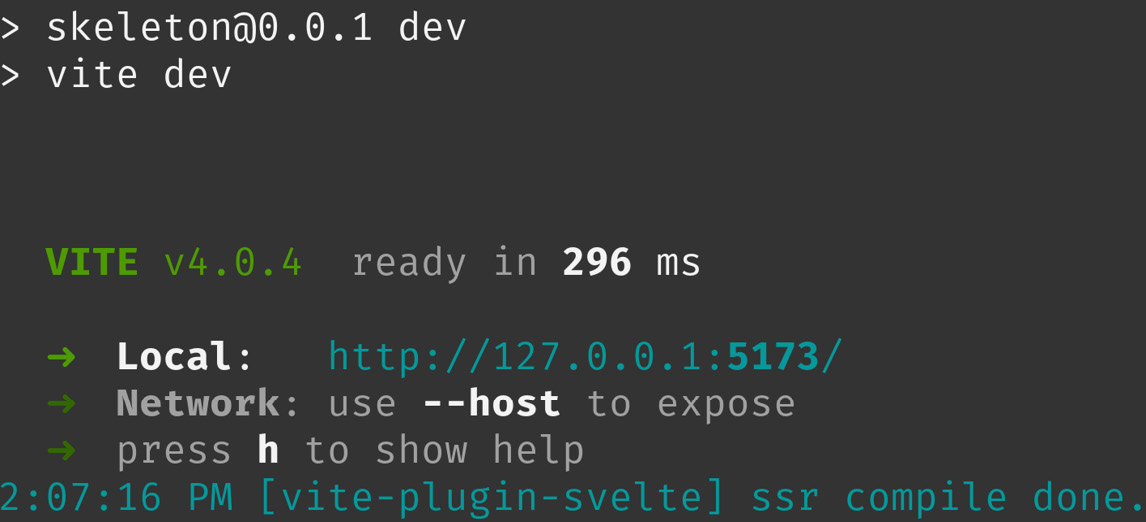
Figure 1.1 – Showing the output from the Vite development server
Notice how quickly Vite starts our development server. Even though this is a bare-bones application, other bundling tools would have taken multiple seconds whereas Vite was ready in under one second. As shown in the output displayed in the terminal, the site can be viewed by navigating to http://localhost:5173/ in your browser. If you would like to access the site from a device other than your development machine, for instance, on a mobile device, then you may append –-host to the appropriate npm script found in the package.json project file. Under the scripts entry, the new command would look like "dev": "vite dev –-host".
We’ve just covered the installation process for SvelteKit. At this point, it should be trivial for you to install your own SvelteKit-based project. We’ve covered how the various prompts from the create@svelte package allow you to customize the project to your liking. Now, let’s take a look at how a typical SvelteKit project is structured.