-
Book Overview & Buying
-
Table Of Contents

WordPress for Education
By :
WordPress for Education
By:
Overview of this book
WordPress is typically known as a platform for blogging. However, the versatility and simplicity of WordPress makes it the perfect solution for the needs of professional educators. WordPress for Education guides readers through the practical applications of WordPress in a classroom setting. Readers will gain an understanding of the WordPress platform and how it can be used to create powerful classroom websites.
WordPress for Education guides educators through the process of setting up a typical class website, creating student blogs, and using WordPress to power a learning management system. WordPress for Education provides clear and practical examples for using WordPress within the classroom. It will empower educators to create useful and engaging e-learning websites.
Through the examples given in the book, you will gain an understanding of how to use WordPress to build an engaging and easy to update e-learning website. You will also learn about a variety of WordPress plugins that extend its abilities and usefulness in an educational environment, such as creating student blogs, keeping track of classroom events, managing coursework, and developing a classroom social network.
Table of Contents (14 chapters)
WordPress for Education

Credits
About the Author
About the Reviewers
www.PacktPub.com
Preface
 Free Chapter
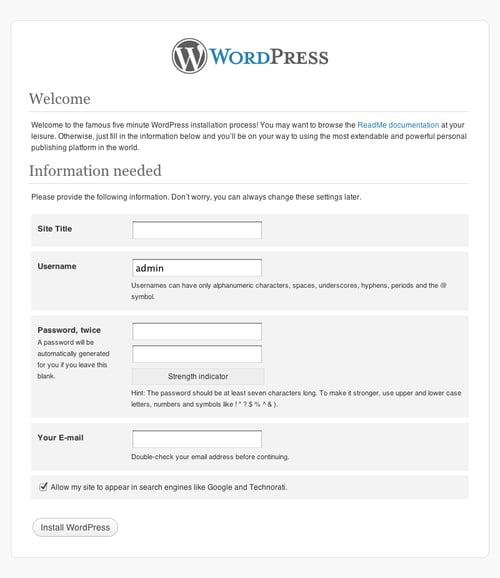
Installing and Configuring WordPress
Setting Up Our Class Site
Enhancing WordPress with Plugins
Enabling a Multisite Network
Creating a Social Network with BuddyPress
BuddyPress Courseware
Site Management
WordPress Resources and Plugins