

Cordova/PhoneGap depend upon node.js to be installed, and therefore, you need to install it first on your system. This is true whether or not you intend on using PhoneGap Build.
Navigate to http://www.nodejs.org in your preferred browser. You'll be greeted with a page that looks somewhat like this:
Assuming the site has correctly detected your OS, click on Install, and a download of the correct installation package should begin. If the site doesn't correctly detect your OS, or if you would like to see the other options available, click on Download and then proceed with the file of your choice.
Tip
Note to Mac Users
If you have homebrew installed, you can use that to install node.js instead by typing brew install node in your Terminal app. If you don't have it installed and want to learn more, visit http://brew.sh.
Once the package has been downloaded, find it in your download manager or file browser and execute it to start the installation package. Depending on what OS you are running on, the process will be slightly different, but the instructions on each screen are standard and self-explanatory. The installer will notify you about where it is installing node and npm; make note of this path because you'll need it in the next step.
For example, the following series of screens results from installing node.js on a Mac:
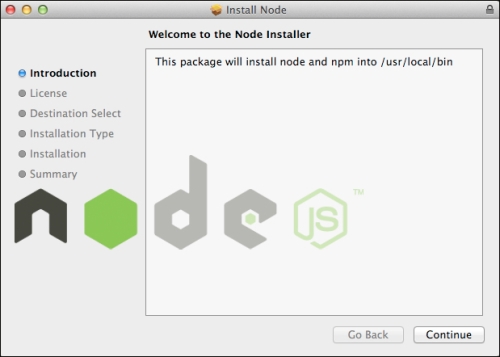
After clicking on Continue, your screen should look similar to what is shown in the following screenshot:
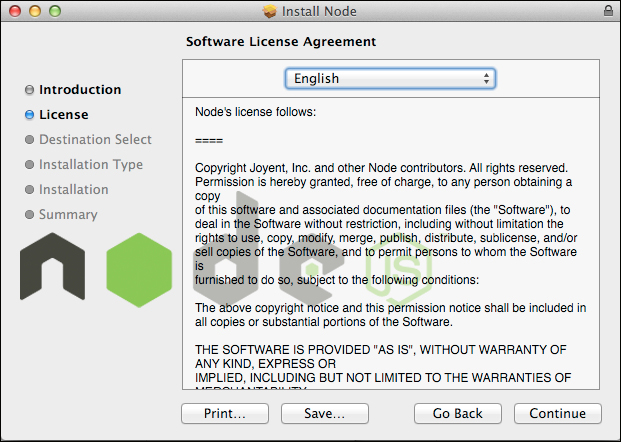
Now we are greeted with the license agreement. After clicking on Continue, the following screen appears:
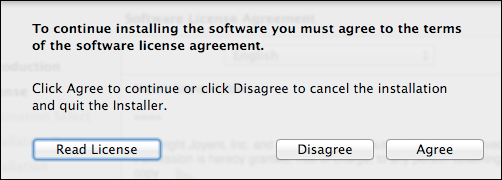
Upon clicking on Agree, we're notified about how much space the application will take:

Once we click on Install, we're asked for our administrative password, and then the installation process kicks off. When it is complete, the following screen is presented:

At this point, make note of the path requirement. This will be different for each platform, but for Mac, we will need to add /usr/local/bin to our path. Once you've made a note of the directory, you can close the installer.
Unfortunately, configuring your path is platform specific. For Linux and Mac, the process will be nearly identical, but for Windows, it is done completely differently.
Although you can perform these steps using the GUI, it's easiest to do so with the command line.
First, determine if your path is already set up. Open a terminal and type the following:
echo $PATH
If you see the directory specified in the installation steps, stop! You're all set and you can go to the next section. If not, then continue with the following steps:
Navigate to your home directory:
cd ~Next, determine your profile:
ls .*profile*Tip
It's entirely possible that you don't have a profile, and if so, you won't see any files listed. In that case, you'll have to go with the defaults. For Mac OS X, this is typically
.profileor.bash_profile, and for Linux (assuming you use the Bash shell), it's typically.bash_profile. Consult your shell'smanpage if you are unsure.Once you determine your profile, you'll want to edit it:
pico .profileNow that you've got an open file, navigate to the bottom (assuming there is anything in it) and add the following lines:
# for NODE
PATH="${PATH}:/usr/local/bin"
export PATH
When done, save the file (Pico uses Ctrl + O) and exit the editor (Pico uses Ctrl + X).
To be sure the changes have taken, you can either close the terminal and log back in or source your profile:
. .profileIf you get errors, go back and edit the profile and make sure you've done everything correctly. Once you are error free, check to make sure that the directory is in your path by typing the following command:
echo $PATH
You should see the directory path in the output. If not, stop and go over the instructions again. Do not continue until your path is correct.
First, verify that your path is already set up by opening a command prompt and typing the following command:
echo %PATH%
If the directory specified by node.js is displayed, you're good; stop and go to the next step. If not, continue with the following steps:
Close the command window you just opened and open the Control Panel. Open the search panel from the charms and type
Path. Select Edit the system environment variables. A window should appear with Path in the list. Click on that row and click on Edit.Navigate to the end of the field and add (replace "path-specified-by-installer" with the actual path):
;path-specified-by-installerClick on OK and then on OK again. Open up another command prompt and verify that the path is correct by typing the following command:
echo %PATH%
If the path is not correct, stop and review the installation instructions, fixing any mistakes. Do not continue until your path is correct.
As part of the installation process, Cordova/PhoneGap will check to ensure that your platform SDKs are correctly configured. In order to avoid error messages, it's best to take care of that now.
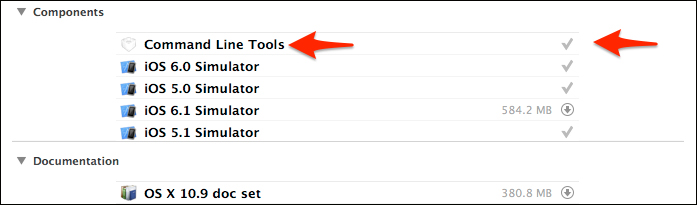
First, make sure you've got Xcode 5 installed. Once that's taken care of, start it up, and then open the Xcode menu and click on Preferences…. Click on the Downloads tab and find the Command Line Tools option. If it's not installed, click on the icon to the right of Command Line Tools to download it. Now, go get a cup of coffee; this takes a little while.
Tip
You may receive an error indicating that you need to add an account to Xcode 5 prior to downloading the command-line tools. Just click on Open Accounts… in the error message. Then, click on the + icon in the lower-left corner of the window and click on Add Apple ID…. Enter your developer credentials and then click on Add (or if you aren't signed up yet, click on Join Program…). Once done, try to download the tools again.
When finished, your display should look like this:
Tip
OS X 10.9 / Xcode 5.0.1
Apple decided to make things just a little more difficult for us. There's no UI to install the command-line tools anymore, so just type xcode-select --install at the command prompt instead. You'll be asked to accept the license, and then it will go and download everything for you.
Next, open a terminal and type the following command:
sudo xcodebuild -license accept
When prompted, enter your password.
Keep in mind that whenever Xcode is updated, you may need to rerun this command. If you get funny errors from Xcode, try running this first, just in case.
Make sure you've installed the Android SDK. If you haven't already, grab it from http://developer.android.com/sdk/index.html. If you already have the SDK installed, make sure you have a recent version, or things are apt to go awry.
If you don't have Java installed yet, install Java 6 or better. Make sure you install a JDK, not a JRE, otherwise things won't work. Once installed, you'll need to configure your JAVA_HOME environment variable. This is different for each OS.
For Mac, open your profile (the same file used in the prior section), and add the following to the bottom (be sure to type a backtick instead of a quote):
# for JAVA_HOME
export JAVA_HOME=`/usr/libexec/java_home`
For Linux, the process is much the same, but you will need to first locate where Java was installed. Then add this to the bottom of your profile:
# for JAVA_HOME
export JAVA_HOME='path-to-your-java-install'
For Windows, the process is much the same as adding to your system path. Open the search panel from the charms, and type Path. Select Edit the system environment variables. A window should appear with Path in the list. Now click New, and enter the variable name as JAVA_HOME. Enter the path in the next box. Click OK and OK again. Re-open any open command prompts to reload the environment settings.
Next, make sure you have the Android tools in your path. For Mac/Linux, add the following snippet to your profile:
# for Android
PATH="${PATH}:/Path-To-Android-SDK/tools:/Path-To-Android-SDK/platform-tools"
export PATH
For Windows 8, follow the same instructions for adding node.js to the path, adding the Android SDK directories to the path instead.
It's also critically important to install Ant. Some Mac OS X versions (10.8.x or lower) come with it preinstalled, but later versions do not. Windows does not have it installed by default.
For Mac OS X, the easiest method to install it is to use homebrew. First, you need to install it (learn more by visiting http://brew.sh) using the following command:
ruby -e "$(curl -fsSL https://raw.github.com/mxcl/homebrew/go)"
Then, run brew doctor as follows:
brew doctor
Then, you can install Ant as follows:
brew install ant
For Windows, download Ant from Apache's website (http://ant.apache.org/bindownload.cgi) and follow the installation instructions at http://ant.apache.org/manual/install.html.
So far, all we've done is get your machine ready for development. You've downloaded and installed node.js, which is required for Cordova/PhoneGap. You've downloaded your development SDKs and configured them appropriately unless you're going to use PhoneGap Build. At this point, we're actually ready to install Cordova/PhoneGap.
Keep in mind that if you're going to do iOS development, you'll need a Mac and the latest version of Xcode, whether or not you intend on using PhoneGap Build. At a minimum, Xcode is required to submit the app to the App Store and a Mac is required in order to generate the certificates necessary to sign the app.