Book Image

Qlikview Unlocked

Book Image

Qlikview Unlocked

Overview of this book

QlikView Unlocked will provide you with new insights to get the very best from QlikView. This book will help you to develop skills to work with data efficiently. We will cover all the secrets of unleashing the full power of QlikView, which will enable you to make better use of the tool and create better results for future projects. In the course of this book, we will walk you through techniques and best practices that will enable you to be more productive. You will gain quick insights into the tool with the help of short steps called ”keys,” which will help you discover new features of QlikView. Moving on you will learn new techniques for data visualization, scripting, data modeling, and more. This book will then cover best practices to help you establish an efficient system with improved performance. We will also teach you some tricks that will help you speed up development processes, monitor data with dashboards, and so on. By the end of this book, you will have gained beneficial tips, tricks, and techniques to enhance the overall experience of working with QlikView.
Table of Contents (16 chapters)
QlikView Unlocked
Credits
About the Authors
About the Reviewers
www.PacktPub.com
Preface
Hidden Image List
Index

Defaulting the scroll bar to the right of a chart


There are times when you have a lot of dimensions and a scroll bar is required. However, suppose you want to sort on date, going from the oldest to newest, and you want to make the default view the current one, which shows the newest dates that are on the right-hand side of the chart. There is no obvious property that allows this. However, there is a property built into the chart object; it's just that there isn't a GUI option to set it.

The way to set this property is to write a subroutine in the Module script and then to run it just once.

In the example elaborated earlier in this chapter, where we sorted a chart's dimensions, we can show this with the scroll bar to the right.

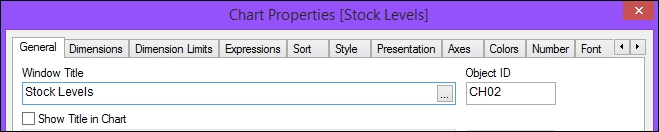
First of all, we need the Object ID of the chart that we wish to change. Open up the properties and look at the General tab. To the right is a box with the Object ID; in this case, it is CH02:

Now, we need to add the following text to the Module script. First, open the...