

Identifying, activating, and closing components in the VBA Editor
The VBA Editor is the heart and soul of writing your code. In this recipe, we will examine the VBA Editor in detail in order to understand the layout and location of components. There are several components in the Editor, each with a specific function and purpose.
Getting ready
All applications in the MS Office Suite contain the VBA Editor as an integral part of the application. In this recipe, we will be working with Excel. If you do not have Excel installed on your PC or laptop, please install it now.
How to do it…
Let's take a look at the steps for this recipe:
- To get to the Editor, we first need to open Excel.
- With the home screen visible, also referred to as the welcome screen, select the first option, Blank workbook:

Figure 2.1 – The welcome screen
A new Excel spreadsheet named Sheet1 is displayed. Since the file has not been saved, the workbook name, as displayed in the title bar, is Book1 - Excel:

Figure 2.2 – Book1, Sheet1
- With Sheet1 active, the next step is to open the VBA Editor. This can be done in one of two ways:
Click on the Developer tab, go to the Code group, and click on the Visual Basic icon.
Use the keyboard shortcut, Alt + F11.
Either way, the following screen will appear:

Figure 2.3 – The VBA Editor
- Since there was no recorded macro, the code window will not be available. Press F7 to open a new code window or, if you want, click View on the menu bar, then select the first option, Code:

Figure 2.4 – The VBA Editor with the code window
- With the VBA Editor open, we can now identify the different components:
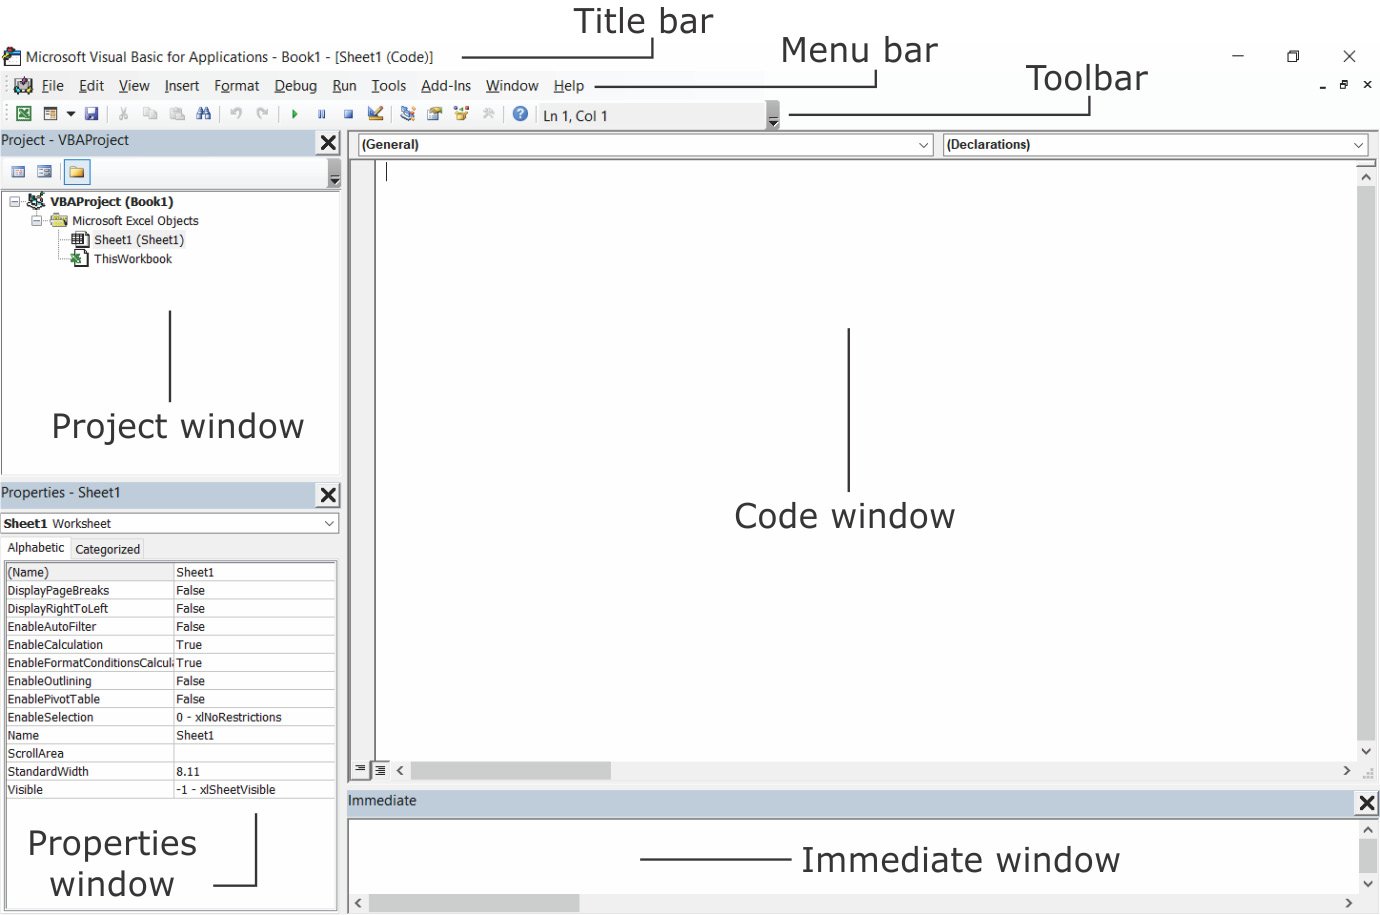
Figure 2.5 – The VBA Editor components
How it works…
Figure 2.5 shows the VBA Editor and its components. Let's look at each component in detail.
The title bar
All applications in the Microsoft environment have a title bar. As the name suggests, it identifies the application you are working in. It also displays the familiar minimize, maximize/restore, and close buttons on the rightmost end:

Figure 2.6 – The title bar
The menu bar
All the latest Microsoft applications make use of ribbons to categorize icons and commands. Menu bars are, therefore, not all that common anymore. However, in the case of the VBA Editor, the menu bar has survived the test of time. It contains all the commands you need to work within the various components of the VBA Editor. Drop-down menus will also show shortcut keys for some of the commands:

Figure 2.7 – The menu bar
The toolbar
The standard toolbar is displayed directly under the menu bar. There are three other toolbars, which can be activated by using the View | Toolbars command, or by right-clicking on the toolbar. All these toolbars can be customized and moved around, although most users leave the toolbars as they are:

Figure 2.8 - The toolbar
The Project window
The Project window displays a tree diagram of the objects currently available in Excel. In this case, only one workbook with one sheet is open in Excel, meaning that only Sheet1 and ThisWorkbook will be displayed under Microsoft Excel Objects. To expand and collapse the objects under Microsoft Excel Objects, you can either double-click on the folder icon or click on the minus sign to the left of the folder icon.
To close the Project window, click on the close button on its title bar, and to open it, press Ctrl + R or View | Project Explorer:
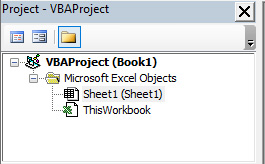
Figure 2.9 – The Project window
The Properties window
The Properties window is displayed directly below the Project window. It does exactly what it says: it displays the properties of objects. When you click on the Sheet1 object in the Project window, the Properties window will display the related properties. The same happens when you select the ThisWorkbook object:
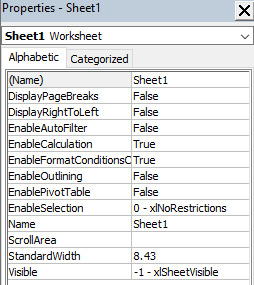
Figure 2.10 – The Properties window
The code window
The code window is the place where the VBA code is stored. Every object in a project has its own code window. To view the code window for ThisWorkbook, double-click on the object. The same applies for the Sheet1 object.
Because we have not saved a macro or typed any code for any of these objects, the code window for both objects will be empty:
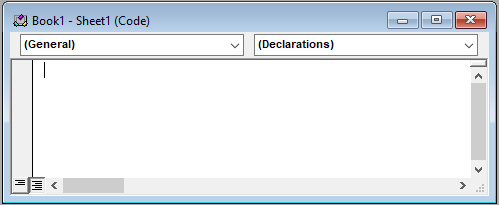
Figure 2.11 – The code window
Like all windows, the code window can be restored (and maximized). By restoring both the code windows, you can either tile or cascade them:
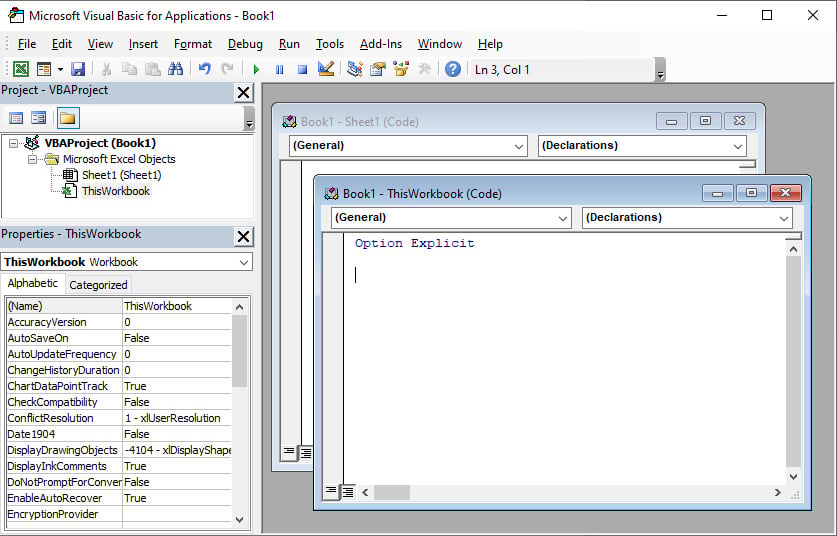
Figure 2.12 – Cascading code windows
The Immediate window
When you open the VBA Editor the first time, the Immediate window is normally not visible. Use the View | Immediate Window command, or press Ctrl + G to display the Immediate window. Closing it requires clicking on the close button on the title bar.
If you are new to VBA, the Immediate window will not be of much use to you, since it is used to execute VBA statements directly, as well as for debugging your code. Until you have a bit more experience, feel free to close this window:
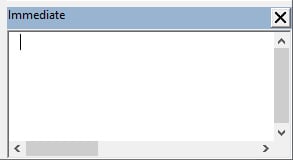
Figure 2.13 – The Immediate window